
Note: This article is written in standard American English and formatted as body-only HTML for easy publishing.
Introduction: Tiny Stars, Big Charm
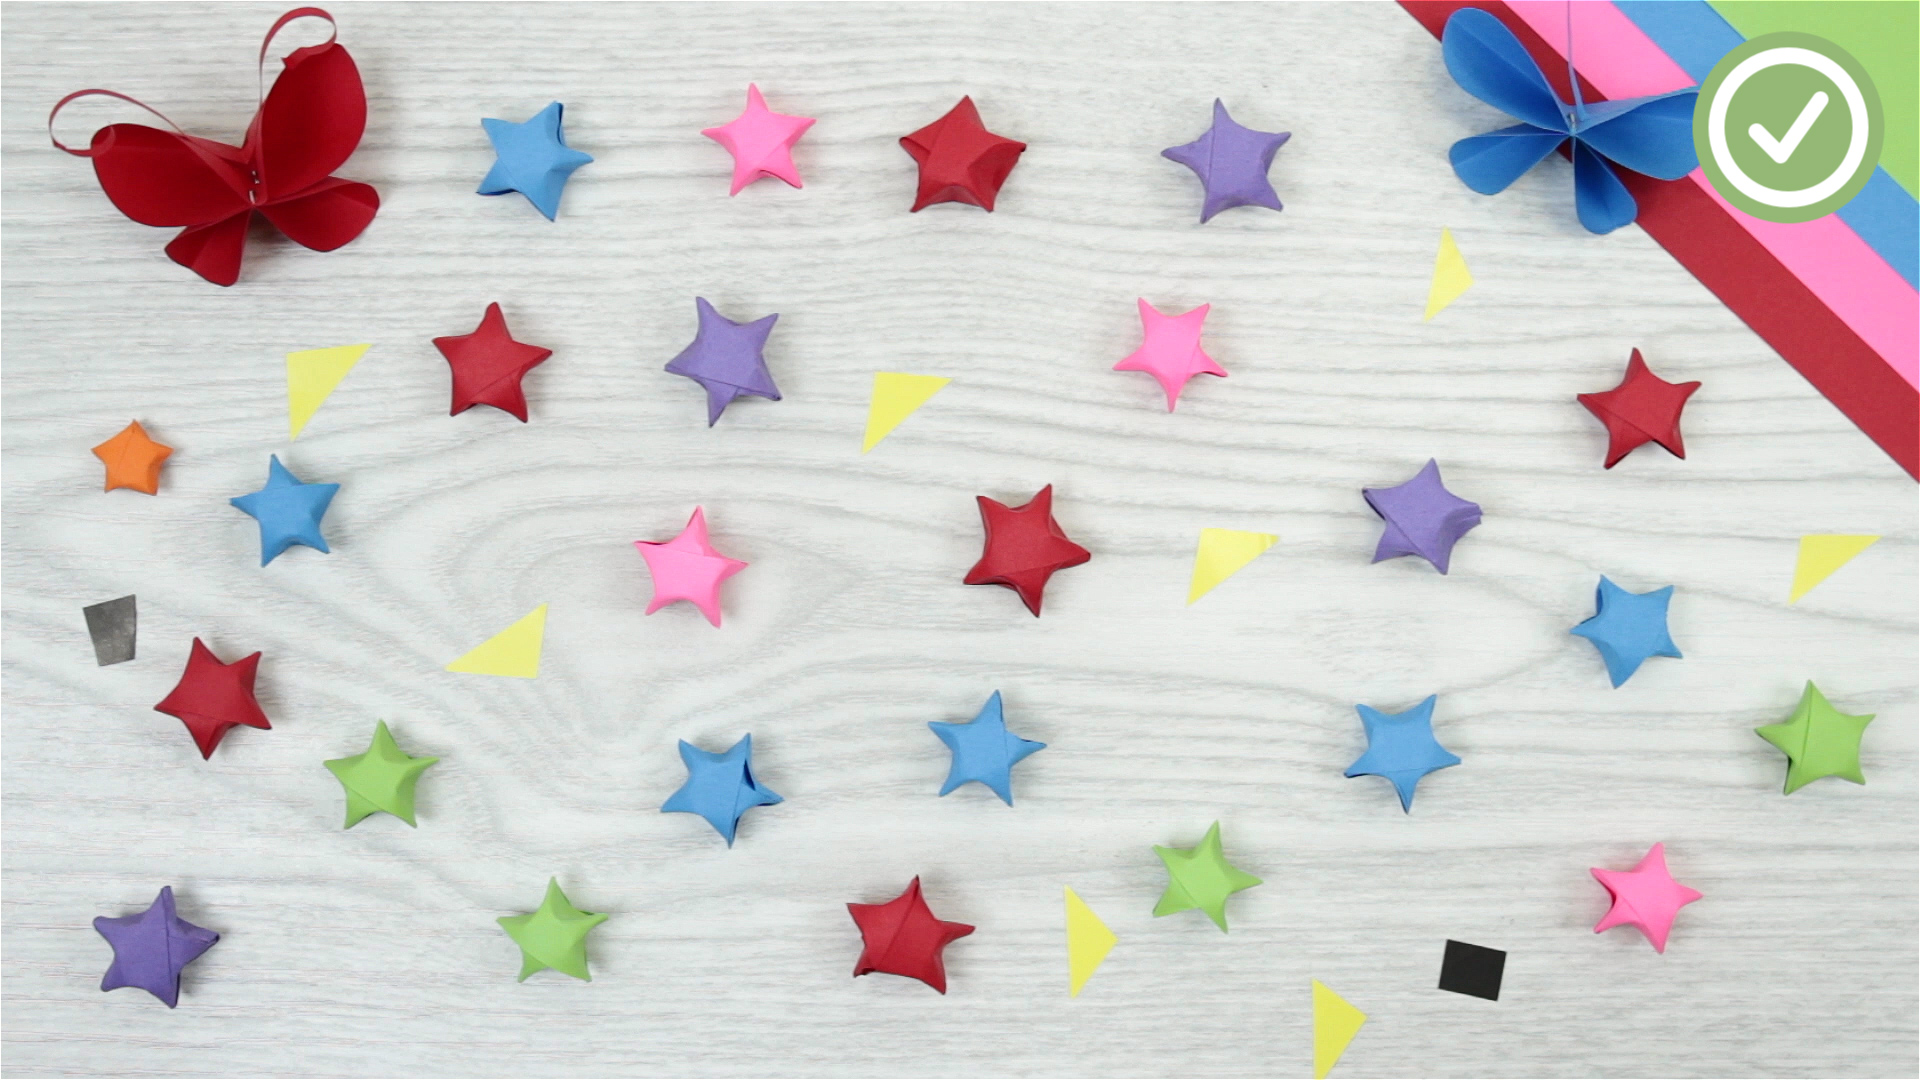
Lucky paper stars are the potato chips of the craft world: you rarely stop at one. Also called origami lucky stars, wishing stars, or puffy paper stars, these tiny folded treasures are made from long, narrow strips of paper and shaped into small five-point stars. They are affordable, beginner-friendly, relaxing, and dangerously cute. One minute you are folding a single star “just to try it,” and the next minute you are filling a jar like you have been hired by the night sky.
The beauty of lucky paper stars is that they do not require fancy equipment. You can use pre-cut origami star strips, colored printer paper, magazine pages, wrapping paper, scrapbook paper, or even thin recycled paper. The basic idea is simple: tie a gentle knot, flatten it into a pentagon, wrap the strip around the pentagon, tuck the end, and pinch the sides until the star puffs up. Once you understand the rhythm, the process becomes calm, repetitive, and surprisingly satisfying.
In this guide, you will learn how to make lucky paper stars in 7 clear steps, plus tips for choosing paper, fixing common mistakes, and using your stars for gifts, decorations, party favors, classroom crafts, and memory jars. Whether you are making one star for practice or 365 for a year of tiny wishes, this tutorial will help your paper strips become bright little symbols of luck, patience, and “wow, I made that.”
What Are Lucky Paper Stars?
Lucky paper stars are small three-dimensional origami stars folded from paper strips rather than square sheets. Unlike many classic origami projects, they do not rely on complicated crease patterns. Instead, they use a strip-folding method that builds a pentagon-shaped base. The final star shape appears when you gently press or pinch the edges, creating five raised points.
These stars are often associated with good luck, wishes, affection, gratitude, and handmade encouragement. Many people place them in glass jars, attach them to cards, string them into garlands, or give them as thoughtful gifts. They are especially popular because they combine simplicity with meaning. A single lucky star is sweet; a jar full of them says, “I spent time making something for you, and yes, my fingers survived.”
Materials You Need
Basic Supplies
You only need a few supplies to make lucky paper stars:
- Long, narrow paper strips
- Scissors or a paper cutter
- A ruler if cutting your own strips
- A flat surface for folding
- A jar, bowl, envelope, or box for storing finished stars
Best Paper Size for Lucky Stars
A good beginner strip is about 10 to 12 inches long and 1/2 inch wide. If you want smaller stars, use narrower strips. If you want larger stars, use wider strips, but remember that wider strips also need more length. A helpful rule is to keep the strip long enough to wrap around the pentagon several times. If the strip is too short, the star may open. If it is too thick, puffing the star may feel like trying to inflate a tiny cardboard suitcase.
Pre-cut lucky star paper strips are convenient, especially for beginners. They usually come in bright colors, patterns, gradients, or messages. However, homemade strips work beautifully too. You can cut strips from printer paper, old calendars, gift wrap, lightweight scrapbook paper, or magazine pages. Avoid heavy cardstock for your first attempts because it is harder to wrap neatly and pinch into shape.
How to Make Lucky Paper Stars: 7 Steps
Step 1: Cut or Choose a Long Paper Strip
Start with one long, narrow strip of paper. For your first lucky paper star, choose a strip around 1/2 inch wide and 10 to 12 inches long. This size gives your fingers enough room to fold without feeling like you are performing surgery on a confetti noodle.
If you are cutting your own paper, use a ruler and scissors for clean edges. Straight strips make cleaner stars because the paper wraps evenly around the pentagon. Uneven strips can still work, but they may create lumpy edges or awkward corners. A paper cutter is useful if you plan to make many stars at once.
Step 2: Make a Loose Knot Near One End
Hold the strip with one short tail on the left and the long length on the right. Gently loop the paper near one end, as if you are tying the first part of a simple knot. Pull the short end through the loop carefully. Do not yank it tight. Paper is dramatic and may crumple if treated like a shoelace.
Your goal is to create a small knot that can be flattened into a pentagon. Keep the knot neat, but not crushed. If the paper wrinkles, loosen it and try again. This first knot is the foundation of your star, so it is worth taking a few extra seconds here.
Step 3: Flatten the Knot Into a Pentagon
Once the knot is formed, gently press it flat. It should become a small five-sided shape, also known as a pentagon. The short tail should stick out from one side. If the shape looks more like a sad triangle or a confused potato, untie it and start over. This happens to everyone at first.
When flattening the knot, avoid making harsh creases. Lucky stars need structure, but they also need enough softness to puff up later. Think “firm but friendly.” A clean pentagon gives the finished star balanced points and a smoother surface.
Step 4: Tuck the Short Tail
Fold the short tail over the pentagon and tuck it into the nearest pocket or under the flap. If the tail is too long, trim it slightly before tucking. If it is too short to tuck securely, start again with a little more paper before the knot.
This tucked tail locks the base in place. It also keeps the back of the star tidy. A secure tuck prevents the star from unraveling while you wrap the longer strip around the pentagon. Basically, this is the star’s seat belt.
Step 5: Wrap the Long Strip Around the Pentagon
Now fold the long strip over one side of the pentagon. Let the natural angle of the pentagon guide the paper. Flip the shape over and fold the strip across the next side. Continue wrapping, side by side, following the pentagon’s edges.
The paper should naturally travel around the pentagon without much force. Keep the folds aligned with the edges, but do not press them too sharply. If you crease too hard, the star may become flat and stubborn when it is time to puff. Wrap until only a small piece of paper remains.
If the strip begins to drift away from the pentagon shape, pause and adjust. Clean wrapping makes the final star stronger and prettier. Messy wrapping can still become a star, but it may look like it had a rough day at the craft table.
Step 6: Tuck the Final End
When you reach the end of the strip, tuck the final tip into the nearest pocket on the pentagon. If the end is too long, trim it a little. If it is slightly short, slide it under a flap as securely as possible. The goal is to hide the end so the pentagon stays closed.
At this stage, you should have a flat, wrapped pentagon. It may not look exciting yet, but do not judge it. This is the caterpillar stage. The magic happens in the next step.
Step 7: Pinch the Edges to Puff the Star
Hold the pentagon between your thumb and index finger. Use your fingernail or fingertip to gently press inward on one edge between two corners. This pressure pushes the corners outward and begins forming a star point. Rotate the pentagon and repeat on each side.
Work slowly and evenly. Pinch all five sides until the star becomes puffy and dimensional. If one point looks smaller, adjust it with a gentle squeeze. If the star collapses, the paper may have been wrapped too tightly, creased too sharply, or made from paper that is too stiff. Do not worry. Your first few stars are practice stars, and practice stars still count as adorable.
Common Mistakes and How to Fix Them
The Star Will Not Puff Up
If your lucky paper star stays flat, the folds may be too tight or too sharply creased. Try wrapping the next star with a lighter touch. Paper needs a little internal space to expand when pinched.
The Pentagon Looks Uneven
An uneven pentagon usually starts with the knot. Make the knot slowly and flatten it carefully. A neat pentagon gives you better star points later.
The Paper Tears
Thin or brittle paper may tear when pulled into a knot. Use lightweight but durable paper. Magazine pages, printer paper, and origami star strips are usually easier than tissue paper or very old paper.
The End Keeps Slipping Out
If the final end will not stay tucked, trim it shorter or slide it deeper under a flap. You can also use a tiny dot of glue for decorative projects, but traditional lucky stars usually hold together without adhesive.
Creative Ways to Use Lucky Paper Stars
Fill a Lucky Star Jar
A glass jar full of lucky stars makes a cheerful decoration and a meaningful handmade gift. Use one color theme for a clean look or mix colors for a confetti effect. You can also write tiny notes, wishes, compliments, or memories on the strips before folding them.
Make Gift Toppers
Glue a few stars onto wrapped presents, greeting cards, or gift tags. They add texture and charm without costing much. A plain brown paper package suddenly looks thoughtful, handmade, and suspiciously Pinterest-worthy.
Create Garlands and Party Decor
Use a needle and thread to string stars into garlands. Hang them across a wall, window, bedroom shelf, classroom board, or party table. Choose colors that match a birthday, graduation, holiday, or baby shower theme.
Use Them for Mindful Crafting
Folding lucky paper stars can be calming because the process is repetitive and small. It gives your hands something simple to do while your mind slows down. Many people enjoy folding stars while listening to music, watching a movie, or taking a screen break.
Tips for Better Lucky Paper Stars
Use strips with clean, straight edges. Keep the first knot tidy. Wrap snugly, but not aggressively. Avoid crushing the pentagon before puffing. Practice with medium-width paper before trying tiny strips. If you want stars with messages inside, write lightly so the ink does not smear or show too strongly through thin paper.
Color also matters. Pastel strips create soft, dreamy jars. Metallic paper can look festive but may be harder to fold. Patterned paper creates fun surprises because each finished star shows a different part of the design. Recycled paper gives the craft a sustainable twist and makes each star unique.
Why Lucky Paper Stars Make Great Beginner Crafts
Lucky paper stars are ideal for beginners because the technique is easy to learn, materials are inexpensive, and mistakes are low-risk. A failed star is not a tragedy. It is just a tiny paper dumpling with ambition. After a few tries, your hands begin to remember the movement: knot, flatten, tuck, wrap, tuck, pinch.
This craft also works well for kids, teens, adults, classrooms, clubs, and family craft nights. Younger children may need help making the knot and puffing the star, while older crafters can experiment with sizes, colors, paper types, and display ideas. It is a simple project with plenty of room for creativity.
Experience Section: What Making Lucky Paper Stars Teaches You
The first time you make lucky paper stars, you may expect instant perfection. Then the first star comes out looking slightly dented, flat, or shaped like it has just heard bad news. That is completely normal. The real experience of making lucky stars is not about producing flawless results immediately. It is about learning how paper behaves in your hands.
One of the biggest lessons is pressure. Pull too hard on the knot, and the paper wrinkles. Wrap too tightly, and the star refuses to puff. Pinch too aggressively, and one point collapses while the others stare in embarrassment. But when you use gentle, steady pressure, the paper responds beautifully. This makes the craft feel almost like a conversation. The paper says, “Not so rough,” and your fingers learn to listen.
Another enjoyable part of the process is choosing paper. Plain printer paper is great for practice because it is easy to cut and fold. Colored paper makes the finished stars more cheerful. Magazine pages create unexpected patterns, especially when a tiny piece of photo, text, or color lands on the star’s surface. Wrapping paper works well too, as long as it is not too slippery or thick. After a while, you may start looking at every scrap of paper and wondering, “Could this become a star?” Congratulations. You have entered the official paper-star mindset.
Making lucky paper stars can also become a personal ritual. Some people fold one star for every good thing that happens during the week. Others write short wishes or kind words on each strip before folding. A jar of stars can become a gratitude jar, a memory jar, or a gift filled with encouragement. Because each star takes time, the finished collection feels more meaningful than something bought in a store.
There is also a social side to this craft. Lucky stars are easy to teach once you understand the steps. You can fold them with friends during a quiet afternoon, use them in classroom projects, or make them for party decorations. A bowl of paper strips on a table has a strange magnetic power. Someone will always pick one up and ask, “How do you make these?” Five minutes later, everyone is folding stars and comparing results like tiny paper engineers.
The best experience-related advice is simple: make several stars before judging your skill. The first few are warm-ups. By the tenth star, your knot will look cleaner. By the twentieth, your wrapping will feel natural. By the fiftieth, you may become the kind of person who says, “I’ll just make a few more,” while surrounded by enough stars to decorate a small galaxy.
Conclusion
Learning how to make lucky paper stars is a small craft with a big reward. With only a strip of paper and seven simple steps, you can create colorful puffy stars for jars, gifts, garlands, cards, decorations, and heartfelt keepsakes. The process is beginner-friendly, budget-friendly, and wonderfully relaxing. Start with medium-sized strips, keep your knot neat, wrap gently, and pinch patiently. Soon your flat paper strips will become cheerful little stars that look charming anywhere you place them.
Most importantly, enjoy the imperfections. Handmade stars do not need to look machine-made. Their tiny quirks are part of their personality. A jar full of lucky paper stars is not just decoration; it is proof of time, care, creativity, and maybe a little stubbornness. And honestly, that sounds pretty lucky.