
PDFs are great at being “the final boss” of document formats: they look the same on every device, they don’t reflow like a startled accordion, and they’re weirdly confident about refusing to be edited. But sometimes you don’t want a PDF. You want imagesa JPG for a website, a PNG for a transparent overlay, or a TIFF for print.
The good news: converting a PDF to image files is easy once you pick the right method for your goal. The better news: you don’t need to be a wizard. (The best news: no one has to know you tried three converters before remembering the file was password-protected.)
Before You Convert: Decide What “PDF to Image” Actually Means
There are two different “PDF to image” situations, and mixing them up is how people end up yelling at printers:
- Render PDF pages as images (most common): Each page becomes a JPG/PNG/TIFF “snapshot.” Perfect for sharing, posting, or inserting into slides.
- Extract images embedded inside the PDF: Pulls out only the original photos/graphics that were placed in the PDF. Great if you want the raw images, not the full page layout.
Most tools default to rendering pages. If you specifically need to extract embedded images, look for an option labeled “Extract images” or “Extract embedded images.”
Pick the Right Output Format (So Your File Doesn’t Look Like It Was Deep-Fried)
| Format | Best for | Why | Watch out for |
|---|---|---|---|
| PNG | Text, screenshots, logos, transparency | Sharp edges, lossless, supports transparent backgrounds | Files can be larger than JPG |
| JPG/JPEG | Photos, web use, smaller files | Compression keeps sizes down | Can blur text and create “blocky” artifacts |
| TIFF | Print workflows, archiving, high fidelity | Often preferred for professional printing | Big files; not always convenient for sharing |
Quick rule: if the PDF is mostly text, start with PNG. If it’s mostly photos, JPG is usually fine. If someone said the words “prepress,” “CMYK,” or “we need this at 600 DPI,” consider TIFF.
Option 1: Export with Adobe Acrobat (Best Quality + Most Control)
If you need clean output, correct page sizing, and the fewest surprises, Acrobat’s export tools are one of the smoothest routesespecially for multi-page PDFs.
How to do it (Acrobat desktop)
- Open the PDF in Adobe Acrobat.
- Find the Convert or Export tool (wording varies by version).
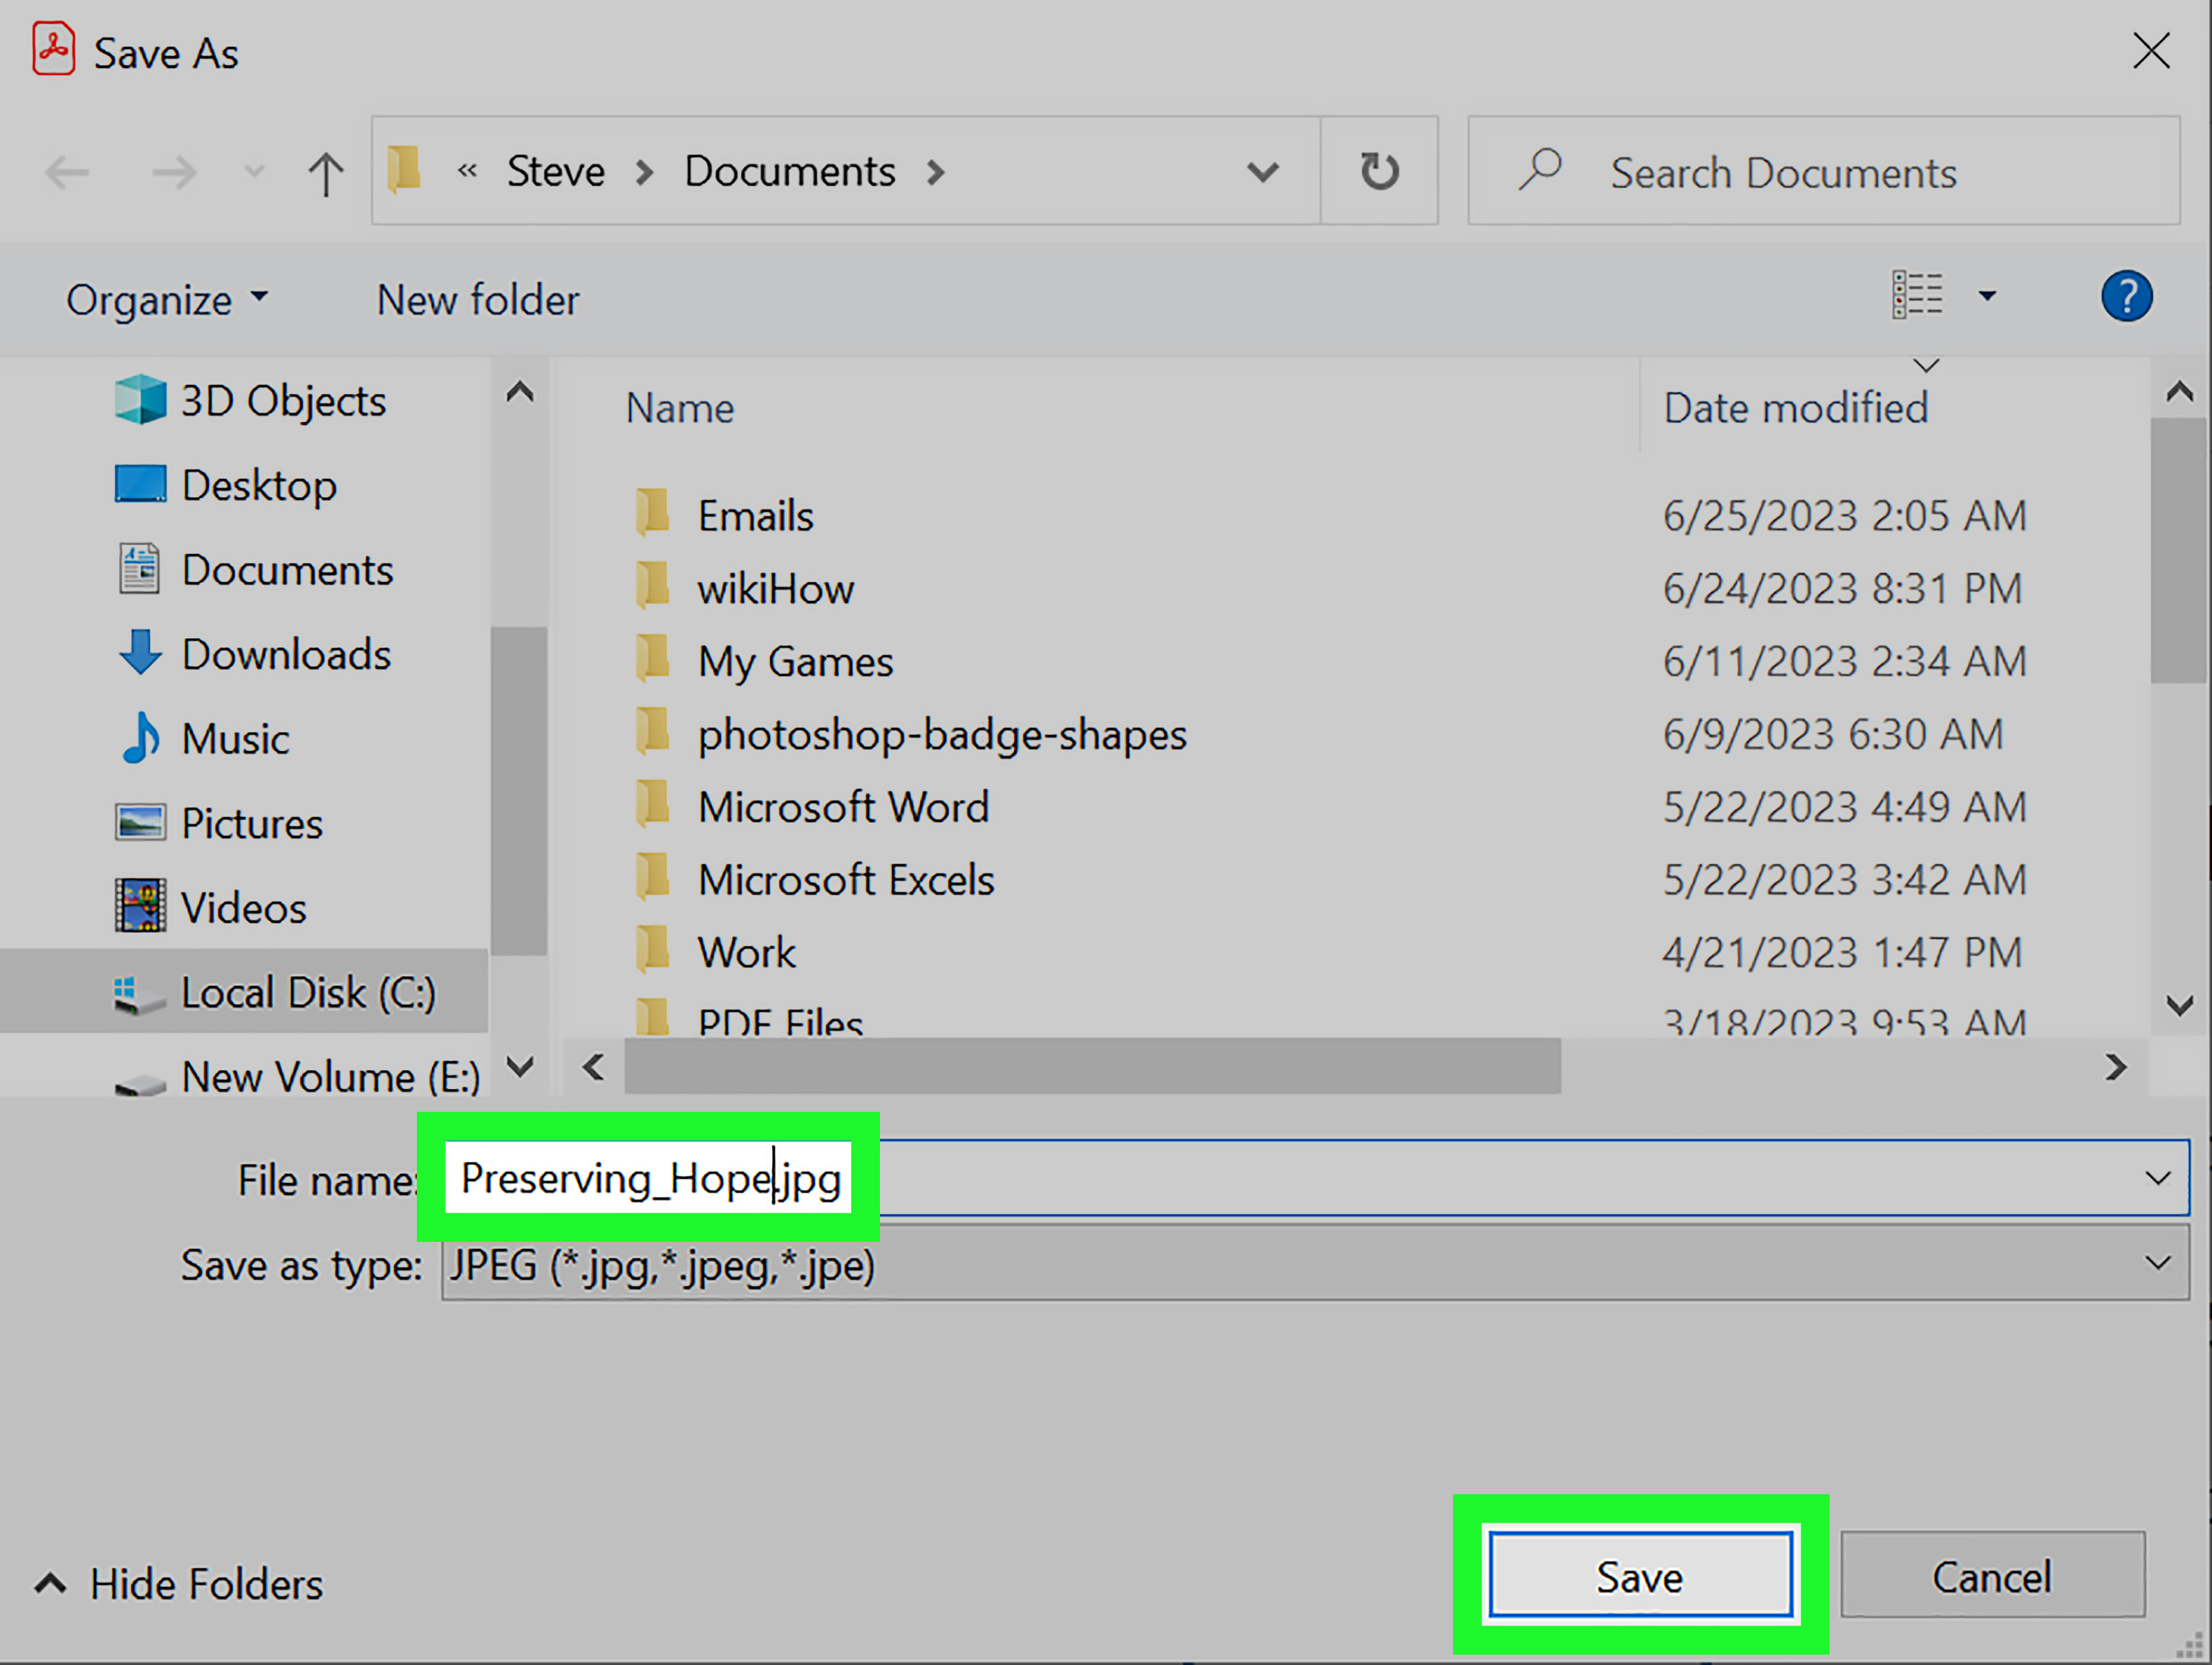
- Select an image format (JPG, PNG, TIFF, sometimes JPEG 2000).
- Choose your page range (single page, a range, or all pages).
- Adjust settings if available (quality, resolution/DPI, color space), then export.
How to do it (Acrobat Reader mobile)
- Open the PDF in the Acrobat app.
- Tap the menu (often three dots) and choose Export PDF.
- Select Image, then pick JPEG (or another offered format).
- Select the pages you want and save/share the images.
When this option shines
- You care about quality (crisp text, correct sizing, fewer weird artifacts).
- You have multiple pages and want one image per page automatically.
- You need TIFF or more control over output.
Pro tip: If your PDF includes tiny text (forms, receipts, legal docs), export at a higher resolution when possible. “Default” settings are often optimized for speed, not microscope-level readability.
Option 2: Use an Online Converter (Fastest, No Install)
Online tools are the “I need this done in two minutes” option. You upload the PDF, choose JPG/PNG/TIFF, and download your images. This can be ideal for occasional conversions or when you’re on a locked-down work computer.
Typical steps (most reputable converters)
- Open the converter in your browser.
- Upload or drag-and-drop your PDF.
- Choose output format (JPG/PNG/TIFF) and page options if offered.
- Convert and download your image files.
Privacy checklist (read this if the PDF contains anything sensitive)
- Assume uploads are leaving your device. If that’s not okay, use a desktop method instead.
- Use well-known vendors and check for clear statements about encryption and file deletion timelines.
- Avoid uploading protected documents (medical, financial, legal, client contracts) unless your organization approves it.
- Prefer “local” conversion whenever confidentiality matters more than convenience.
Bonus: Some online tools can also extract embedded images rather than converting whole pages. If your PDF is basically a photo album, that can save you from exporting pages and then cropping everything later.
Option 3: Use Built-In Tools (Mac Preview + Windows Snipping Tool)
If you don’t need perfect, print-ready outputor you only need one or two pagesyour computer already has tools that can get the job done without installing anything.
On a Mac: Convert with Preview
- Open the PDF in Preview.
- If you only want one page, open the thumbnail sidebar (View > Thumbnails) and click the page you want.
- Go to File > Export.
- Choose PNG or JPEG (and adjust quality if offered), then save.
Preview tip: For multi-page PDFs, Preview is fantastic for “grab this one page quickly,” but for exporting every page as separate images, a dedicated converter (Acrobat or a batch tool) is usually faster.
On Windows: Convert by capturing pages with Snipping Tool
Windows doesn’t include a universal “Export PDF pages to images” feature across all setups, but it does include a very good screenshot tool. If you only need a page or two, this method is quick and surprisingly effective.
- Open the PDF in a viewer (Edge, Chrome, Adobe Readeranything that displays it clearly).
- Zoom to 150%–200% for better readability in the final image.
- Press Windows + Shift + S to open the snipping overlay.
- Select Rectangular or Window snip, then capture the page.
- Click the preview pop-up, then Save as PNG/JPG.
Quality tip: Screenshots are limited by your screen resolution. If you need ultra-crisp output for print or large zooming, use Acrobat export or the batch tools below.
Option 4: Batch Convert Like a Pro (Command Line Tools)
If you have a multi-page PDF (or a whole folder of PDFs) and you want one image per page with consistent naming, command-line tools are the fastest repeatable solution. This is the route for power users, teams, and anyone who’s ever said, “I never want to click that button 200 times again.”
Poppler (pdftoppm): simple and reliable
Example: export each page as a PNG at 300 DPI:
This typically creates files like output-prefix-1.png, output-prefix-2.png, and so on.
Ghostscript: flexible control over resolution and output
Example: export each page as JPG:
ImageMagick: handy if you already use it (often relies on Ghostscript for PDFs)
Example (common pattern):
What “300” means: That number is the rendering resolution (often expressed as DPI). Higher DPI usually means sharper text, larger image dimensions, and bigger file sizes. For web sharing, 150–200 DPI might be plenty. For print, 300 DPI is a common baseline.
Quality Tips That Save You From “Why Is This Blurry?”
- Use PNG for text-heavy PDFs. JPG compression can turn small fonts into a smudgy “vintage” effect you did not request.
- Increase resolution for small text. If your export tool lets you set DPI, bump it up (try 300). If you’re screenshotting, zoom in before capturing.
- Check page size and scaling. Some converters add margins or scale-to-fit. If exact dimensions matter, use Acrobat export or a batch tool with explicit settings.
- Keep the original PDF. Once it’s an image, text is no longer selectable/searchable unless you run OCR later.
- Name files like a grown-up. Use a predictable pattern (e.g.,
Invoice-2026-02_page-01.png) so you can sort and find things later without opening 37 files named “final_FINAL_2_REAL.png.”
Troubleshooting: Common PDF-to-Image Headaches
“My output is blank” (or missing parts)
- The PDF may be restricted (permissions/password) or built with layers/transparency that some converters struggle with.
- Try a different method: Acrobat export often handles complex PDFs more gracefully than lightweight converters.
“The text looks jagged or fuzzy”
- Switch to PNG and raise your resolution/DPI.
- If you used screenshots, zoom higher before capturing.
“The files are huge”
- Use JPG for photo-heavy pages and reduce quality slightly (for web use).
- Export only the pages you need, not the whole 200-page manual (unless that’s your hobby).
“Colors look different”
- Color profiles and transparency can change across tools.
- If color accuracy matters (brand assets, print proofs), export through a professional tool and verify with a known reference image.
Conclusion
Converting a PDF to image files is really about matching the method to your mission: use Acrobat for quality and control, an online converter for quick one-offs, Preview/Snipping Tool for fast built-in convenience, and batch tools when you have lots of pages (or limited patience).
Pick the right output format (PNG for crisp text, JPG for photos, TIFF for print), bump resolution when clarity matters, and always keep the original PDF. Future-you will thank present-youand future-you is notoriously hard to impress.
Real-World Experiences: What People Learn After Converting PDFs to Images (the Hard Way)
In real workflows, “convert PDF to image” is rarely the final step. It’s usually the middle of a bigger storyone involving deadlines, group chats, and at least one person asking, “Can you make it less blurry?” after you already sent it twice.
One common scenario: a marketing coordinator needs a flyer proof posted on social media “in five minutes.” The PDF is perfect for email, but social platforms love images. The first attempt is often an online converter because it’s fastupload, download, done. Then the second attempt happens because the JPG looks fine until someone zooms in and the small text starts looking like it was written by ants. The lesson: if the PDF is text-heavy, switching to PNG (or exporting at higher resolution) usually fixes the “why is this fuzzy?” complaint immediately.
Another scenario: a teacher has a multi-page PDF worksheet and wants each page as a separate image for a learning platform. Doing it page-by-page with screenshots feels manageable until page 12, where “manageable” becomes “why did I choose education?” That’s usually when batch conversion becomes a lifesaver: one command, one output folder, and suddenly every page is neatly numbered. Even non-technical folks end up loving this approach once they see that it turns a 30-minute repetitive task into a one-minute setup.
Contractors and real estate teams run into a different issue: PDFs with diagrams and fine lines. The first conversion often looks okay, but the moment it’s printed or viewed on a phone, thin lines vanish like they’re trying to avoid responsibility. The fix is nearly always the same: increase output resolution (think 300 DPI instead of “whatever the default was”) and use PNG or TIFF for line-heavy documents. It’s one of those boring settings that quietly saves projects.
Then there’s the privacy lesson that keeps popping up in offices: someone uploads a PDF containing client information to a random free converter, because it’s the top search result and the clock is ticking. Nothing terrible happens… until someone realizes how risky that was. Teams that handle sensitive documents tend to standardize on local conversion (Acrobat, desktop tools, or approved software) for anything confidential. The “experience” here is less fun, but it’s real: convenience is great, but not if it creates a compliance problem.
Finally, people learn that file naming is the quiet hero of sanity. If you’re converting multi-page PDFs, a consistent naming pattern (project name + date + page numbers) prevents chaos later. Without it, your downloads folder becomes a crime scene of “image (7).png” and “final2.jpg.” With it, collaboration becomes smoother, searching becomes painless, and nobody has to open ten files to find page 3.
The overall takeaway from real-world use is simple: the “best” method isn’t universal. It’s the one that matches your priority (speed, quality, privacy, or volume). Once you choose that on purpose, PDF-to-image conversion stops being a chore and starts being a tool.
SEO Metadata