
You’ve got multiple social accounts, a website, maybe a newsletterbasically a whole little internet ecosystem. And then there’s Facebook, where people still show up expecting to find everything about you in one place, like your profile is a front desk concierge.
The good news: Facebook gives you a few legit ways to add your other social networking sites (and your website) so people can hop from Facebook to wherever you’re most active. The slightly annoying news: the exact buttons can look different depending on whether you’re using a personal profile, Professional Mode (creator-style tools on a profile), or a Facebook Page. This guide covers them allwith fewer headaches and more “ohhh, that’s where they hid it.”
Why add your other social sites on Facebook?
- Make it easy to verify you’re the real you. Cross-linking helps people avoid impersonators.
- Send followers where your best content lives. If your tutorials are on YouTube, don’t make people guess.
- Boost trust fast. A profile with consistent links looks more established (and less “mystery account”).
- Reduce friction. Every extra click people have to figure out is a chance they bail.
Before you start: a 60-second prep
- Write down your exact handles (Instagram, TikTok, YouTube, X, LinkedIn, etc.). Consistency matters.
- Decide what should be public. Your private finsta doesn’t need to be invited to this party.
- Pick your “main destination.” Website? Link hub? Newsletter signup? Choose one priority.
- Update your other profiles too. The best cross-linking is a two-way street.
The 14 Steps
-
Step 1: Choose your Facebook “home base” (Profile, Professional Mode, or Page)
If you’re a person sharing life updates, you’ll likely use a personal profile. If you’re a creator or want more public-facing tools, Professional Mode may give you dedicated “links” options. If you represent a brand, shop, nonprofit, or public business presence, a Facebook Page is usually the cleanest.
Translation: the right place to add your social sites depends on what you’re trying to doand which buttons Facebook decided you deserve today.
-
Step 2: Standardize your branding across platforms
Before you add anything, make sure your display name, username/handle, profile photo, and bio are reasonably consistent. If your Facebook name is “Sam’s Sourdough” but your Instagram is “@GalaxyBurritoWizard,” people will assume you got hacked, or you’re starring in a very confusing indie film.
Aim for: same handle everywhere when possible, or at least the same brand name spelled the same way.
-
Step 3: Open your Profile settings and find the “About” / “See your About info” area
On many versions of Facebook (especially mobile), you’ll get to link fields by going to your profile and choosing something like Edit profile, See your About info, or Edit details. Facebook commonly stores link-related fields under sections like Contact and basic info.
If you don’t see the exact words above, look for anything that sounds like: About, Details, Contact info, or Links.
-
Step 4: Add your website first (because it’s the most universal)
Facebook profiles and Pages commonly allow a Website field (or multiple website fields). Add your main website, landing page, portfolio, store, or “link hub.” This is often the most reliable, least-hidden link option across account types.
Example: If you’re a photographer, link to your booking pagenot your homepage. Your homepage is “nice,” but your booking page is where money happens.
-
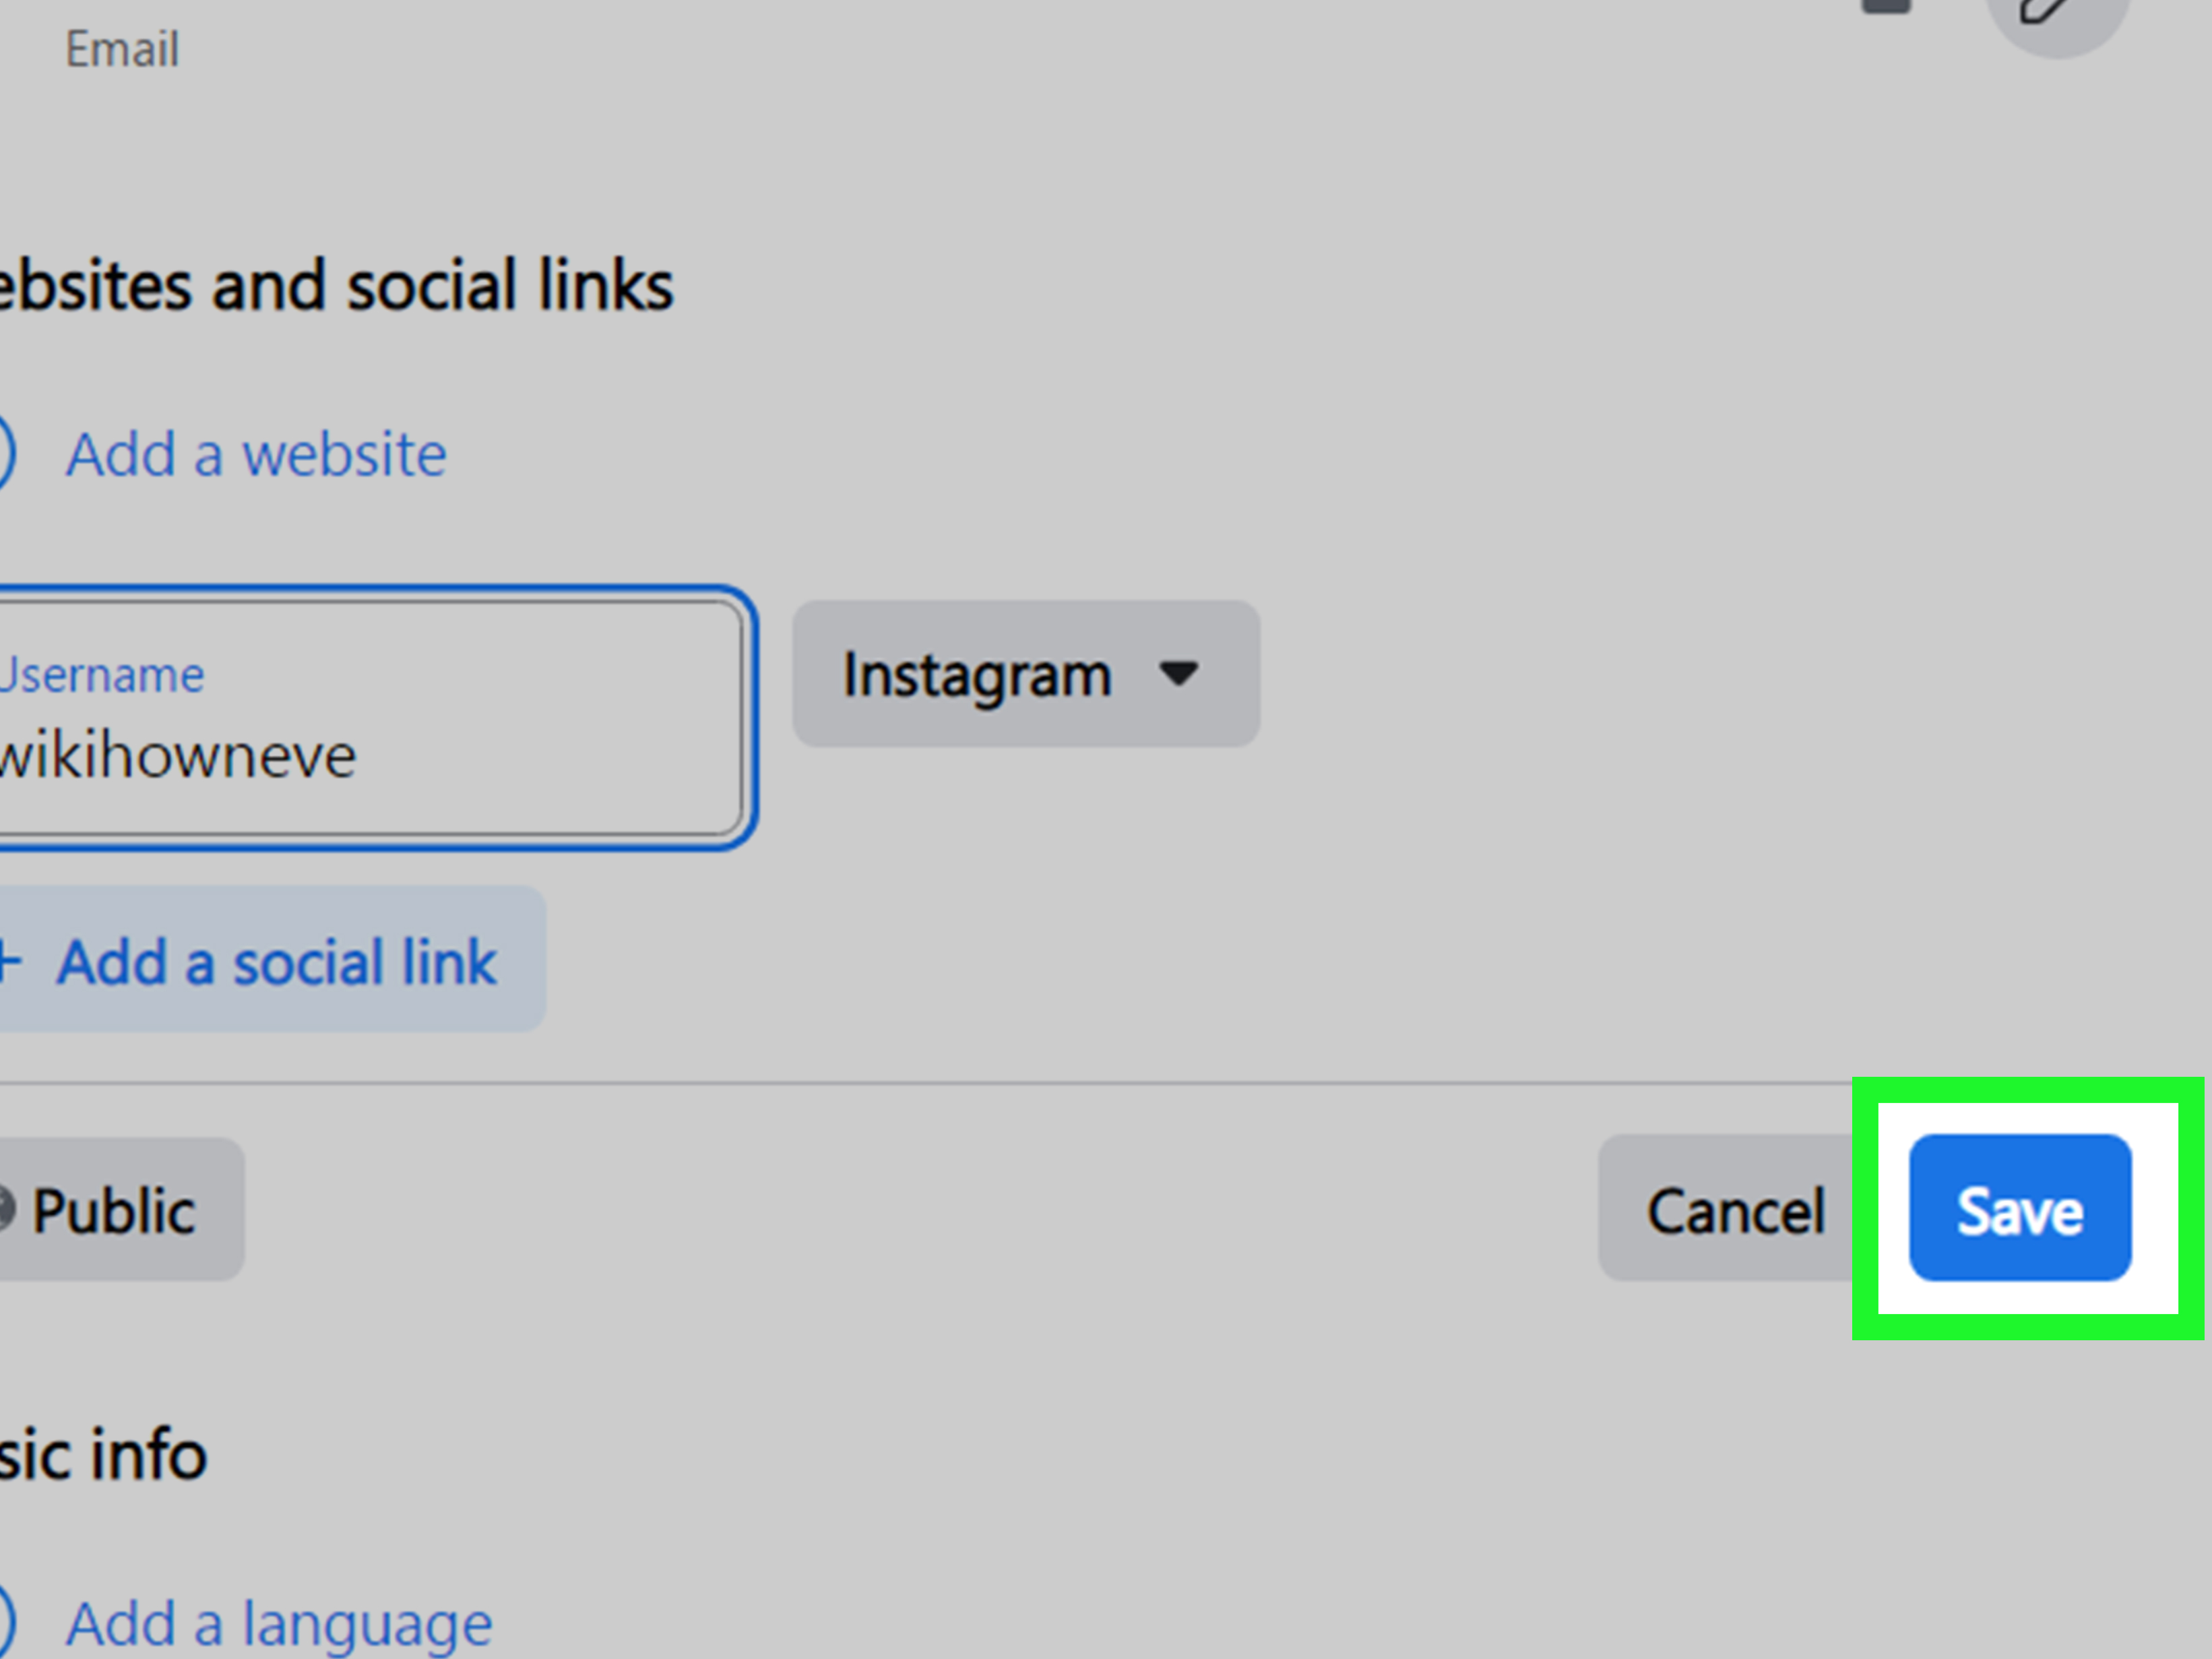
Step 5: If you’re using Professional Mode, look for “Links” or “Add Social Link”
Many creator-style profiles have a dedicated links management area where you can add a website link and also add social platform handles. When available, this is the cleanest way to display your other social networking sites because Facebook can show platform icons and your handle.
Pro tip: If it asks for a username instead of a full URL, follow that instruction. Facebook often wants the handle, and it will format the link itself.
-
Step 6: Use Accounts Center to connect and display linked profiles (when available)
Facebook and Instagram (and other Meta experiences) can be managed through Accounts Center. In some setups, you can choose whether to show links between your profiles so people can jump between them.
This is especially useful if you want your Facebook profile to clearly point to your Instagram presence without manually typing it everywhere.
-
Step 7: Decide what you want people to see (and what you don’t)
Not all links need to be public. If Facebook lets you choose audiences for profile details, set visibility intentionally. A good rule: public-facing platforms (YouTube channel, creator Instagram, LinkedIn) can be public; personal accounts can stay private.
You’re not hidingyou’re curating. There’s a difference. (Also: it’s your profile. Do whatever you want.)
-
Step 8: Add a short “why click” line in your bio or intro
Links without context are like a button that says “Press me” with no explanation. Some people will still press it, but you’ll do better if you add a mini-call-to-action in your bio/intro.
- Creator example: “Daily tips on Instagram • Full tutorials on YouTube”
- Business example: “Order online • Behind-the-scenes on TikTok”
- Job-seeker example: “Portfolio + case studies • Let’s connect on LinkedIn”
-
Step 9: Make your best link impossible to miss (Featured, pinned, or highlighted content)
Depending on your setup, you may be able to use Featured items on your profile, pin a post, or otherwise highlight content. This is where you can “restate” your links in a way that looks natural:
- Pin a post: “Start here: my other platforms + what I post where.”
- Create a featured post/story-style highlight: “Where to find me.”
- Add a graphic: icons + platform names (simple and scannable).
Why this works: people skim. Your “About” info is not always where they look first.
-
Step 10: For a Facebook Page, edit Page Info and add Websites/Social links
Pages usually have an Edit Page info area where you can add contact details, website, and often a section for websites and social links. Fill out the fields like you’re setting up a mini-directory entry for your brand.
Add your main website and then the social platforms where customers will actually interact with you. If you only have time to manage two platforms, link those two platformsdon’t link six ghost towns.
-
Step 11: Add an Action Button to your Page (the sneaky “link booster”)
Many Pages can add a prominent button (like Learn More, Sign Up, Shop Now, or Contact Us) that points to a URL. This is one of the highest-visibility link placements on Facebook because it’s right on your Page.
Example: A salon can set the button to “Book Now” and link to the booking system; a creator can use “Sign Up” for a newsletter landing page.
-
Step 12: Test your links like a mildly suspicious stranger
After you save your changes, view your profile/Page the way a visitor would:
- Check on mobile and desktop if you can.
- Tap each link to confirm it opens correctly.
- Make sure the destination looks good on mobile (most people will be on mobile).
If you’re using a link hub, verify it loads fast and the top option matches what you promised in your bio.
-
Step 13: Add safety guardrails (so your links don’t become a scam magnet)
Public profiles attract attentionwhich is great until it’s the wrong kind. Quick safety checklist:
- Only link to accounts you control. Sounds obvious. Still worth saying.
- Watch for impersonators. If someone copies your name/photo, your cross-links help people identify the real you.
- Avoid weird URL shorteners that look spammy. If you use a short link, use a recognizable service and keep it clean.
- Don’t publish private contact details unless you’re comfortable receiving random messages.
You’re building a friendly path for your audiencenot leaving breadcrumbs for scammers.
-
Step 14: Maintain and improve (because stale links are digital cobwebs)
Set a reminder to review your links monthly or quarterly. If you rebrand, change handles, launch a new channel, or stop using a platform, update your Facebook links immediately.
Bonus improvement: use platform insights (or your website analytics) to see which links actually get clicks. Double down on what works, and quietly retire what doesn’t.
Common issues (and fixes that don’t require screaming)
You don’t see “Links” or “Add Social Link.”
Facebook rolls out features unevenly. If you don’t see a dedicated links section:
- Update the Facebook app.
- Check both mobile and desktopsometimes one has more editing options.
- Use the About or Contact and basic info sections to add your website instead.
- If you’re trying to show other platform handles, consider enabling Professional Mode (if appropriate for your use).
Your link doesn’t appear publicly.
Double-check your visibility/audience settings for profile details (where available). Also confirm you actually clicked “Save” (Facebook loves pretending you didn’t).
Facebook “formats” your link weirdly.
If Facebook expects a username for a social platform field, don’t paste a full URL. Use the handle/username format it requests. For website fields, use a full website address.
Best practices: make your links earn their rent
- Prioritize clarity over quantity. Two strong links beat six confusing ones.
- Match links to audience intent. If you sell products, link to shopping. If you teach, link to your best tutorials.
- Use “what to expect” language. Tell people what they’ll get on each platform.
- Keep the vibe consistent. If Facebook feels professional but TikTok is chaotic… warn them lovingly.
of real-world experience: what actually happens after you add social links
Here’s the part most guides skip: adding social links is the easy step. The real payoff comes from what you do nextand how you set expectations for humans who are busy, skeptical, and one notification away from forgetting you exist.
In practice, creators and small businesses usually see one of three outcomes after they add links to their Facebook presence. The first outcome is the “quiet win”: your follower count doesn’t explode overnight, but the people who do click are more qualified. A local bakery might notice that Facebook fans who jump to Instagram are the ones who actually show up for the weekend specials. A freelancer might find that a simple portfolio link reduces the number of messages that start with “So… what do you do?” because the answer is literally one click away.
The second outcome is the “link with no job description” problem. People click your Instagram, see a random personal post from three months ago, and bounce. Or they click your YouTube and land on a channel with one video titled “Test upload.” The lesson: your Facebook links are a promise. If Facebook says “Find me on TikTok,” TikTok should look alive. You don’t need daily postsjust a profile that clearly communicates what you share there and why it’s worth following.
The third outcome is the “too many exits” problem. Some folks add every platform they’ve ever touched: Twitch, Pinterest, Threads, LinkedIn, a podcast link, a newsletter, three websites, and (for reasons no one can explain) a MySpace tribute page. The result is decision fatigue. People freeze, click nothing, and go back to doomscrolling. A better strategy is to pick a primary destination plus one supporting platform. For example: “Website for bookings” + “Instagram for daily work.” Or “YouTube for full tutorials” + “TikTok for quick tips.” You can rotate the supporting link seasonallylaunch month, product drop, event weekwithout turning your profile into a digital junk drawer.
One more real-world detail: Facebook audiences are often multi-generational, and not everyone wants to hunt. Clear labels help. If your Page button says “Sign Up,” the linked page should immediately show a signup formnot a homepage menu that requires a scavenger hunt. If your bio says “Full recipes on YouTube,” make sure the YouTube landing page features your best playlist first. Remove friction, and people reward you with attention. Add friction, and they reward you with silence.
Finally, treat your links like living assets. Check them regularly, especially after platform updates, rebrands, or website changes. The internet breaks things constantlysometimes quietly, sometimes dramatically, always inconveniently.
SEO Tags