
Note: This guide is for general DIY education. Carburetors vary by vehicle, motorcycle, mower, generator, ATV, and performance setup, so always check the service manual for your exact model before turning screws like you are cracking a safe in a heist movie.
Introduction: Why Carburetor Adjustment Still Matters
Learning how to adjust a carburetor is one of those classic garage skills that feels half mechanical science, half listening to an engine tell you whether it had a good breakfast. Before electronic fuel injection took over most modern vehicles, carburetors handled the important job of mixing air and fuel so an internal combustion engine could start, idle, accelerate, and run under load. Today, you will still find carburetors on older cars, classic trucks, motorcycles, ATVs, lawn mowers, generators, snowblowers, chainsaws, and plenty of weekend toys that smell faintly of gasoline and nostalgia.
A carburetor that is slightly out of adjustment can cause rough idle, hard starting, stalling, hesitation, black exhaust smoke, poor fuel economy, spark plug fouling, or an engine that only runs with the choke on. In many cases, the fix is not a dramatic rebuild. Sometimes it is a careful carburetor idle adjustment, a small turn of the air-fuel mixture screw, or a return to the factory baseline setting.
This guide walks you through 10 easy steps with picture suggestions, safety reminders, and practical tuning advice. The goal is simple: help your engine idle smoothly, respond cleanly to throttle, and stop acting like it is auditioning for a haunted tractor documentary.
What a Carburetor Does
A carburetor mixes fuel with incoming air before that mixture enters the engine. Air flows through a narrow passage called a venturi, which speeds up the air and creates a pressure drop. That pressure difference helps pull fuel from the float bowl through jets and passages. The throttle controls how much mixture enters the engine, while the choke enriches the mixture for cold starts by reducing airflow.
On many carburetors, the idle mixture screw controls how much fuel or air is allowed through the idle circuit. The idle speed screw controls how far the throttle plate stays open when your foot, hand, or thumb is off the throttle. These two adjustments are related, but they are not the same. Think of the idle mixture screw as seasoning and the idle speed screw as the stove knob. Too much of either and dinner gets weird.
Tools and Safety Gear You Need
- Flathead screwdriver or carburetor adjustment tool
- Tachometer or dashboard RPM gauge
- Vacuum gauge for many automotive carburetors
- Shop towels
- Carburetor cleaner
- Safety glasses and gloves
- Fire extinguisher rated for fuel fires
- Service manual or factory specifications
Work in a well-ventilated area away from open flames, cigarettes, heaters, and anything that enjoys turning gasoline vapor into fireworks. Keep hands, hair, sleeves, jewelry, and tools away from belts, pulleys, fans, and hot exhaust parts while the engine is running.
When Does a Carburetor Need Adjustment?
You may need to tune a carburetor if the engine starts hard, idles roughly, dies when warm, stalls when you open the throttle, smells strongly of fuel, leaves black soot on the spark plug, or runs only with the choke partly closed. A lean mixture usually means too much air or not enough fuel. A rich mixture means too much fuel or not enough air. Both conditions can make an engine run poorly, and both can make you say things in the garage that should not be printed on a family website.
However, do not blame every problem on adjustment. Dirty fuel, old gasoline, clogged jets, vacuum leaks, a damaged gasket, a restricted air filter, weak ignition, incorrect timing, or low compression can all imitate carburetor trouble. Adjustment should come after basic inspection, not before.
How to Adjust a Carburetor in 10 Easy Steps
Step 1: Identify the Carburetor and Adjustment Screws

Start by identifying the exact carburetor type. A small-engine carburetor on a mower will not adjust the same way as a Holley-style four-barrel on a classic V8 or a motorcycle carburetor with a pilot screw. Look for the idle speed screw near the throttle linkage and the idle mixture screw near the carburetor body. Some carburetors have two mixture screws, one for each primary barrel. Others have tamper-resistant caps or fixed jets due to emissions rules.
Take a photo before touching anything. This gives you a visual reference if your “quick tune-up” turns into a mystery novel.
Step 2: Inspect the Air Filter, Fuel, and Linkages

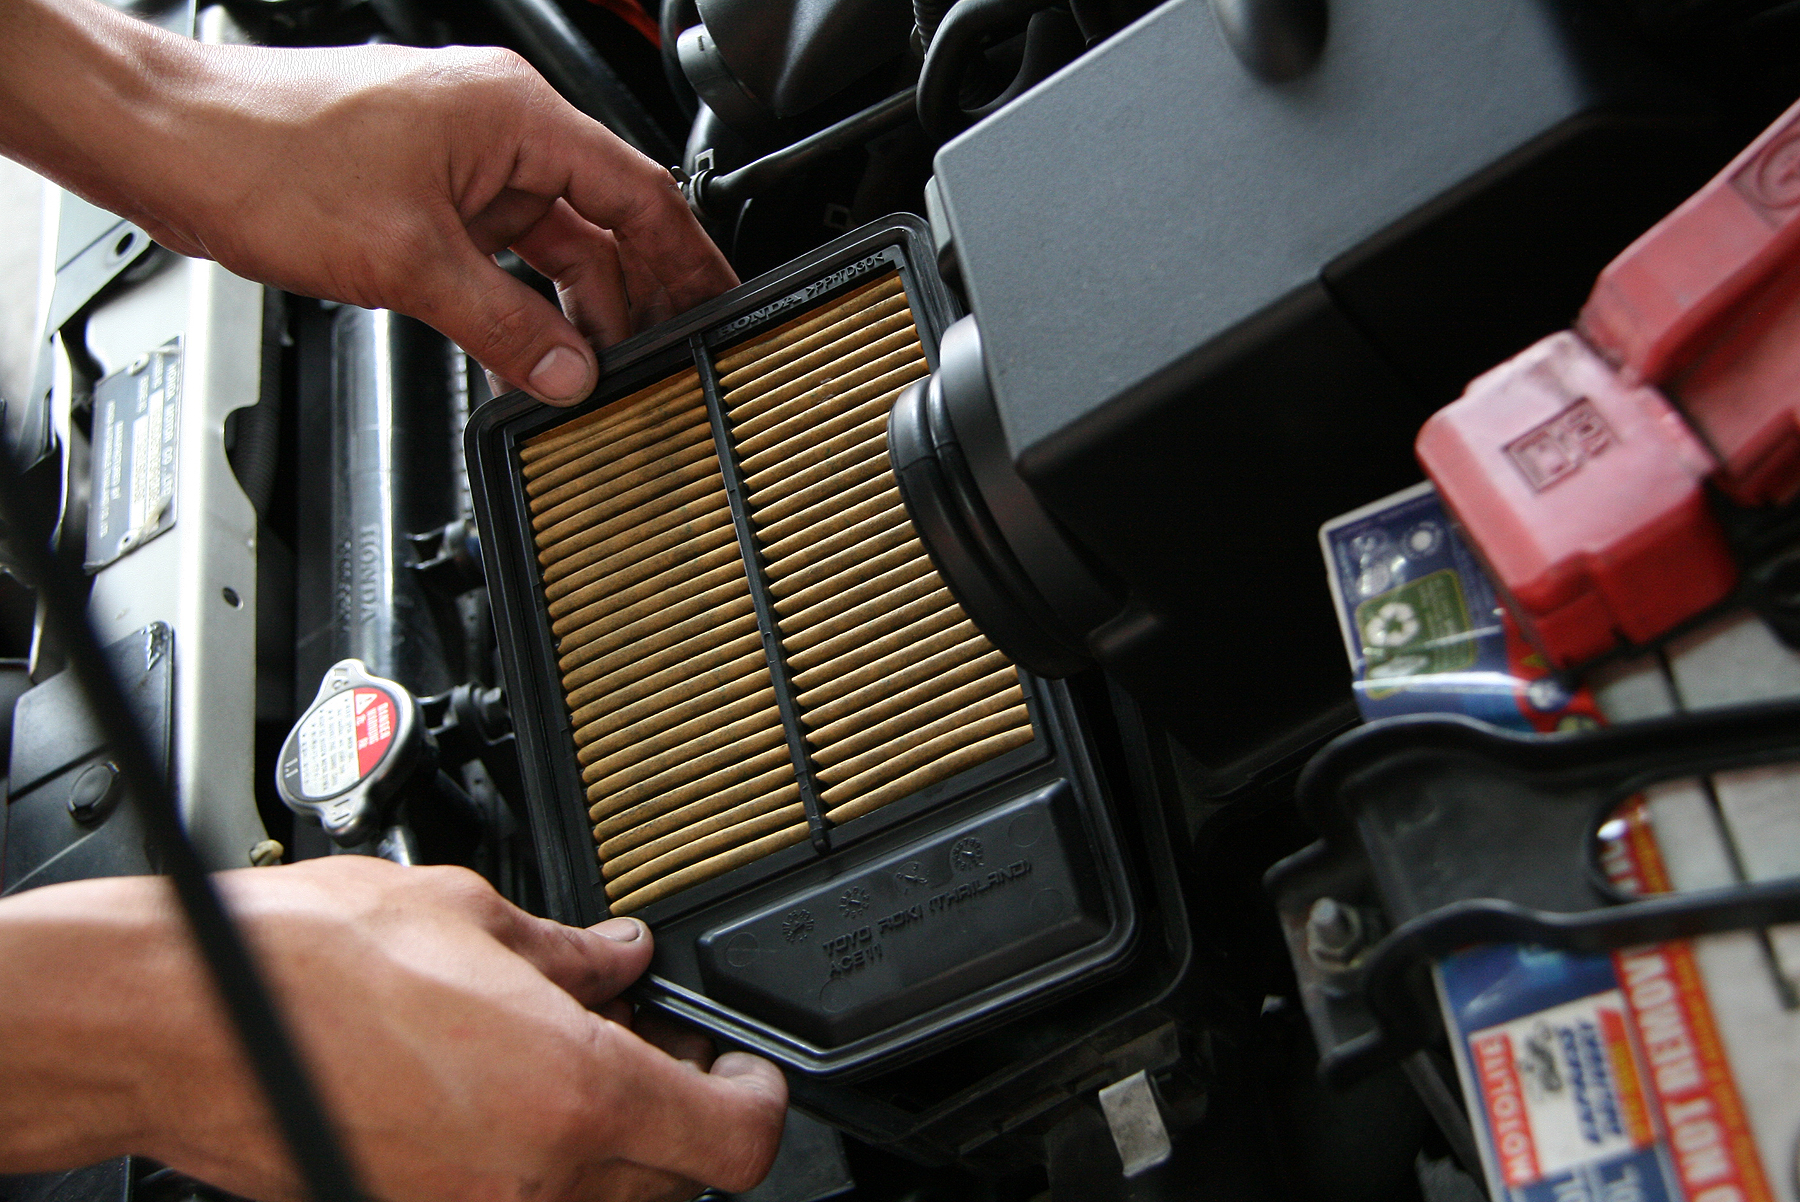
A dirty air filter can make the engine run rich. Old fuel can leave gum and varnish in small passages. A sticky throttle linkage can create a high idle. A choke that does not fully open can make the engine load up with fuel once warm. Before adjusting the carburetor, make sure the basics are clean, connected, and moving freely.
If the engine has been sitting for months, drain stale fuel and add fresh gasoline. For two-stroke equipment, use the correct oil mix. For small engines, check that the fuel cap vent is clear. A carburetor cannot do its job if the fuel supply is already wearing clown shoes.
Step 3: Warm the Engine to Operating Temperature

Start the engine and let it reach normal operating temperature. Carburetor adjustment on a cold engine is like judging soup before it has simmered. The choke may still be partly closed, fuel may not vaporize properly, and the idle speed may not reflect real running conditions.
For a car or truck, place the transmission in Park or Neutral and set the parking brake. For equipment, keep blades, chains, and attachments disengaged. If the engine will not stay running long enough to warm up, set the idle speed slightly higher temporarily, then fine-tune later.
Step 4: Return the Mixture Screw to a Safe Baseline

If the carburetor has been adjusted before and you do not know where it stands, use a baseline setting. With the engine off, gently turn the idle mixture screw clockwise until it lightly seats. Do not crank it down. The tip is delicate, and damaging it can ruin accurate adjustment.
After it lightly seats, back it out according to the manual. Common starting points are often around 1 to 1.5 turns out for many carburetors, while some small engines and motorcycles may use settings around 1.25 to 1.75 turns out. The correct number depends on the model, so the manual wins every argument.
Step 5: Set the Basic Idle Speed

Turn the idle speed screw until the engine idles at the recommended RPM. On a classic car, that might be several hundred RPM depending on the engine, camshaft, transmission, and accessories. On small equipment, the setting may be governed differently. The goal is a stable idle without racing.
Clockwise usually opens the throttle slightly and raises idle speed. Counterclockwise usually lowers it. Make small changes, then wait a few seconds. Engines are not instant messaging apps; they need a moment to respond.
Step 6: Adjust the Air-Fuel Mixture in Small Increments

With the engine warm and idling, turn the idle mixture screw slowly. Work in one-eighth-turn increments. On many fuel-mixture screws, turning clockwise leans the mixture by reducing fuel. Turning counterclockwise richens it by allowing more fuel. On some air screws, the effect can be reversed, which is another reason your service manual deserves a starring role.
Listen for the smoothest idle and highest steady RPM. If using a vacuum gauge on an automotive carburetor, aim for the highest stable manifold vacuum reading with the leanest smooth setting. If the engine stumbles when you turn the screw in, it is too lean. If it gets lazy, smoky, or uneven when turned out too far, it is too rich.
Step 7: Balance Multiple Mixture Screws Evenly

If your carburetor has two idle mixture screws, adjust them in equal amounts. Start with one side, make a small adjustment, then repeat the same movement on the other side. The engine should respond smoothly. If one screw has no effect, there may be a clogged idle passage, vacuum leak, damaged screw tip, incorrect throttle plate position, or internal carburetor issue.
Do not chase perfection by turning one screw wildly while ignoring the other. That is not tuning; that is mechanical gossip.
Step 8: Recheck Idle Speed After Mixture Adjustment

Once the mixture is close, the idle speed may be higher than before. Return to the idle speed screw and bring the RPM back to specification. Then recheck the mixture again. Carburetor tuning is a small dance between mixture and idle speed: adjust, listen, reset, repeat.
For automatic-transmission vehicles, some manuals specify checking idle in gear with the brake firmly applied. This must be done carefully and only if the procedure is safe for your vehicle and workspace. When in doubt, ask a qualified mechanic.
Step 9: Test Throttle Response and Choke Operation

Blip the throttle lightly. The engine should respond without coughing, bogging, or dying. A hesitation can indicate a lean idle transition, accelerator pump issue, vacuum leak, or dirty passage. A puff of black smoke or heavy fuel smell can indicate a rich condition. If the engine pops through the intake, suspect a lean mixture, vacuum leak, or ignition timing issue.
Check that the choke opens fully once warm. A stuck choke is a common reason an engine runs rich after startup. During cold starts, the choke should enrich the mixture briefly, then gradually open. If it stays closed too long, your engine may stumble, smoke, or foul plugs.
Step 10: Reinstall the Air Cleaner and Test Under Real Conditions

Never finish tuning with the air cleaner removed and assume everything will stay the same. The air cleaner affects airflow. Reinstall it, tighten all clamps or fasteners, and test the engine again. For a vehicle, take a careful test drive. For a mower or generator, test it under normal load. For a motorcycle or ATV, check low-speed response before full-throttle riding.
Record your final settings. Write down how many turns out each screw is, the idle RPM, and any special notes. Future you will appreciate this. Future you is already tired.
Rich vs. Lean Carburetor Symptoms
| Condition | Common Symptoms | Possible Causes |
|---|---|---|
| Too Rich | Black smoke, fuel smell, rough idle, fouled spark plug, poor fuel economy | Mixture too far out, dirty air filter, stuck choke, high float level, leaking needle valve |
| Too Lean | Stalling, surging, backfire through intake, only runs with choke, hesitation | Mixture too far in, vacuum leak, clogged idle jet, low fuel level, cracked intake boot |
| Idle Too High | Engine races, clunk into gear, hard starting hot | Idle speed screw too far in, vacuum leak, throttle plate sticking, cable too tight |
| Idle Too Low | Engine dies at stop, stalls under small load, shaky idle | Idle speed too low, mixture off, dirty carburetor, weak ignition, low compression |
Common Mistakes to Avoid
Turning Screws Too Hard
Mixture screws should be seated gently. Forcing them can damage the tapered needle or seat. Once that happens, accurate adjustment becomes difficult or impossible.
Adjusting Around a Dirty Carburetor
If passages are clogged, no amount of screw turning will create a perfect idle. Cleaning or rebuilding may be needed before adjustment works properly.
Ignoring Vacuum Leaks
A vacuum leak lets extra air enter the engine, creating a lean condition. Check cracked hoses, intake gaskets, carburetor base gaskets, brake booster hoses, and intake boots.
Using Old Fuel
Gasoline can degrade and leave deposits, especially in small engines that sit for months. Fresh fuel is cheap compared with chasing a fake carburetor problem all afternoon.
Skipping the Manual
Factory settings exist for a reason. If your carburetor uses a special D-shaped, splined, or double-D adjustment tool, do not improvise with pliers and optimism.
Practical Experience: Lessons From Real Carburetor Tuning
Carburetor adjustment teaches patience quickly. The first lesson is that big turns create big confusion. A beginner often turns the mixture screw a full revolution, hears the engine stumble, panics, and turns it back farther than where it started. The better approach is almost boring: one-eighth turn, pause, listen, observe. The engine will usually tell you whether it liked the change. Smooth idle, slightly higher RPM, and steadier vacuum are good signs. Coughing, hunting, or dying means you went the wrong way or found another problem.
One common experience with lawn mowers and generators is the “only runs with choke” problem. Many people immediately reach for the adjustment screw, but the real issue is often a partially clogged pilot jet or main jet. Closing the choke restricts air and enriches the mixture, masking the lack of fuel. In that situation, adjustment may help for five minutes, but cleaning the carburetor is the real fix. If an engine suddenly needs a dramatically richer setting than before, suspect dirt, stale gas, or an air leak before blaming the screw.
On older cars, a vacuum gauge can feel like a cheat code. Connect it to manifold vacuum, warm the engine, and adjust the idle mixture screws evenly until the reading is high and steady. The key word is steady. A shaky needle can point to ignition problems, valve issues, a vacuum leak, or an engine that needs more than carb tuning. Carburetor adjustment works best when the ignition timing, spark plugs, wires, and compression are already healthy.
Motorcycles and ATVs add another wrinkle: access. Sometimes the pilot screw is tucked under the carburetor where only a tiny angled tool can reach it. This is when many DIY mechanics discover new yoga positions. Before tuning, count and record the current screw position. Turn the screw in gently until seated while counting turns, then return it to where it was. That simple habit can save a weekend.
Small engines also remind us that “factory setting” does not mean “final setting.” A baseline such as 1.5 turns out may get the engine started, but final tuning depends on temperature, altitude, fuel, wear, and load. Higher altitude generally requires less fuel because the air is thinner. Cold weather often needs richer starting behavior. Ethanol-blended fuel can also change how an older carburetor behaves.
The most satisfying moment is when the engine settles into a clean idle after several tiny adjustments. The shaking calms down, the exhaust note evens out, and the throttle responds without drama. It feels less like repair and more like negotiation. You did not defeat the carburetor. You convinced it to cooperate.
The least satisfying moment is discovering that adjustment was never the problem. A cracked intake boot, leaking carb base gasket, plugged fuel filter, weak spark, or stuck choke can waste hours if you skip inspection. That is why experienced mechanics diagnose first and adjust second. A screwdriver is a tuning tool, not a magic wand.
Finally, keep records. Write down the final mixture setting, idle RPM, weather, fuel type, and any parts changed. If the engine acts up again later, those notes become a map instead of a guessing game. Carburetors reward careful hands, clean fuel, and slow thinking. Rush the job, and the engine may respond with sputters. Take your time, and it may purr like it just remembered rent is due and it needs to get back to work.
Conclusion
Adjusting a carburetor is not about randomly turning screws until the engine sounds less angry. It is a careful process: inspect the basics, warm the engine, set a safe baseline, adjust idle speed, fine-tune the air-fuel mixture, recheck everything, and test under real conditions. Whether you are working on a classic car, motorcycle, mower, ATV, or generator, small changes and patient listening make the difference between a smooth-running engine and a driveway full of regret.
Remember that carburetor adjustment cannot fix every issue. If the engine still runs poorly after proper tuning, look for vacuum leaks, dirty jets, old fuel, ignition problems, choke faults, or internal wear. When the carburetor is clean, the fuel is fresh, and the engine is mechanically healthy, a proper adjustment can bring back easy starting, steady idle, crisp throttle response, and better fuel economy.
SEO Tags