
If your garage currently looks like a bicycle convention ended in a minor argument, a PVC bike rack can save the day. It is affordable, light enough to move, sturdy enough for everyday use, and surprisingly satisfying to build. Best of all, it keeps bikes upright instead of leaning against walls like sleepy flamingos.
This guide walks you through a practical freestanding floor rack that works well for most homes, sheds, mudrooms, and garage corners. The idea is simple: create a stable PVC frame with wheel slots sized for your bikes, dry-fit the layout, test it with real bikes, and only then decide whether to lock parts in place with cement. You do not need a full woodshop, a degree in engineering, or a dramatic montage soundtrack. A tape measure and a little patience will do nicely.
Why Build a PVC Bike Rack?
A homemade PVC bike rack hits a sweet spot between cheap and useful. Metal racks are great, but they can cost more than you want to spend on something whose main job is preventing a handlebar from attacking your shin. PVC is widely available, easy to cut, easy to adjust, and forgiving for first-time DIYers.
It also works especially well for families with mixed bike sizes. If one person rides a mountain bike, another rides a hybrid, and a smaller rider has a kid’s bike with a personality bigger than the frame, PVC makes it easy to tweak slot widths and spacing without rebuilding from scratch.
For most adult bikes, a freestanding rack is a smart choice because it is simple to move, does not require wall anchors, and keeps the bikes accessible. That matters more than people think. The easier the rack is to use, the more likely everyone in the house will actually put the bikes back where they belong. Revolutionary concept, I know.
Tools and Materials
Recommended materials
- 1-1/2 inch Schedule 40 PVC pipe
- Matching PVC tees
- 90-degree elbows
- 45-degree elbows for angled wheel guides
- PVC primer and cement if you want permanent joints
- Fine sandpaper or a deburring tool
- Optional rubber feet or foam pads for slick floors
Recommended tools
- Tape measure
- Marker
- PVC cutter or fine-tooth saw
- Clamp, vise, or miter box
- Safety glasses and gloves
- Rubber mallet for snug dry fits
For a typical three-bike rack, many DIYers start with a footprint around 48 inches wide and 18 to 20 inches deep, then adjust from there. A useful rule of thumb is to size each wheel slot around 3 to 4 inches for average adult tires and allow roughly 14 to 16 inches between bike positions, widening things if you have extra-wide tires, chunky pedals, or handlebars that enjoy personal space.
How to Build a PVC Bike Rack in 12 Steps
Step 1: Count the bikes and measure the troublemakers
Before buying pipe, measure the number of bikes you need to store, the widest tire you expect the rack to handle, and the rough handlebar width of the bulkiest bike. This step sounds boring, but it prevents the classic DIY plot twist: building a beautiful rack that only fits one bike and a strong sense of regret.
Measure tire width first. Then decide how many slots you need. If your household has three bikes today but tends to collect bicycles like houseplants, build with expansion in mind.
Step 2: Choose a simple floor-rack layout
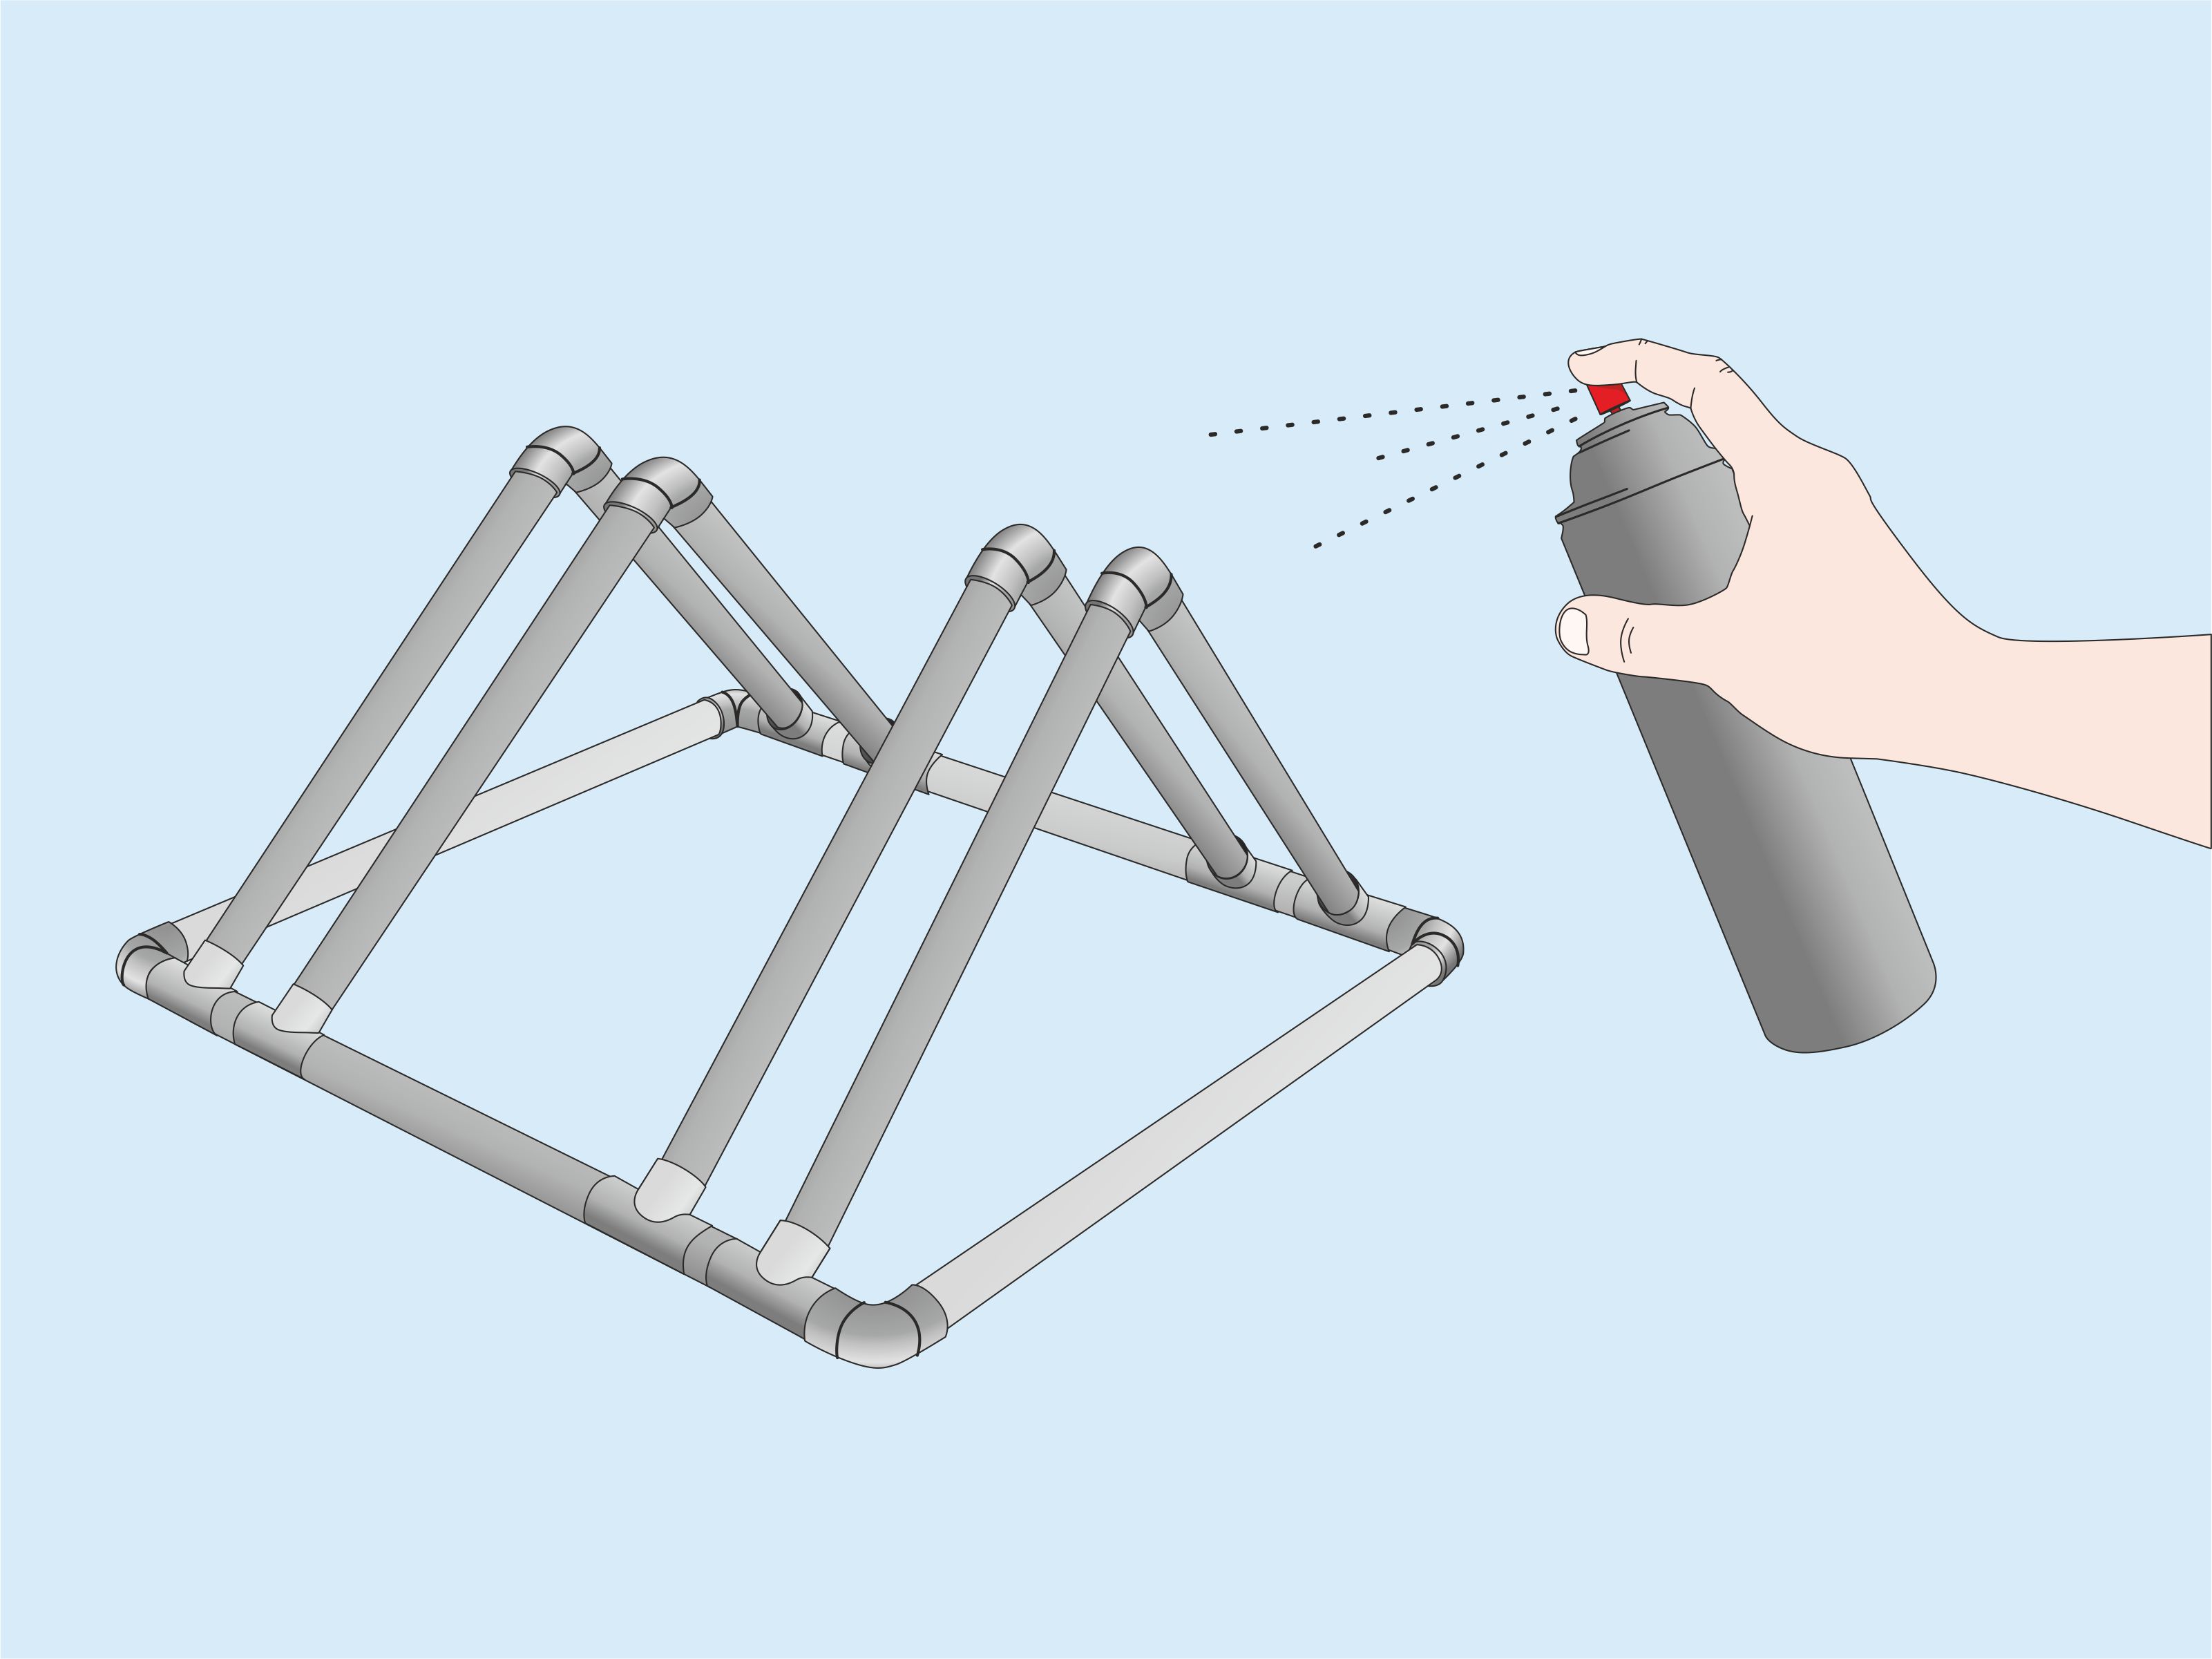
For this project, the easiest design is a freestanding floor rack with a rectangular base and angled wheel guides. The bike rolls in, the wheel sits in the slot, and the rack keeps the bike upright. No wall drilling, no ceiling hooks, and no acrobatics.
A floor rack is ideal when you want easy daily access. It is also kinder to renters and anyone who does not want to explain mysterious stud holes to future guests.
Step 3: Sketch your layout before cutting anything
Draw the rack on paper. Mark the overall width, depth, number of slots, and slot widths. Decide where each tee and elbow will go. A quick sketch makes the whole build smoother because PVC projects can get confusing once the floor is covered with white pieces that all start looking like modern art.
At this stage, think about whether you want a fixed rack or an adjustable one. A fixed rack is more rigid and tidy. An adjustable rack lets you slide or change sections later for different tire sizes.
Step 4: Buy slightly more pipe and fittings than you think you need
Buy a little extra PVC. Not a mountain of it, but enough to cover one or two miscuts and a last-minute design tweak. Extra fittings are cheap insurance against the sentence every DIYer hates: “I just need one more tee.”
If you want a sturdier feel, 1-1/2 inch Schedule 40 PVC is a strong choice for a home bike rack. It gives you a more rigid frame than very small pipe and still cuts and assembles easily.
Step 5: Mark every cut clearly
Use a tape measure and marker to label each piece before cutting. If you are cutting multiple identical sections, group them together and name them. Write things like “base rail,” “crosspiece,” or “slot arm” directly on the pipe. Future you will be thrilled.
For straighter cuts, wrap painter’s tape or a strip of paper around the pipe and mark the line around the full circumference. That gives you a visual guide and helps prevent wonky cuts that make the rack look like it was built during an earthquake.
Step 6: Cut the PVC and deburr the edges
Secure the pipe before cutting. A clamp, vise, or miter box helps keep the cut straight and your fingers unchopped, which is always a nice project outcome. Wear safety glasses, cut slowly, and let the tool do the work.
After every cut, remove burrs and smooth the edges. Deburring matters more than people expect. Clean edges make the dry fit easier, help the joints seat more fully, and reduce the chance that you will wrestle a fitting for ten minutes while questioning every life choice that brought you here.
Step 7: Dry-fit the base first
Assemble the rectangular base without cement. This is your moment to confirm the footprint, squareness, and spacing. Make sure the rack sits flat on the floor and does not wobble. If it rocks, fix the issue now instead of pretending it will somehow become more cooperative later.
Once the base is together, check that there is enough depth to keep the bikes stable. A too-shallow base can make the whole rack feel flimsy, especially with heavier mountain bikes or e-bikes that are on the lighter side of the spectrum for storage but still weightier than a kid’s bike.
Step 8: Add the wheel-slot uprights and guides
Now install the upright and angled pieces that form each wheel slot. The goal is to guide the front or rear wheel into place without pinching it. For standard adult tires, a slot around 3 to 4 inches often works well. Narrow road tires may tolerate tighter spacing, while wider tires need more room.
Keep in mind that tire width is only half the story. Pedals, disc brakes, derailleur placement, and handlebar overlap can all affect how closely bikes can sit together. That is why a real-world test fit matters.
Step 9: Test the rack with the actual bikes
Roll each bike into the dry-fitted rack and see what happens. This is the most important step in the whole build. One bike may fit perfectly while another turns sideways like a stubborn shopping cart.
Check these things carefully:
- Do the tires sit securely in the slots?
- Do handlebars clash with the next bike?
- Is there enough derailleur and pedal clearance?
- Can kids or other riders remove the bikes easily?
- Does the rack stay stable when one bike is removed?
If needed, widen a slot, shift the spacing, or alternate bike direction. This is where a PVC rack shines. It is flexible before it becomes permanent.
Step 10: Decide which joints should stay adjustable
Not every joint needs cement. In fact, many home builders prefer to cement only the outer frame and leave some wheel-guide sections dry-fitted. That makes the rack easier to modify later if you buy a wider-tire bike or suddenly become the proud owner of a child’s bike with cartoon streamers and a horn loud enough to summon wildlife.
If portability matters, you can even leave the whole rack friction-fit. Just know that a permanently bonded frame will usually feel more rigid and less likely to shift on smooth concrete.
Step 11: Cement the permanent joints carefully
If you choose to bond the joints, work in a ventilated area and follow the product directions. Clean the pipe ends and fitting hubs, dry-fit once more, then assemble deliberately. PVC cement is not the sort of material that rewards indecision.
Primer and cement should be used methodically, and pieces should be assembled quickly once the cement is on. Push the pipe fully into the fitting, give it a slight twist, and hold it briefly so it does not push back out. Then wipe away excess cement and let the assembly gain handling strength before moving it around too much.
Step 12: Set the rack in place and fine-tune the setup
Move the finished rack to its permanent home and load the bikes. If the floor is slick, add rubber feet or foam pads underneath. If the rack lives near a wall, leave enough room so pedals and handlebars are not scraping paint every time someone parks in a hurry.
This is also the time to optimize convenience. Put the most frequently used bike in the easiest slot. Leave kid-friendly access where shorter riders can reach it. Smart placement makes the rack feel better designed than something that just technically works.
Common Mistakes to Avoid
- Making the slots too narrow: Tires are wider than they look when you are standing in a hardware aisle feeling optimistic.
- Skipping the test fit: The bike does not care that your sketch looked perfect.
- Cutting too fast: Crooked cuts lead to crooked joints, and crooked joints lead to wobble.
- Cementing too early: Dry-fit first, always. PVC is forgiving until the glue says otherwise.
- Ignoring handlebar overlap: Wheels may fit beautifully while handlebars stage a duel.
Is a PVC Bike Rack Actually Worth It?
Yes, especially if you want an inexpensive, customizable storage solution that is easy to build in an afternoon. A PVC bike rack is not pretending to be a luxury showroom display. It is trying to solve a real problem: bikes falling over, clutter taking over, and garages turning into obstacle courses. On that mission, it does very well.
It is also one of those projects that pays you back every time you come home from a ride. Instead of propping your bike against a mower, a cooler, or the laws of physics, you park it neatly and move on with your life like the organized cycling genius you were always meant to be.
Real-World Experiences and Lessons From Building a PVC Bike Rack
The most useful thing people learn from building a PVC bike rack is that the rack itself is only half the project. The other half is understanding how your bikes behave when they are not being ridden. On paper, three bikes look like three simple rectangles. In real life, one has wide handlebars, one has flat pedals that stick out like bear traps, and one has a rear derailleur positioned exactly where you did not want it. That is why the best builds come from test fitting with real bikes, not from trusting measurements alone.
Another common experience is discovering that convenience matters more than absolute compactness. A rack can be technically efficient and still be annoying to use. If the bikes are packed so tightly that removing one requires a three-point turn, people stop using the rack correctly. They lean a bike next to it “just for now,” and within a week your beautiful DIY solution has become decorative clutter. A slightly wider layout often works better in everyday life, especially for families with kids.
Many builders also find that dry-fitting first is the secret sauce. It gives you room to notice problems before they become permanent. Maybe one slot needs to be wider. Maybe the base needs another inch or two of depth. Maybe the rack works better if the bikes alternate directions. Those are easy changes during a dry fit and annoying changes after cementing. In other words, the smartest part of the project is not the glue. It is the pause before the glue.
There is also a practical satisfaction to building with PVC that surprises people. Wood projects can feel intimidating if you do not own many tools. Metal projects can feel like a commitment to sparks, noise, and vocabulary that belongs in a fabrication shop. PVC is approachable. It lets beginners build something useful without pretending they are starring in a home renovation show. You measure, cut, test, adjust, and suddenly the pile of bikes in the corner becomes an actual system.
One more real-world lesson: the rack often evolves. Families buy new bikes. Kids outgrow old ones. Tires get wider. Storage areas change. The best PVC bike rack is rarely the “final” version. It is version one of a smart storage setup that can be tweaked later. That flexibility is exactly why so many DIYers like PVC in the first place. It is practical, forgiving, and refreshingly unpretentious. It does not need to be fancy. It just needs to keep your bikes upright and your garage from feeling like a two-wheeled stampede passed through.
SEO Tags