
If you have ever stared at a Microsoft Word document and thought, “This looks perfect,” only to spot a typo one millisecond after hitting send, welcome to the club. It is a large club. It probably has snacks. The good news is that Microsoft Word gives you several easy ways to check spelling before your document escapes into the wild and embarrasses you in front of your boss, professor, client, or very judgmental aunt.
Whether you are polishing a resume, tightening up a report, or making sure your novel does not accidentally say “pubic relations” instead of “public relations,” Word has tools that can help. Some work quietly as you type. Others scan the whole document in one go. And if you use a newer Microsoft 365 version, the Editor pane adds an extra layer of proofreading power.
In this guide, you will learn how to check spelling in Microsoft Word using three simple methods, plus a few smart tips for fixing common spell check problems. By the end, your document should look cleaner, more professional, and far less likely to contain an accidental comedy routine.
Why Spell Check in Microsoft Word Still Matters
Spell check may not be glamorous, but it is one of the fastest ways to improve the quality of your writing. A misspelled word can make a school paper look rushed, a business proposal look careless, and a cover letter look like it was written while riding a roller coaster.
Word’s spelling tools are useful because they catch obvious mistakes quickly, offer replacement suggestions, and help you keep your writing consistent. They are also built right into the app, so you do not need to copy your text into another program just to figure out whether “definately” is still wrong. Spoiler: it is.
Even better, Word lets you check spelling in different ways depending on how you like to work. If you prefer live feedback, you can correct errors as you type. If you like a final review before sharing a document, you can run a manual spelling check. And if you want a bird’s-eye view of your writing, the Editor pane can help you tackle spelling and more in one place.
Method 1: Check Spelling as You Type
The easiest way to catch mistakes in Word is to let the program flag them while you write. This is the classic “red squiggly line” method, and yes, it has saved millions of documents from disaster.
How it works
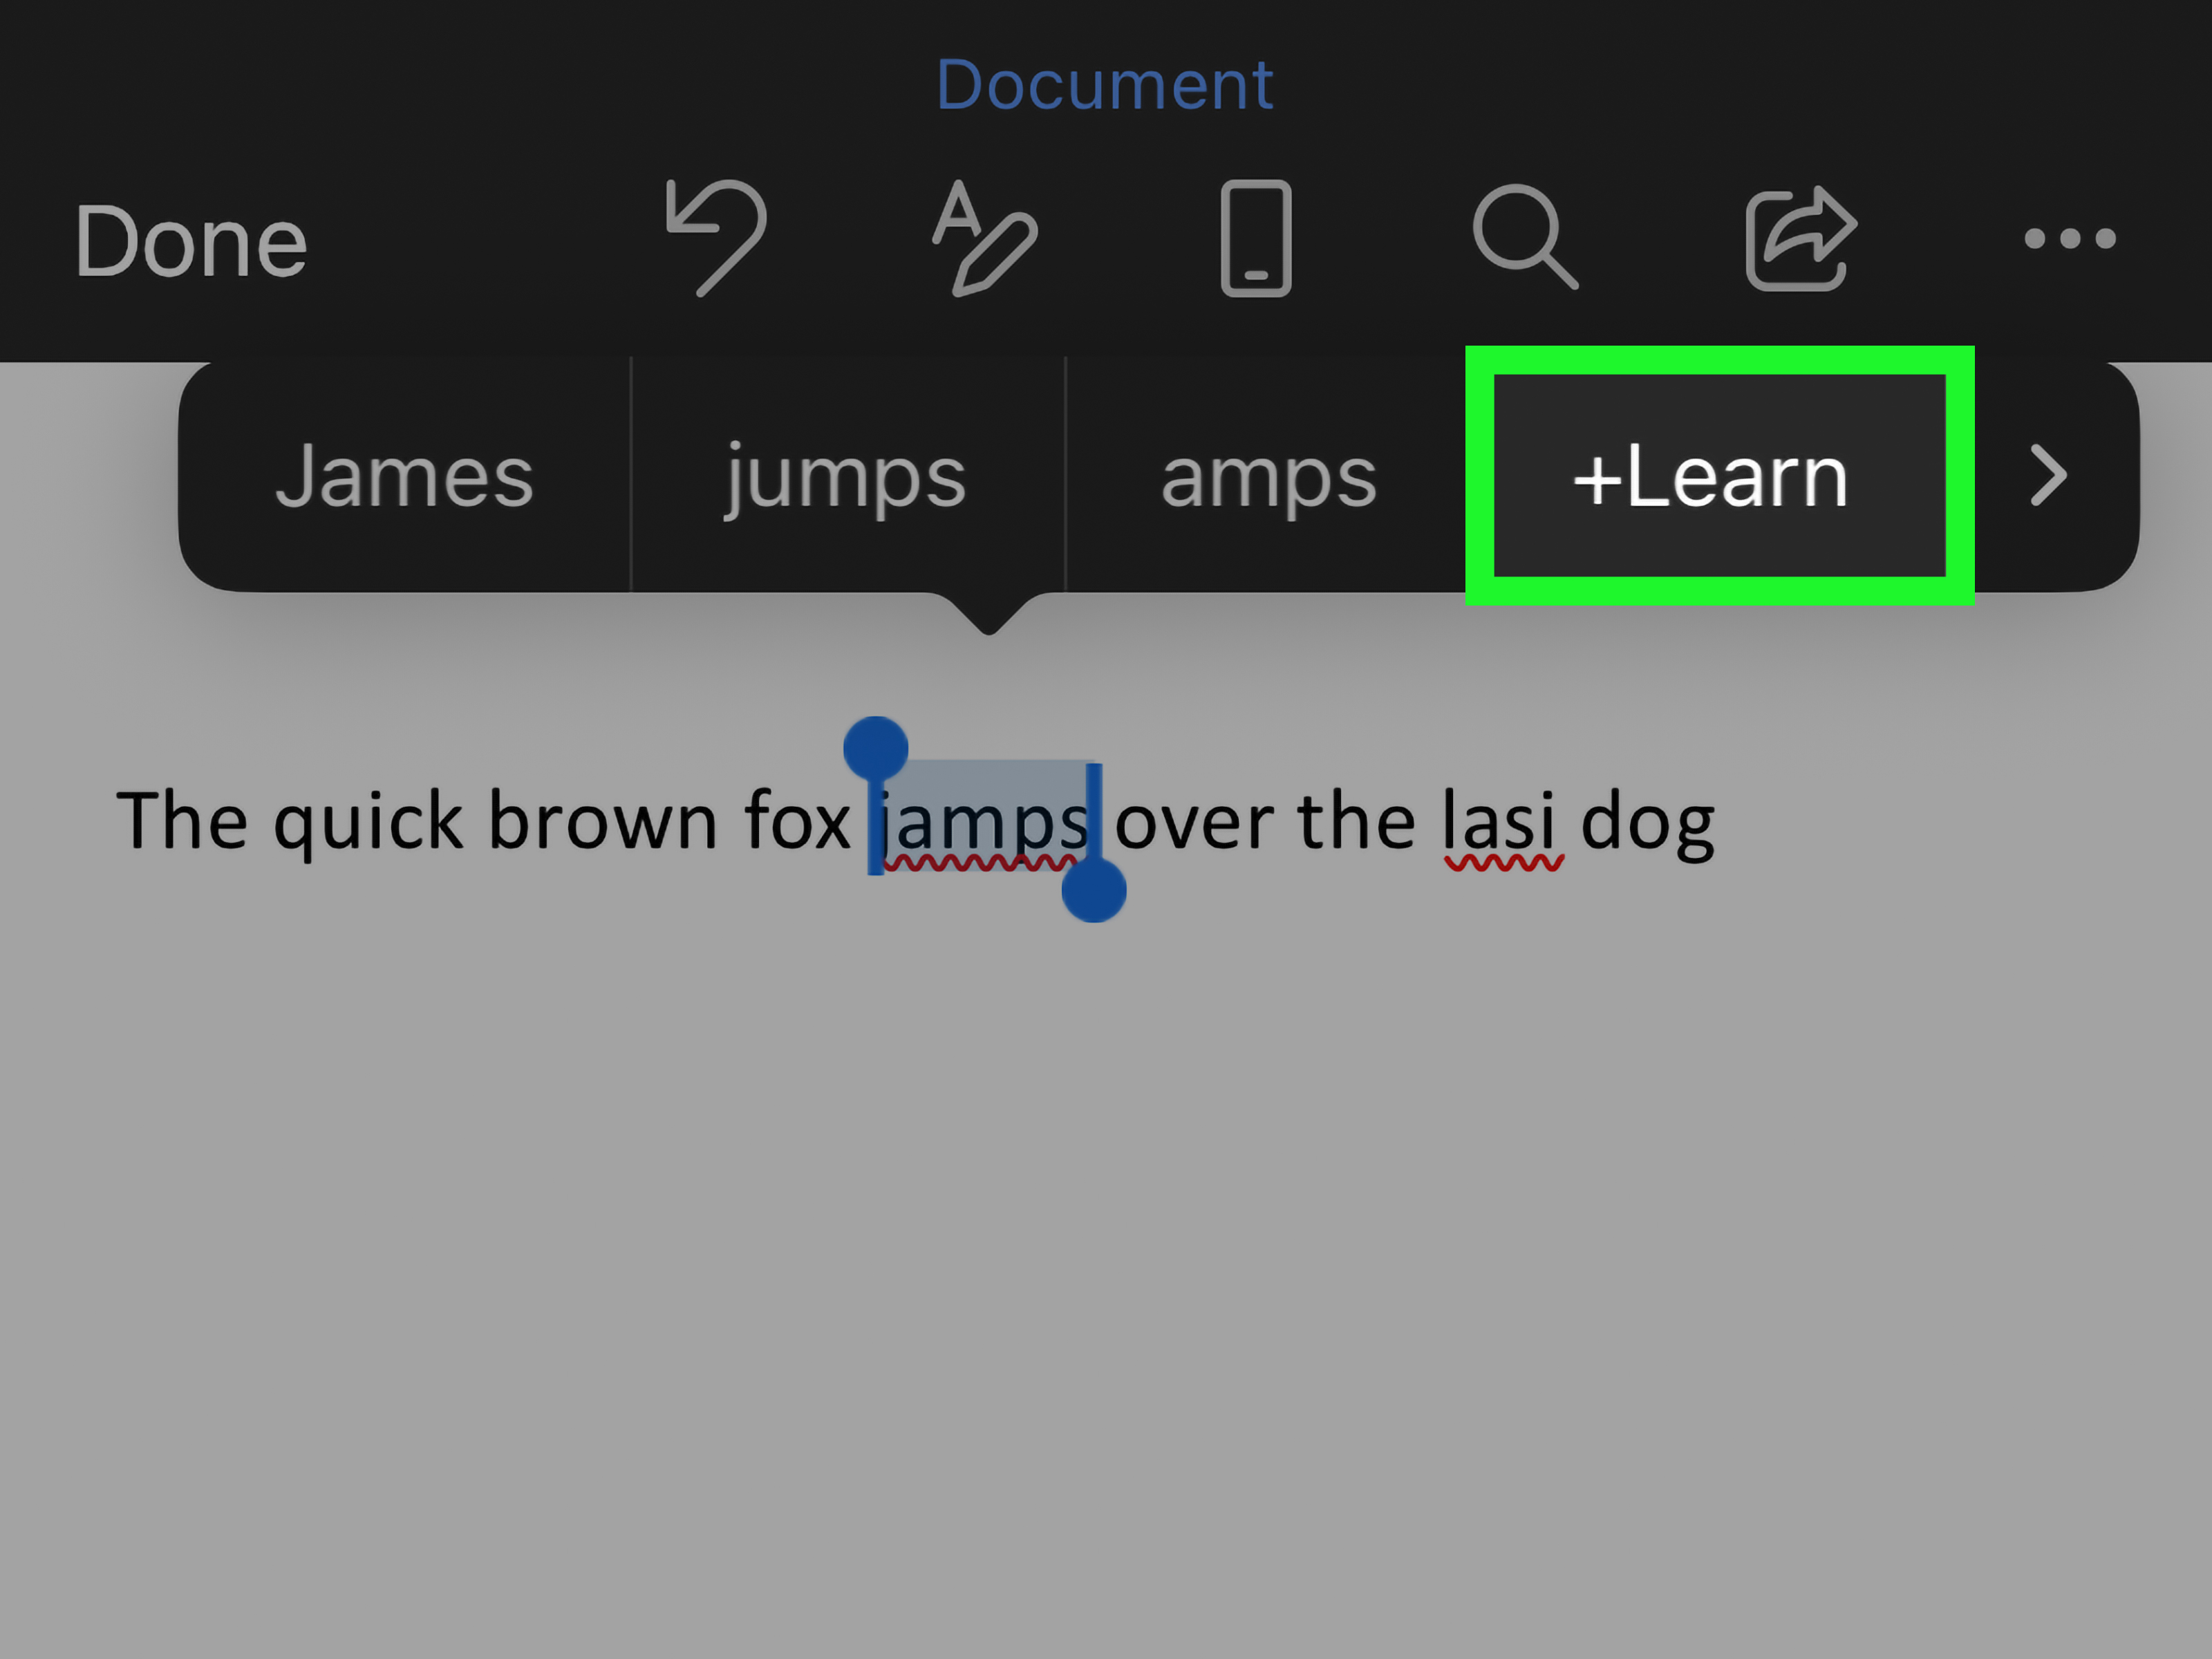
As you type in Word, misspelled words are usually marked with a red underline. Depending on your version of Word, grammar or usage issues may appear with a different underline style. When you spot one of these warnings, you can click or right-click the word to see suggested corrections.
How to use it
- Open your document in Microsoft Word.
- Type normally and watch for underlined words.
- Right-click the flagged word on Windows, or control-click it on Mac.
- Choose one of Word’s suggestions, or select options like Ignore or Add to Dictionary if the word is correct.
Why this method is useful
This is the fastest option for everyday writing because it lets you fix errors in real time. You do not have to wait until the end of the document, and you can keep your momentum without opening another menu. It is especially handy for short documents like letters, homework assignments, meeting notes, or anything you are creating in a hurry.
It is also great for catching tiny mistakes before they multiply. If you misspell the same word five times in a row, Word will politely wave a red flag each time instead of letting the typo spread like glitter at a birthday party.
When to be careful
Spell check as you type is convenient, but it is not psychic. It can miss correctly spelled words used in the wrong context, such as “there” when you meant “their.” It can also flag brand names, technical jargon, surnames, and product terms that are perfectly fine in your field. That is where Add to Dictionary becomes your best friend.
Method 2: Run a Full Spell Check on the Entire Document
If you want Word to review your whole document from top to bottom, use the manual spelling check. This is the best option when you are done writing and want a final cleanup pass before saving, printing, or sharing your work.
How to start a full spelling check
In many Word versions, you can go to the Review tab and click Spelling & Grammar. You can also press F7 to start the review more quickly. If Word finds possible mistakes, it will move through them one by one and show suggestions for each.
What to do during the review
As Word checks the document, you will usually see several options. You can:
- Change the word to the suggested spelling
- Change All if the same mistake appears throughout the document
- Ignore Once if the word is fine in this one case
- Ignore All if the word is correct and appears repeatedly
- Add to Dictionary if you want Word to remember it in the future
Why this method is useful
Running a full spelling check helps you review your document in a more focused way. Instead of catching errors one at a time while writing, you can switch into proofreading mode and let Word guide you through the entire file. This is perfect for long reports, academic essays, contracts, resumes, and articles where small mistakes can make a big difference.
It is also ideal when you copied text from several sources or edited a document over multiple days. A final pass can catch typos that slipped in during late-night revisions, auto-correct mishaps, or moments when your keyboard and your brain were clearly in different time zones.
A smart habit to build
Before you send any important Word document, run a full spelling check even if everything looks clean. The underlines may catch many mistakes, but a dedicated review often spots extras you ignored while focusing on content, structure, or formatting. Think of it as brushing your teeth before a job interview, but for your document.
Method 3: Use Microsoft Editor in Word
If you use Microsoft 365 or Word for the web, you may have access to Microsoft Editor, which is like spell check’s more ambitious cousin. It still checks spelling, but it can also help with grammar, clarity, conciseness, and style.
Where to find it
In newer versions of Word, look for Editor on the Home tab. In Word for the web, you can also access proofreading tools through the review or editor controls. Once opened, the Editor pane usually appears on the side of the document and gives you an overview of writing issues.
How to use Editor
- Open your document in Word.
- Click Editor.
- Review the summary of issues, starting with spelling.
- Click a suggestion to jump to the problem area.
- Accept, ignore, or skip the suggestion based on what fits your document.
Why this method is useful
Editor is especially helpful when you want more than basic typo correction. It organizes issues into categories, so you can focus on spelling first and then decide whether you want to refine grammar or improve style. For professionals, students, and content creators, that extra structure can save time and make revision less chaotic.
It also feels more modern than the old dialog-box style spell check. Instead of bouncing from one error box to another like a pinball, you get a clearer panel with a running summary of what still needs attention. It is a small quality-of-life improvement, but anyone who edits a lot will appreciate it.
What to Do If Spell Check Is Not Working in Word
Sometimes Word refuses to check spelling properly, which is frustrating enough to make you question reality. If no words are being flagged, or if the program keeps insisting that obviously wrong words are totally fine, one of these common settings may be the problem.
1. Turn on automatic spelling
Go to File > Options > Proofing and make sure Check spelling as you type is enabled. If that box is off, Word will not flag mistakes while you write.
2. Check the proofing language
If your document is set to the wrong language, Word may mark correct words as mistakes or ignore errors it should catch. Go to the Review tab, choose Language, and confirm the correct proofing language is selected. This matters a lot if your document includes regional spelling differences or text copied from another file.
3. Make sure the document is not excluded
Word can be set to skip spelling checks for a specific document. In File > Options > Proofing, scroll down to document exceptions and make sure settings like Hide spelling errors in this document only are not turned on.
4. Review add-ins if the problem is weird
Third-party writing tools and add-ins can sometimes interfere with Word’s built-in spell check. If spell check suddenly stops working after installing another proofreading tool, that add-in may be the culprit.
5. Add custom terms properly
If Word keeps flagging your company name, product term, or technical vocabulary, add it to your custom dictionary instead of ignoring it forever. That way, Word learns the word and stops nagging you every time it appears.
Extra Tips for Better Spelling Checks in Word
- Use spell check before sharing, not after. Regret is not a proofreading strategy.
- Do a manual pass for important files. Spell check is helpful, but your own eyes still matter.
- Add legitimate terms to the dictionary. This reduces false alarms and speeds up future editing.
- Set the correct proofing language early. It saves a lot of confusion later.
- Do not accept every suggestion blindly. Word is smart, but it is not living your life.
Which of the 3 Methods Is Best?
The best method depends on how you work. If you like fast corrections, checking spelling as you type is the easiest choice. If you want a final quality-control sweep, the full document review with F7 is the most dependable routine. If you use Microsoft 365 and want more guidance, the Editor pane is the most polished experience.
In truth, the smartest approach is to combine them. Let Word catch mistakes while you write, run a full spell check when you finish, and use Editor if you want a broader writing review. That three-step combo gives you speed, accuracy, and a cleaner final document.
Final Thoughts
Learning how to check spelling in Microsoft Word is one of those tiny skills that pays off constantly. It helps you write faster, look more professional, and avoid typos that can distract readers from your message. Best of all, Word makes the process simple. You can fix errors as you type, scan the whole document with a shortcut, or use Microsoft Editor for a more guided review.
No tool is perfect, of course. Spell check will not replace human judgment, and it will never fully understand your sarcasm, your product names, or your creative genius. But for everyday writing, it is a reliable safety net. And in a world where one typo can live forever in an email thread, that safety net is worth keeping.
So the next time you finish a Word document, do your future self a favor: give it one more spelling pass. It is quicker than sending an apology message that begins with, “Please ignore the previous version.”
Real-World Experiences With Checking Spelling in Microsoft Word
One reason this topic matters so much is that nearly everyone who uses Word has a spell-check story. Some are small, like catching “teh” before it leaves the keyboard. Others are the kind of mistakes that make you stare at the ceiling at 2 a.m. and whisper, “Why didn’t I run F7?”
In school, many people first learn the value of Word’s spelling tools while rushing through essays five minutes before a deadline. You type quickly, your fingers go rogue, and suddenly half the page looks like it was written by a caffeinated raccoon. The red underlines act like little emergency lights. You may ignore them at first, but once you start clicking through corrections, you realize how many small mistakes slip in when you are focused on ideas instead of details.
At work, the experience changes. Typos feel heavier in professional documents because the audience changes. A misspelling in a personal note is one thing. A misspelling in a proposal, client email, policy draft, or presentation script can make your writing seem less polished than it really is. That is why so many professionals rely on a final full-document spelling review before sending anything important. It is not about perfectionism. It is about removing easy distractions so the reader focuses on your message instead of your typo.
Writers and editors often have a love-hate relationship with Word spell check. On one hand, it catches obvious errors quickly and saves time. On the other hand, it sometimes questions unusual names, industry vocabulary, or intentional stylistic choices. That is where experience matters. Skilled users learn when to accept a correction, when to ignore one, and when to add a recurring term to the custom dictionary so the same warning does not pop up fifty times in one document.
There is also a funny emotional side to it. Few things feel better than watching a messy first draft slowly lose its red underlines. It is strangely satisfying, like straightening crooked picture frames or finally untangling a charging cable. The document starts to feel calmer, cleaner, and more trustworthy. That shift can also boost your confidence, especially before you submit a paper, send a report, or publish an article online.
Perhaps the biggest lesson people learn from experience is that Word spell check works best as a partner, not a replacement for proofreading. It is great at catching typos, repeated misspellings, and accidental keyboard chaos. But the human writer still has the final say. The best results usually come from using Word’s spelling tools early, often, and one last time before the document leaves your hands.
SEO Tags