
Converting a JPG to vector sounds like one of those design tasks that should require a secret handshake, a $4,000 workstation, and a designer whispering “Bezier curves” in a candlelit room. Good news: it does not. Whether you are fixing a blurry logo, preparing artwork for printing, cleaning up a hand-drawn sketch, or turning a simple image into a scalable SVG, you can convert JPG to vector on both a computer and a mobile device.
The trick is understanding what actually happens during conversion. A JPG is a raster image, meaning it is built from pixels. Zoom in far enough and you will see little squares throwing a tiny digital party. A vector image, on the other hand, is made from paths, shapes, lines, curves, and mathematical instructions. That is why vector files can be resized for a business card, billboard, website header, T-shirt, sticker, or laser-cut sign without turning into blurry soup.
In this guide, you will learn two practical ways to convert JPG to vector: one for computer users and one for mobile users. We will cover the best tools, step-by-step workflows, cleanup tips, file formats, common mistakes, and real-world experiences from working with logos, sketches, icons, and messy customer-supplied images.
What Does It Mean to Convert JPG to Vector?
To convert JPG to vector means transforming a pixel-based image into editable vector artwork. Instead of storing color information pixel by pixel, the new file describes the image using geometric shapes. These shapes can be resized, recolored, edited, grouped, separated, and exported into formats such as SVG, EPS, PDF, AI, or DXF.
The most common technique is called image tracing. Tracing software scans the JPG, detects edges and color regions, and creates vector paths that approximate the original image. Some tools do this automatically with one click. Others give you advanced controls for threshold, color count, smoothing, corner accuracy, noise removal, and path simplification.
However, there is one important reality check: not every JPG becomes a perfect vector. A clean black-and-white logo usually converts beautifully. A detailed photograph of a golden retriever wearing sunglasses on a beach? Technically possible, emotionally complicated. Vectorization works best with simple graphics, line art, icons, flat illustrations, signatures, typography, and high-contrast sketches.
Before You Start: Choose the Right JPG
Your final vector is only as good as the image you feed into the converter. Before opening Illustrator, Inkscape, Adobe Capture, Linearity Curve, or an online vectorizer, prepare your JPG carefully.
Use a High-Resolution Image
Start with the largest, cleanest JPG available. A tiny 200-pixel-wide logo downloaded from an old email signature will not produce the same result as a sharp 2000-pixel version. Higher resolution gives the tracing tool more information to detect edges accurately.
Increase Contrast
If the image is a sketch, signature, or logo, increase contrast before tracing. Dark lines on a light background are much easier to convert than pale gray lines on a beige napkin. Yes, napkin logos happen more often than designers like to admit.
Remove Background Clutter
Crop away unnecessary areas. If your image contains shadows, paper texture, desk corners, coffee stains, or the suspicious thumb of the person who photographed it, remove as much as possible before tracing.
Decide Whether You Need Color or Single-Color Vector
A one-color vector is easier to clean, print, cut, embroider, and engrave. A full-color vector can look closer to the original image but may create many separate shapes. For logos, stickers, vinyl cutting, screen printing, and icons, simpler is usually better.
Way 1: Convert JPG to Vector on a Computer
The computer method is best when you want control, precision, and professional output. It is ideal for logos, brand assets, print files, packaging, signage, embroidery, laser cutting, Cricut projects, and client work where “close enough” is not close enough.
Option A: Convert JPG to Vector in Adobe Illustrator
Adobe Illustrator is one of the most popular tools for converting JPG to vector because its Image Trace feature is powerful, flexible, and built for professional design workflows.
Step 1: Open or Place the JPG
Open Illustrator and create a new document. Go to File > Place, choose your JPG, and place it on the artboard. Select the image so Illustrator knows which artwork you want to trace.
Step 2: Open Image Trace
Go to Window > Image Trace. The Image Trace panel gives you presets and advanced settings. For a logo, try presets such as Black and White Logo, Sketched Art, or High Fidelity Photo depending on the image style.
Step 3: Adjust the Settings
For simple logos, start with black-and-white tracing. Adjust Threshold until the shape looks solid without swallowing fine details. Use Paths, Corners, and Noise controls to balance accuracy and smoothness.
If you are tracing a colored image, limit the number of colors. A vector with 12 clean colors is easier to edit than one with 126 tiny color islands having a family reunion.
Step 4: Expand the Trace
Once the preview looks good, click Expand. This converts the trace into real editable vector paths. Now you can use the Direct Selection Tool, Pen Tool, Shape Builder, Pathfinder, and other Illustrator tools to clean the file.
Step 5: Clean and Export
Delete extra shapes, smooth rough edges, fix awkward curves, and combine pieces where needed. Then export the final file as SVG for web use, EPS or PDF for print, or AI if you want to keep editing in Illustrator.
Option B: Convert JPG to Vector in Inkscape
Inkscape is a free, open-source vector editor, and it is a great choice if you want to convert JPG to vector without paying for a subscription. Its Trace Bitmap feature works especially well for black-and-white drawings, icons, silhouettes, signatures, and simple logos.
Step 1: Import the JPG
Open Inkscape and go to File > Import. Choose your JPG and place it on the canvas. Select the image before tracing.
Step 2: Use Trace Bitmap
Go to Path > Trace Bitmap. For a simple logo or sketch, use single scan options such as brightness cutoff or edge detection. For colored artwork, use multiple scans, but remember that every color may become a separate object.
Step 3: Preview and Apply
Turn on preview and adjust the settings until the traced result looks clean. Click Apply. Inkscape will create a vector version on top of the original image.
Step 4: Separate the Vector from the JPG
Drag the new vector away from the original JPG. Delete the JPG layer if you no longer need it. This step matters because many beginners think nothing happened after tracing, when the vector is simply sitting directly above the original image like a shy ghost.
Step 5: Simplify and Save
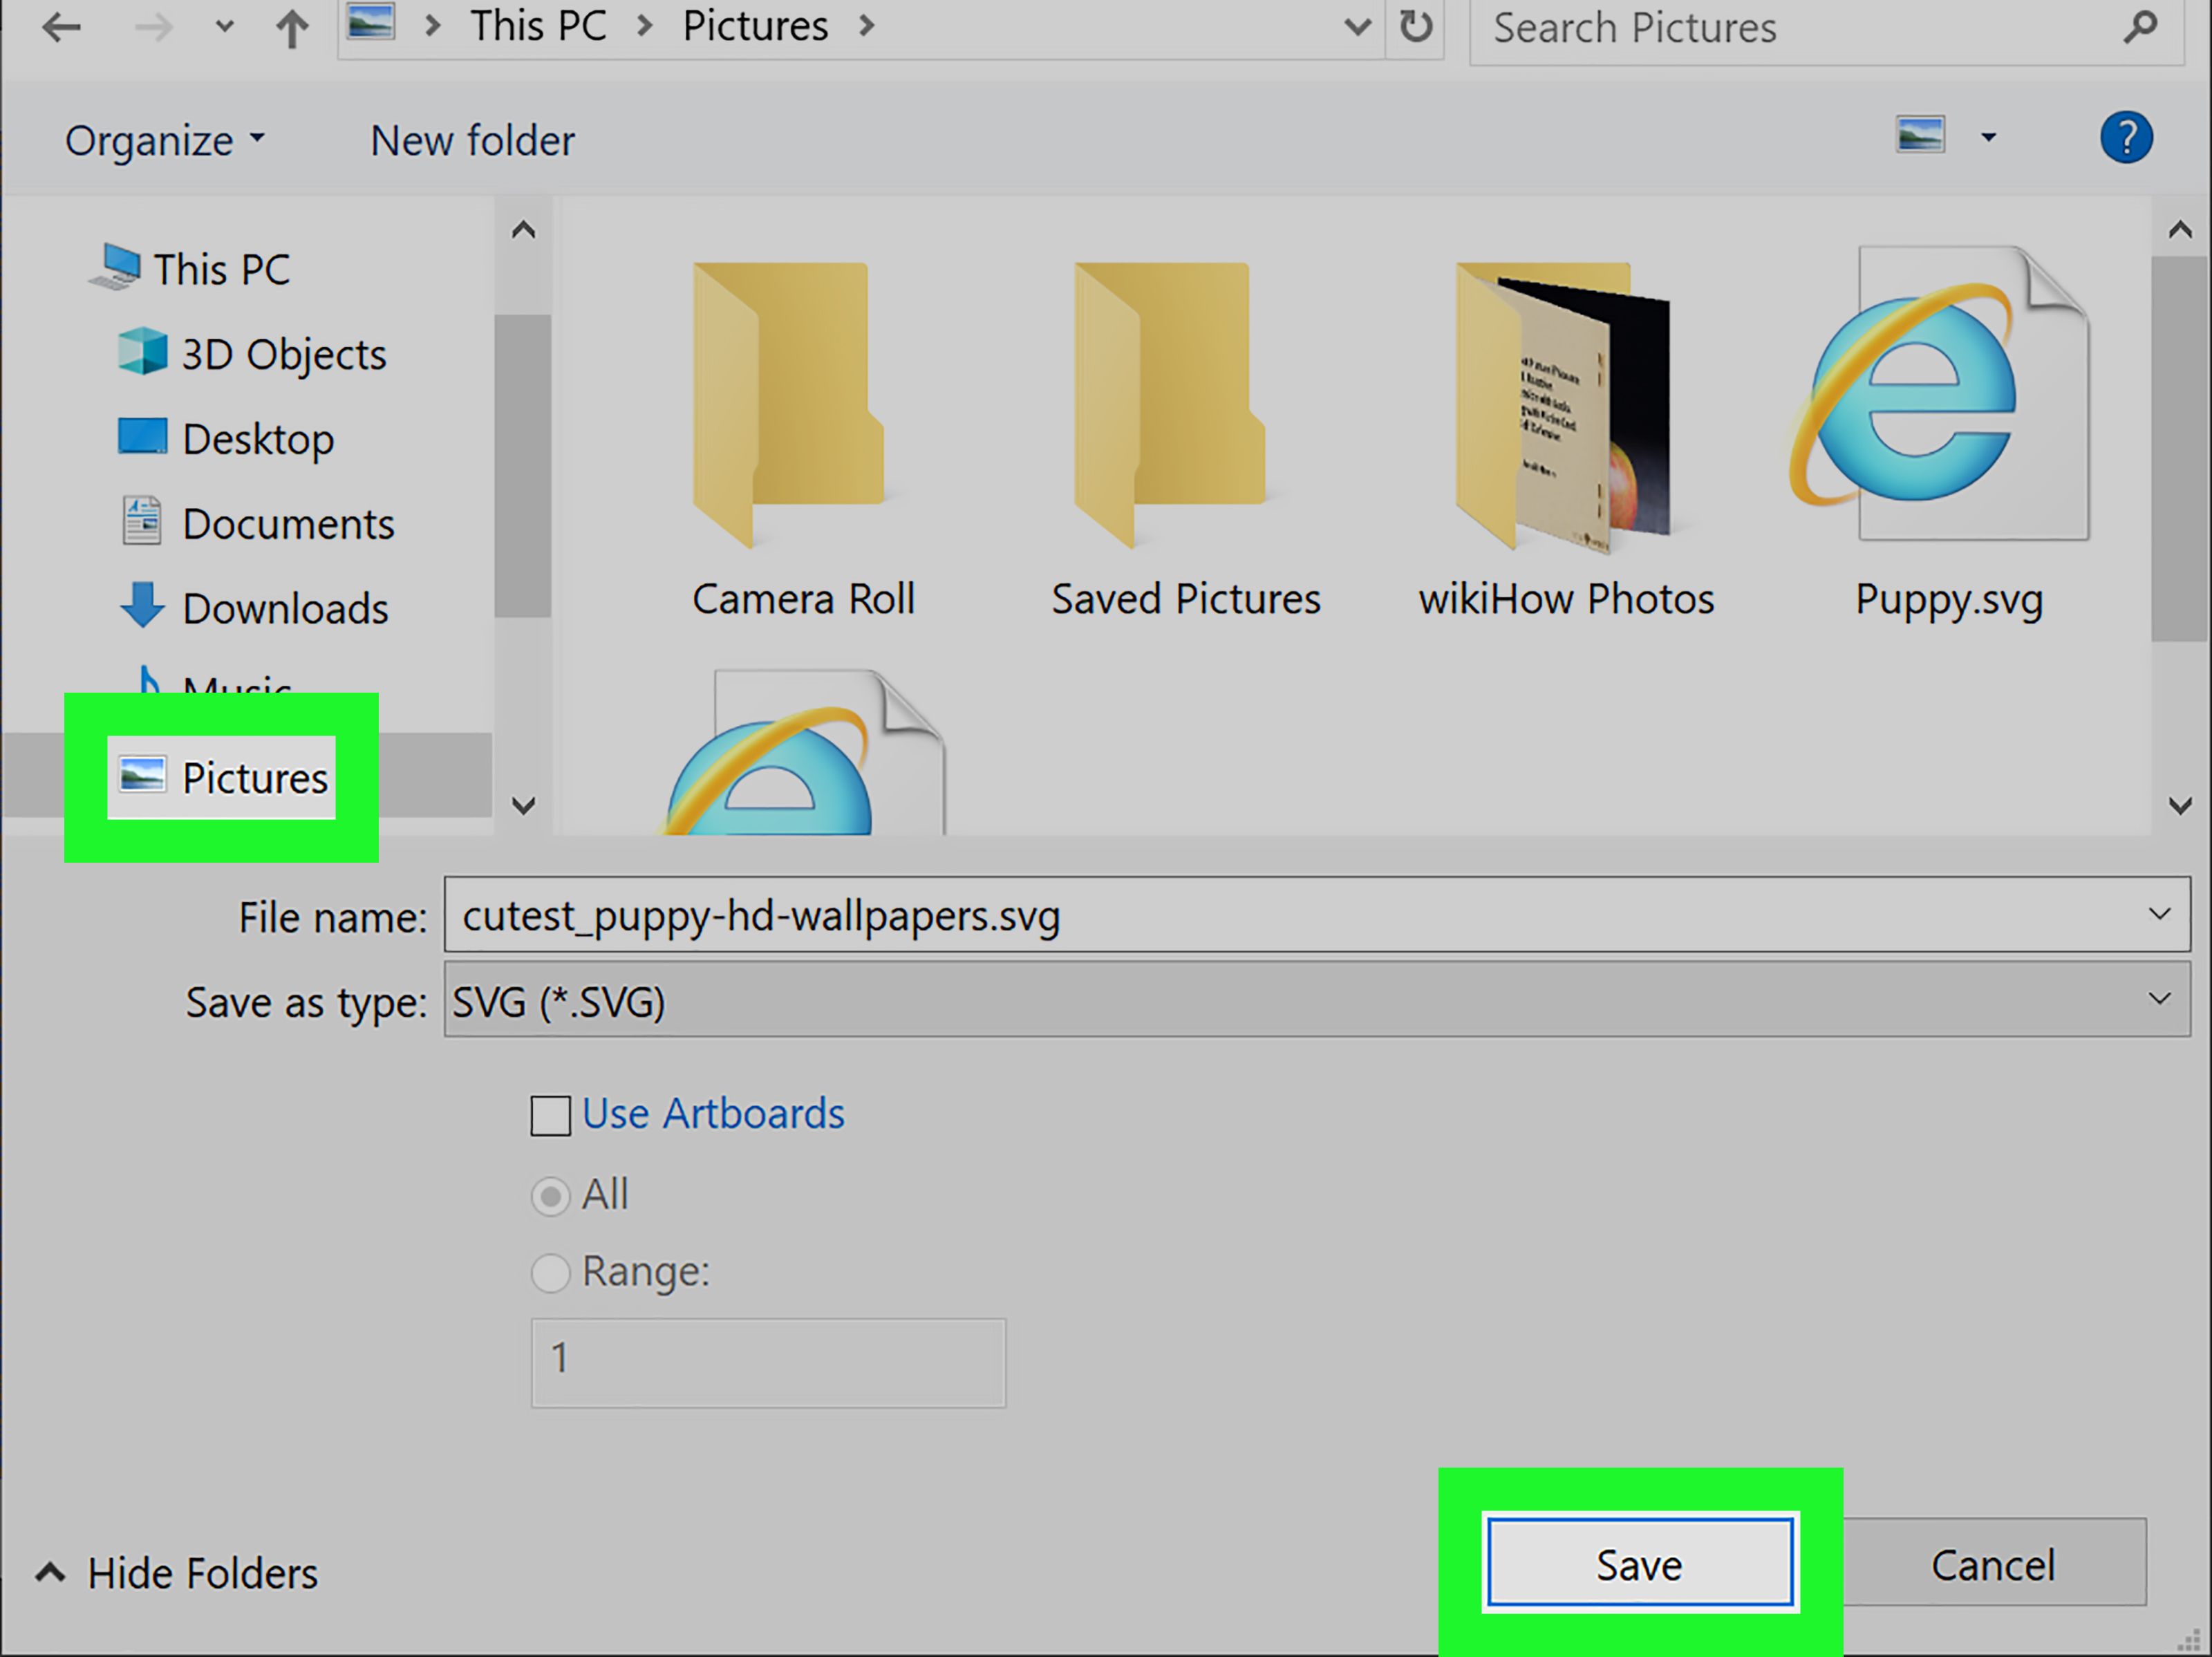
Use Path > Simplify carefully to reduce unnecessary nodes. Then edit shapes manually if needed. Save the file as SVG, or export to PDF/EPS depending on your project.
Way 2: Convert JPG to Vector on Mobile
Mobile vector conversion is perfect when you are on the go, working from a sketchbook, scanning a hand-drawn icon, capturing a signature, or creating quick design assets for social media. It may not replace a full desktop cleanup workflow, but it is surprisingly useful.
Option A: Use Adobe Capture on iPhone or Android
Adobe Capture turns your phone camera into a creative scanner. You can photograph a drawing, logo, pattern, or object and convert it into a vector shape. It is especially helpful for sketches, lettering, icons, and high-contrast artwork.
Step 1: Open Adobe Capture
Install and open Adobe Capture. Choose the feature for shapes or vector capture. You can use your camera live or import an existing JPG from your phone.
Step 2: Capture or Upload the Image
Point your camera at the artwork or choose a JPG from your gallery. For best results, place the design on a clean, bright background. Natural light helps, but avoid harsh shadows.
Step 3: Adjust the Vector Preview
Use the slider controls to refine what gets captured. Increase detail if the design is too thin. Reduce detail if the result looks noisy. Clean edges are better than maximum detail in most cases.
Step 4: Save and Send to Your Design App
Save the vector asset. If you use Adobe Creative Cloud, you can send it to apps such as Illustrator. You can also export or reuse the captured shape in other design workflows.
Option B: Use Illustrator on iPad or Linearity Curve
If you use an iPad, Illustrator on iPad includes a Vectorize tool that can convert raster images such as JPG and PNG into vector art. Linearity Curve also offers Auto Trace features for converting images, sketches, and logos into editable paths. These tools are useful when you want a more design-focused mobile experience than a simple converter app.
Step 1: Import the JPG
Open your mobile vector app and place the JPG on the canvas. Use a high-quality image whenever possible.
Step 2: Run Vectorize or Auto Trace
Select the image and choose the vectorization or auto trace option. Adjust detail, color, smoothing, or threshold settings based on the artwork.
Step 3: Edit the Vector Paths
Use your Apple Pencil or touch controls to delete unwanted shapes, smooth edges, recolor objects, and refine the composition. Mobile editing works beautifully for broad cleanup, though detailed logo repair may still feel easier on a desktop.
Step 4: Export the File
Export as SVG for websites and digital design, PDF for sharing and printing, or another vector-friendly format supported by the app.
Computer vs. Mobile: Which Method Should You Choose?
| Use Case | Best Method | Why |
|---|---|---|
| Professional logo cleanup | Computer | More control over paths, nodes, colors, and export settings. |
| Quick sketch capture | Mobile | Fast camera-based workflow with easy shape detection. |
| Print, embroidery, or signage | Computer | Better precision and file preparation for production. |
| Social media graphics | Mobile or Computer | Mobile is quick; desktop is better for brand consistency. |
| Complex photo vectorization | Computer | Advanced tools handle color control and cleanup better. |
Best File Formats After Converting JPG to Vector
SVG
SVG is the best format for websites, icons, logos, UI graphics, and scalable digital artwork. It is lightweight, flexible, and supported by modern browsers.
EPS
EPS is common in print shops, sign shops, and older professional workflows. It is useful when a vendor asks for a traditional vector format.
PDF is excellent for sharing print-ready artwork while preserving vector information. It is often accepted by printers and clients who do not use design software.
AI
AI is Adobe Illustrator’s native format. Use it when you want to keep layers, editable paths, and Illustrator-specific settings.
DXF
DXF is often used for CNC machines, laser cutting, vinyl cutting, and CAD-related workflows. If your vector is going to a machine, ask the vendor which format they prefer.
How to Clean Up a Vector After Conversion
Automatic tracing is helpful, but it is rarely the final step. Think of it as hiring a very fast assistant who is smart but occasionally panics around corners. Cleanup is where the vector becomes professional.
Remove Extra Nodes
Too many nodes make a vector heavy and hard to edit. Use simplify tools carefully, then manually adjust curves where needed.
Fix Wobbly Curves
Hand-drawn images often produce uneven outlines. Smooth the curves, but do not overdo it. Too much smoothing can erase personality from lettering or illustrations.
Merge Similar Shapes
If the trace creates many tiny fragments, combine shapes with similar colors. This makes the file easier to edit and reduces complexity.
Check the Background
Make sure you did not accidentally trace a white background as a giant white rectangle. This is a classic mistake, and yes, it has fooled everyone at least once.
Test at Different Sizes
Zoom in close and zoom out far. A good vector should look clean as a small icon and as a large print graphic.
Common Mistakes When Converting JPG to Vector
Expecting a Photo to Become a Perfect Logo
Photos contain thousands of tones, shadows, and soft transitions. A vector trace can stylize a photo, but it will not magically become a clean logo unless you simplify it.
Using a Low-Quality JPG
Compression artifacts, blur, and tiny dimensions create poor tracing results. If the original image looks bad, the vector will probably look like it survived a printer jam.
Forgetting to Expand or Convert the Trace
In some software, a traced preview is not fully editable until you expand or apply it. Always confirm that you have real vector paths before exporting.
Exporting as JPG Again
If you convert a JPG to vector and then export it only as another JPG, you lose the main benefit. Keep a vector version such as SVG, EPS, PDF, or AI.
Skipping Manual Cleanup
Automatic tools are convenient, not magical. For professional work, always inspect the paths, remove noise, and fix awkward shapes.
Practical Example: Turning a JPG Logo into SVG
Imagine you have a small JPG logo for a bakery called “Crumb & Glory.” The logo has black script lettering and a simple wheat icon. The owner wants it on a website, window decal, apron, and packaging sticker.
On a computer, you would open the JPG in Illustrator or Inkscape, trace it in black and white, adjust the threshold until the lettering is solid, expand the vector, delete the white background, smooth the wheat icon, and export SVG for the website. For print or signage, you would also save a PDF or EPS.
On mobile, you could photograph or upload the logo into Adobe Capture, create a vector shape, save it, and send it to Illustrator for final cleanup. The mobile method is faster, but the desktop method gives better control for brand-level polish.
Experience Notes: What I Learned From Converting JPG to Vector
After working with many JPG-to-vector projects, one lesson becomes obvious: the conversion button is only the beginning. The real skill is knowing when to let automation work and when to step in like a calm human with coffee. A clean icon may take thirty seconds. A low-resolution restaurant logo from a decade-old flyer may take an hour because the software has to guess where the letters end and the background begins.
The easiest projects are usually black-and-white graphics with strong contrast. Signatures, line drawings, simple stamps, icons, and bold logos often trace nicely. The result may need a little smoothing, but the basic structure appears quickly. These are the projects that make vector conversion feel like magic. You import the JPG, run the trace, expand it, and suddenly the blurry image becomes crisp artwork. Very satisfying. Almost suspiciously satisfying.
The hardest projects are colorful photos, shaded illustrations, and images with gradients. Tracing tools can convert them, but the result may contain hundreds or thousands of shapes. At first it looks impressive. Then you click the artwork and realize your computer is now thinking deeply about its life choices. For complex images, it is often better to simplify the artwork before tracing or recreate important parts manually with the Pen Tool.
Another practical experience: mobile tools are fantastic for capturing ideas, but desktop tools are better for finishing. Adobe Capture can turn a sketch into a usable vector quickly. Illustrator on iPad and Linearity Curve make mobile editing feel natural, especially with a stylus. But when exact alignment, brand colors, typography, spacing, and production exports matter, a computer still feels more comfortable.
One common client situation is receiving a logo as a JPG when the printer asks for vector artwork. The client may say, “But it looks fine on my screen.” That is true until the logo becomes a six-foot banner and every pixel gets promoted to main character. Vector conversion solves this by rebuilding the logo as scalable shapes. Still, if the JPG is too damaged, the best result may come from manual redrawing rather than automatic tracing.
The best workflow is simple: clean the image first, trace with conservative settings, remove the background, simplify paths, fix curves manually, and export more than one format. Keep the editable master file. Send the vendor the format they request. For websites, SVG is usually the hero. For print, PDF or EPS is often safer. For future editing, keep AI or SVG.
Finally, do not judge the vector only while zoomed in at 6400%. Designers love zooming in until every curve looks like a mountain range. Check the artwork at real-world sizes too. If it looks sharp on a business card, clean on a website, and smooth on a poster, the vector has done its job. Perfection is lovely, but usable, scalable, clean artwork is the real goal.
Conclusion
Learning how to convert JPG to vector is one of the most useful design skills for anyone working with logos, icons, print files, web graphics, stickers, apparel, or digital artwork. On a computer, tools like Adobe Illustrator and Inkscape give you strong control over tracing and cleanup. On mobile, apps such as Adobe Capture, Illustrator on iPad, and Linearity Curve make it easy to convert sketches or images into scalable vector assets from almost anywhere.
The key is choosing the right image, using the right tool, and cleaning up the result. Automatic tracing can save time, but a polished vector usually needs a human eye. Start with a clear JPG, simplify whenever possible, export in the right format, and keep an editable version for future use. Your future self will thank you, probably while resizing a logo to billboard size without a single pixel in sight.