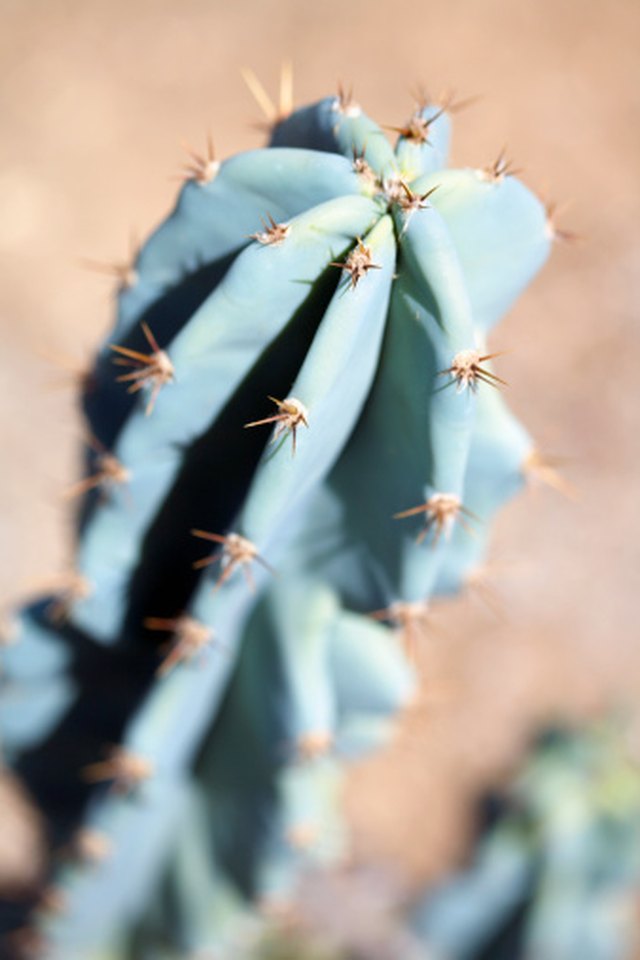

Growing a San Pedro cactus from seed is not the fastest gardening project on Earth. In fact, if you are the type of person who checks seedlings every six minutes and whispers, “Are we there yet?” this cactus may gently teach you patience. But that is part of the charm. San Pedro cactus, botanically known as Echinopsis pachanoi and often still called Trichocereus pachanoi, is a tall, columnar cactus admired for its blue-green ribs, architectural shape, and surprisingly forgiving personality once established.
Starting San Pedro cactus from seed gives you something cuttings cannot: the joy of watching a tiny green speck become a sturdy, living sculpture. It is affordable, rewarding, and ideal for growers who enjoy slow-burn success. The secret is simple: warm conditions, bright but gentle light, clean growing media, steady humidity during germination, and restraint with watering later. In other words, you are building a cactus nursery, not a swamp resort.
This guide explains how to grow a San Pedro cactus from seed for ornamental purposes, including supplies, soil mix, sowing depth, germination care, seedling light, watering, transplanting, and common mistakes. It also includes practical grower-style experience notes at the end, because the best cactus lessons often come from the tray that almost failed but somehow became your favorite.
Important Note Before You Start
San Pedro cactus is widely grown as an ornamental cactus, but it is also associated with controlled psychoactive compounds in some jurisdictions. This article is strictly about ornamental horticulture. Do not ingest, extract, prepare, or process any part of the plant. Laws vary by location, so check your local, state, and national regulations before buying seeds or growing the plant.
What Makes San Pedro Cactus Good for Seed Growing?
San Pedro cactus is popular because it is tougher than many fussy desert cacti. Mature plants can grow quickly in the right conditions, tolerate container life, and adapt well to bright indoor spaces or warm outdoor patios. From seed, however, it starts out delicate. The first few months are when most mistakes happen.
The seeds are tiny, and the seedlings look almost comically small at first. They begin as little green dots, then develop into miniature columns over time. Do not expect dramatic height in the first few weeks. A San Pedro seedling is more “slowly loading progress bar” than “instant jungle.” With consistent care, seedlings become stronger during the first year and can eventually turn into impressive potted specimens.
Supplies You Need
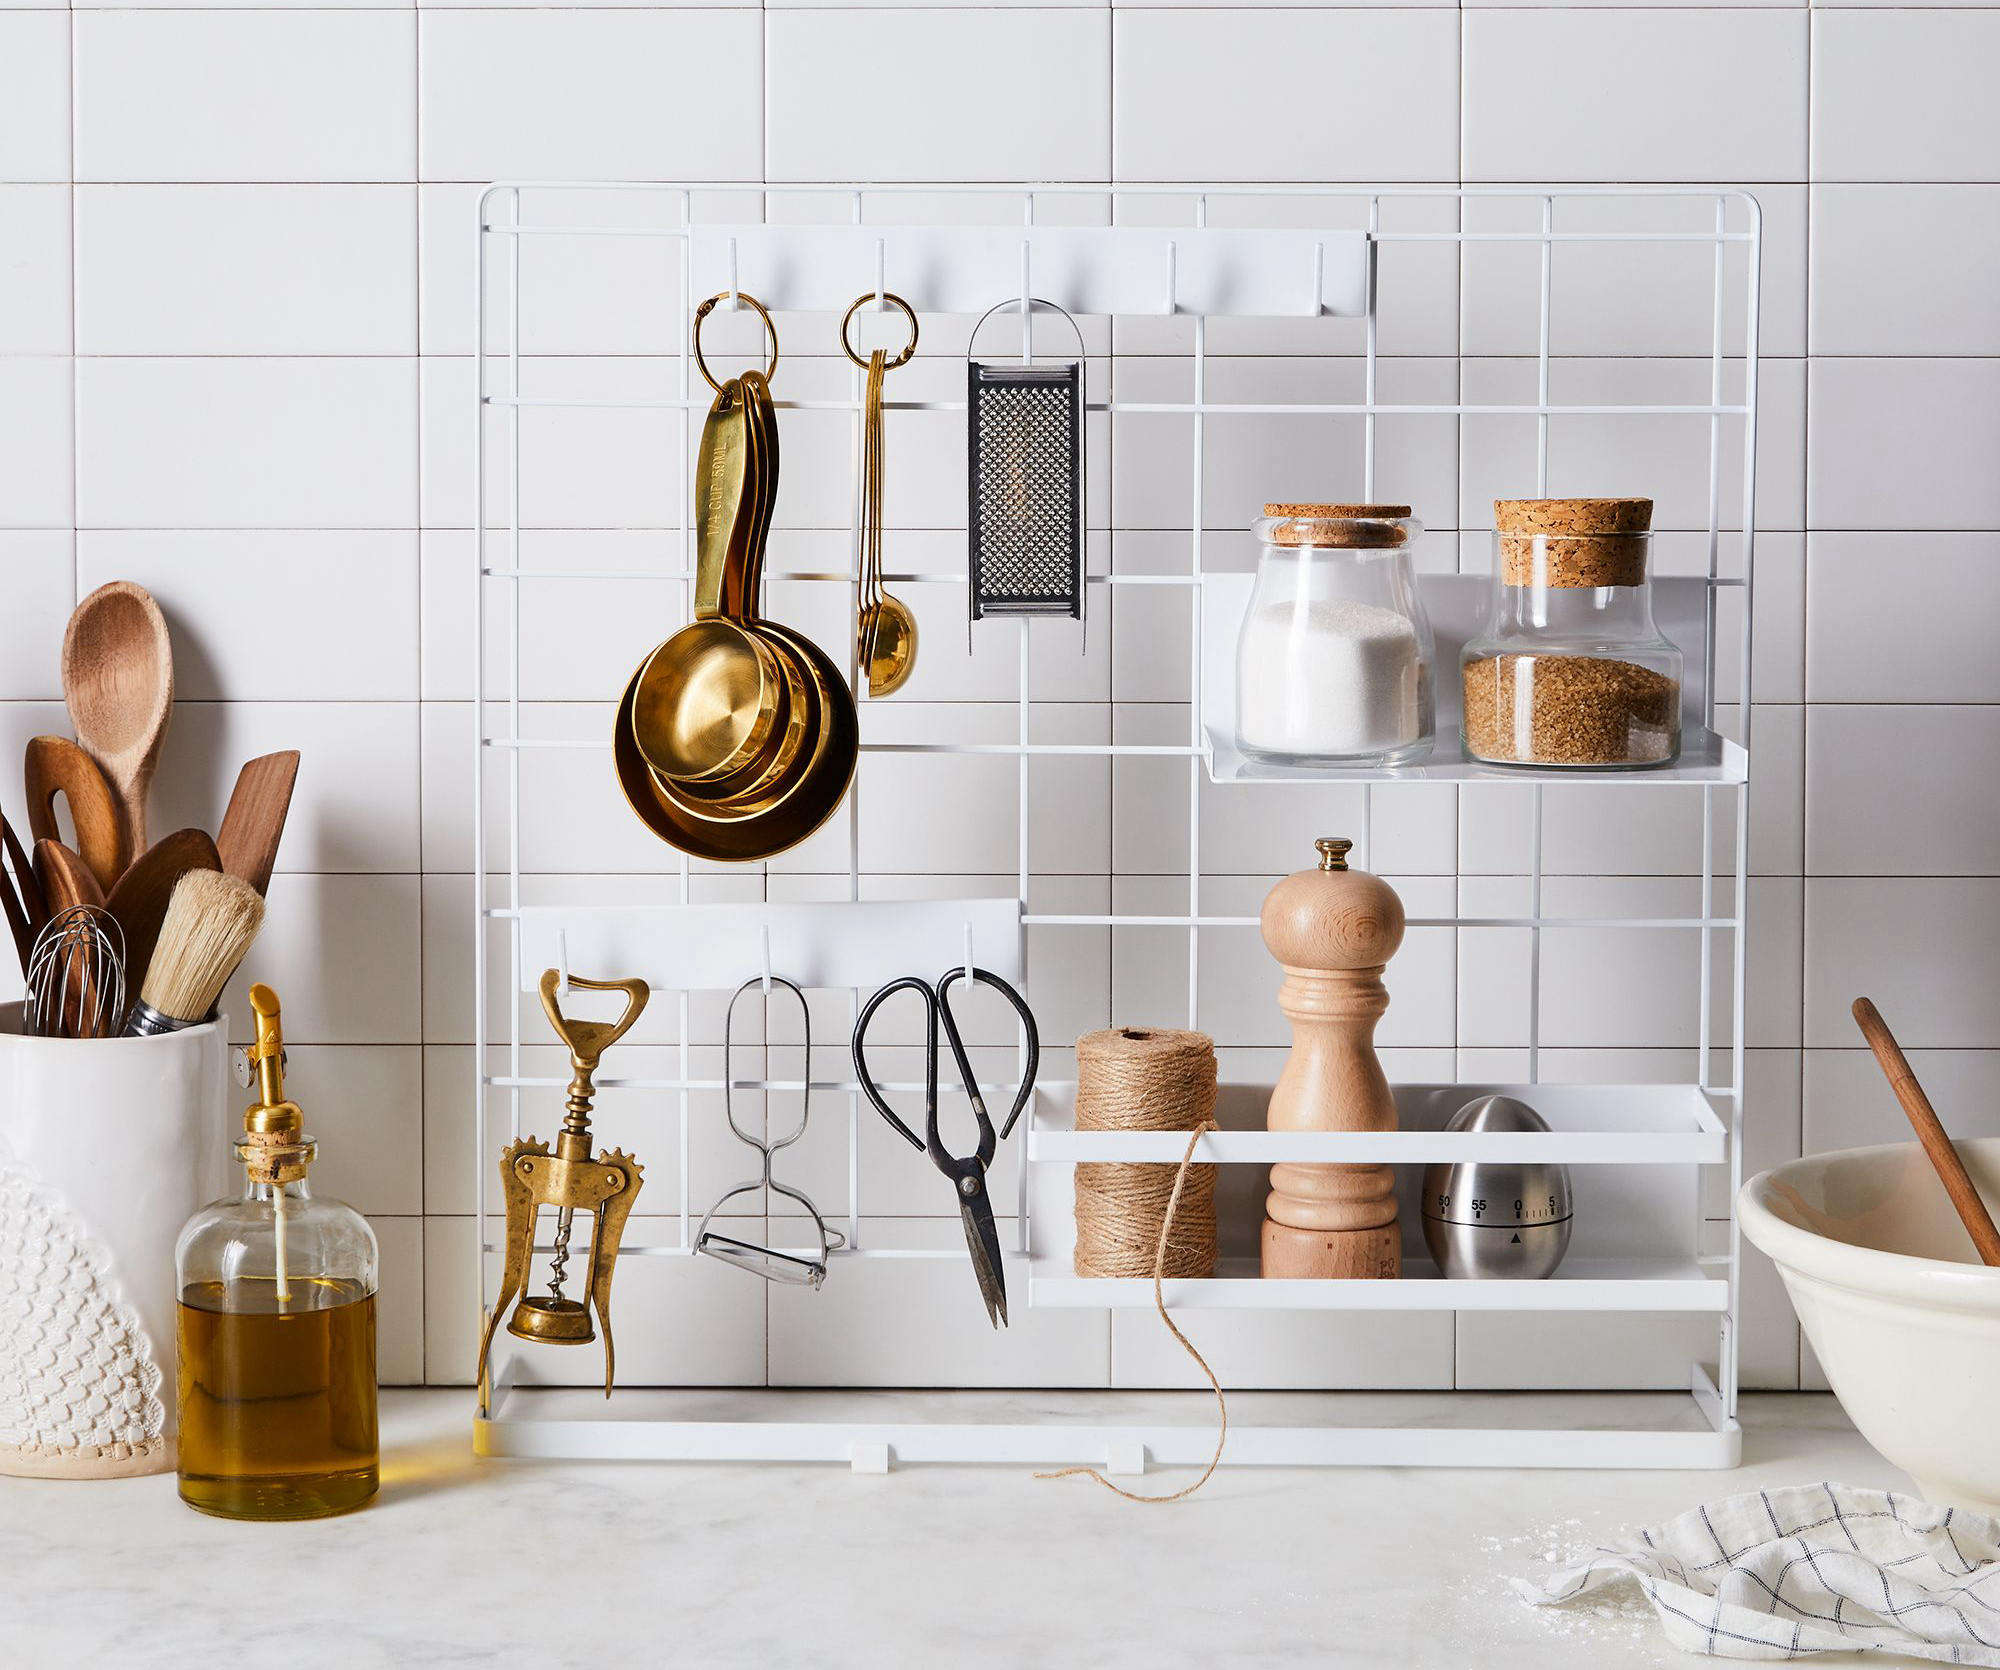
You do not need a greenhouse or a professional laboratory. A clean indoor setup is usually enough. Gather these items before sowing:
- Fresh San Pedro cactus seeds from a reputable ornamental seed supplier
- Shallow seed tray or small pots with drainage holes
- Clear humidity dome, plastic lid, or clear storage container
- Fine cactus seed-starting mix
- Perlite, pumice, coarse sand, or fine grit for drainage
- Spray bottle or bottom-watering tray
- Grow light or bright window with filtered light
- Plant label and date marker
- Optional seedling heat mat with thermostat
Cleanliness matters. Wash trays, rinse tools, and avoid old soil that may contain fungus gnat eggs, mold spores, or mystery organisms from last year’s “I’ll totally reuse this” container. Young cactus seedlings are vulnerable to damping-off disease, which can collapse seedlings at the soil line when conditions are too wet, cold, or stagnant.
Best Soil Mix for San Pedro Cactus Seeds
San Pedro cactus seedlings need a mix that holds light moisture during germination but does not stay soggy. A mature cactus wants sharp drainage, while seeds need enough humidity to wake up. The trick is finding the middle ground.
Simple Seed Mix Recipe
A reliable beginner mix is:
- 50% fine cactus potting mix or seed-starting mix
- 25% perlite
- 25% pumice, coarse sand, or fine grit
If your cactus mix contains chunky bark or large pieces, sift it first. Tiny seeds need good contact with the surface. A rough, chunky mix is like asking them to germinate on a pile of furniture.
Should You Sterilize the Mix?
Many growers heat-treat or sterilize seed-starting media to reduce fungus problems. You can use fresh commercial seed-starting mix and clean containers for a simpler approach. The goal is not to create a sterile planet, but to reduce obvious risks. If you often struggle with mold, algae, or damping off, start with cleaner media and improve airflow after germination.
How to Sow San Pedro Cactus Seeds
San Pedro cactus seeds are usually surface-sown or barely covered. They do not need to be buried deeply. A deep burial can prevent tiny seedlings from reaching light and air.
Step 1: Moisten the Mix First
Before adding seeds, moisten your soil mix evenly. It should feel like a wrung-out sponge: damp, not dripping. If water pools at the bottom, it is too wet. If dust flies when you touch it, it is too dry.
Step 2: Fill the Container
Fill your tray or pot with the moist mix, leaving a little space at the top. Gently level the surface. Do not compact it into concrete. Roots need oxygen as much as they need moisture.
Step 3: Scatter the Seeds
Sprinkle the seeds across the surface. Try not to dump them all in one corner like a tiny cactus traffic jam. If they land too close together, that is not the end of the world, but spacing makes later transplanting easier.
Step 4: Press, Do Not Bury
Lightly press the seeds into the surface with a clean finger, spoon, or flat tool. You may dust a whisper-thin layer of fine sand over them, but keep it extremely light. The seeds should remain near the surface.
Step 5: Cover for Humidity
Place a clear lid, dome, or plastic cover over the tray. This creates a humid microclimate that keeps seeds from drying out. Label the container with the date and species. Future you will be grateful, especially when every tray looks like “green dots in dirt.”
Germination Conditions: Warmth, Light, and Moisture
San Pedro cactus seeds germinate best with warmth, moisture, and bright indirect light. Most growers aim for temperatures around 70°F to 85°F. A seedling heat mat can help if your room is cool, but avoid overheating the tray. Warm and cozy is good; cooked cactus soup is not.
Light for Germination
Use bright indirect light or a grow light. Avoid harsh direct sun on a covered tray because the lid can trap heat and turn the container into a miniature greenhouse oven. A bright windowsill with filtered light can work, but a grow light gives more control.
After germination, seedlings need plenty of light to stay compact. Weak light causes stretching, also called etiolation. A stretched cactus seedling looks pale, thin, and slightly embarrassed. If seedlings lean or elongate, move the light closer or increase light duration gradually.
Moisture During Germination
The surface should remain lightly moist until germination. If it dries completely, seeds may fail. If it stays swampy, mold and rot may appear. Mist gently only when needed, or bottom-water by setting the container briefly in shallow water until the surface darkens slightly.
How Long Do San Pedro Seeds Take to Germinate?
Under good conditions, San Pedro cactus seeds often germinate in about 1 to 4 weeks. Some may sprout earlier, and others may take longer. Germination speed depends on seed freshness, temperature, moisture, and light.
Do not throw away a tray too quickly. Cactus seeds are not always synchronized performers. One seed may sprout like it had three coffees, while another waits quietly for the perfect dramatic entrance.
Care After Germination
Once you see green seedlings, your job changes. Before germination, humidity is your friend. After germination, too much stagnant humidity can become a problem. Begin gradually venting the cover. Crack the lid for a short time each day, then increase airflow over one to two weeks.
When to Remove the Humidity Dome
Do not remove the cover suddenly if seedlings are used to high humidity. Gradual adjustment helps prevent shock. Once seedlings are established and showing steady growth, you can leave the cover off for longer periods. Some cactus growers keep seedlings in a semi-humid setup for several months, but airflow must improve as they grow.
Watering Young Seedlings
Young San Pedro seedlings should not dry bone-hard immediately, but they also should not sit in wet soil. Keep the mix lightly moist at first. As the seedlings grow larger, slowly allow the surface to dry a bit more between waterings. This gradual transition trains them for normal cactus care.
Feeding Seedlings
Do not fertilize immediately after sowing. Once seedlings are a few months old and actively growing, you can feed lightly with a diluted cactus or balanced fertilizer at a weak strength. Overfeeding young cactus seedlings can cause soft growth and salt buildup. Think of fertilizer as a vitamin, not an energy drink.
Transplanting San Pedro Cactus Seedlings
Transplanting is usually best delayed until seedlings are large enough to handle. Many growers wait several months to a year, depending on growth rate and spacing. If the seedlings are crowded but healthy, you can let them stay together longer than you might expect. Tiny cactus roots are delicate, and unnecessary handling can slow growth.
Signs Seedlings Are Ready
- They are large enough to pick up gently without crushing
- They have visible cactus shape and small spines
- The tray is crowded
- Growth has slowed because roots need more space
How to Transplant
Use a small pot with drainage holes and a gritty cactus mix. Lift seedlings carefully with a spoon, plant label, or small tool. Keep roots as intact as possible. Plant at the same depth they were growing before. After transplanting, wait a few days before heavy watering to allow tiny root injuries to settle.
Light Requirements as the Cactus Grows
Mature San Pedro cactus likes abundant light, but seedlings need protection from harsh direct sun. Start with bright filtered light. As plants grow, gradually introduce stronger light. Outdoor plants should be hardened off slowly. A seedling moved straight from indoor light to blazing summer sun may scorch quickly.
For indoor growing, a strong grow light can make a major difference. Place it close enough to prevent stretching but not so close that seedlings overheat. Many indoor growers use 12 to 16 hours of artificial light daily for seedlings. Watch the plants: compact green growth means the light is probably good; pale stretching means they need more; reddish stress color may mean too much light or heat.
Watering Mature San Pedro Cactus
As San Pedro cactus matures, its watering needs become more typical of cactus care. Water thoroughly, then let the mix dry before watering again. In warm active growth, this may mean watering more often. In cool winter conditions, water much less.
The biggest mistake is giving cactus seedlings adult dryness too early, then giving adult cactus plants seedling humidity too long. Their needs change. Think of it like raising a child: the baby needs more supervision, but eventually it should not still be living inside a sealed plastic dome.
Common Problems and Fixes
Mold on the Soil Surface
A little surface fuzz can happen in humid seed trays. Increase airflow gradually, reduce excess moisture, and make sure the tray is not too cool. If mold spreads aggressively, remove affected debris and consider starting future batches with cleaner media.
Seedlings Falling Over
This may be damping off, especially if stems pinch at the base. Prevention is better than rescue: use clean mix, avoid soggy conditions, provide warmth, and introduce airflow after germination.
Seedlings Turning Red or Purple
Some color change can occur from light stress, cool temperatures, or nutrient stress. If seedlings are also shrinking or stopping growth, reduce light intensity slightly and check moisture.
Seedlings Stretching
Stretching usually means insufficient light. Increase brightness gradually. Do not suddenly blast weak seedlings with direct sun. That is not plant care; that is a cactus interrogation lamp.
No Germination
Possible causes include old seeds, cold temperatures, dry surface conditions, overly deep sowing, or poor light. Try again with fresh seeds, a warmer setup, and surface sowing.
Seasonal Growing Tips
Spring and early summer are excellent times to start San Pedro cactus seeds because warmth and light are naturally increasing. Indoor growers can start seeds year-round with a controlled setup, but winter seedlings need reliable artificial light and stable warmth.
During winter, established plants often slow down. Reduce watering and avoid fertilizing heavily. If a cactus keeps growing in low light, it may become thin and stretched. A cooler, brighter winter rest is better than warm darkness.
How Long Until a San Pedro Cactus Looks Like a Real Cactus?
In the first month, seedlings may look like green dots. After several months, they begin showing more cactus-like form. By the end of the first year, well-grown seedlings may be sturdy little columns, though size varies widely. From seed to impressive specimen can take years, but that is exactly why seed-grown cactus feels special.
Growing San Pedro cactus from seed is a long relationship, not a weekend craft. The reward is watching character develop slowly: ribs deepen, spines appear, color improves, and the plant begins to look like a tiny version of the towering cactus it may become.
Experience Notes: What Growing San Pedro From Seed Teaches You
The first real lesson of growing San Pedro cactus from seed is that “doing less” is sometimes the most advanced gardening skill. Many beginners love their seedlings into trouble. They mist too often, open the lid every hour, move the tray from window to window, add fertilizer too soon, and generally behave like nervous cactus managers. The seedlings usually prefer consistency over enthusiasm.
One practical experience is to sow more seeds than you think you need, but not because you plan to neglect them. Seed germination is naturally variable. Even with good conditions, not every seed will sprout, and not every sprout will become a strong plant. A small tray with several seeds gives you room to learn. If ten sprout and seven thrive, that is a win. If three become excellent plants, that is still a great result.
Another useful habit is taking photos every week. San Pedro seedlings grow slowly enough that daily changes are hard to see. Weekly photos reveal progress you might otherwise miss. One day you look back and realize the tiny green dots have become ribbed mini-columns. It feels like discovering your cactus has been secretly going to the gym.
Humidity is another area where experience matters. At first, the covered tray feels reassuring because condensation tells you moisture is present. But heavy condensation for too long can invite algae or fungus. A good rhythm is to keep things humid for germination, then gradually increase ventilation once seedlings appear. Small changes beat dramatic ones. Crack the lid. Watch the seedlings. Adjust. This slow transition is often the difference between sturdy growth and mysterious collapse.
Light also becomes easier to judge with practice. If seedlings stretch, they need more light. If they turn stressed colors and stop growing, the light may be too intense or too close. The best seedlings usually look compact, firm, and evenly green. They do not need to grow fast every day; they need to grow well.
Transplanting teaches patience too. It is tempting to separate seedlings early, especially when they look crowded. But tiny cactus roots dislike unnecessary disturbance. Unless mold, crowding, or growth problems demand action, waiting often produces stronger seedlings. When you finally transplant them, use a gentle hand and a gritty mix. Afterward, give them time to recover instead of watering heavily out of sympathy.
The best personal advice is to treat your first San Pedro seed project as both a garden and an experiment. Label the tray. Record the sowing date. Note temperature, light source, watering method, and germination time. If one tray fails, those notes turn disappointment into useful data. If one tray succeeds, the notes become your recipe for the next batch.
Growing San Pedro cactus from seed is not instant gratification. It is quieter than that. It rewards observation, restraint, and small improvements. In a world full of fast results, there is something wonderfully grounding about raising a cactus that measures progress in months and years. Plus, when someone asks where you bought that handsome cactus someday, you get to casually say, “Oh, I grew it from seed,” which is gardener-speak for “Please admire my patience.”
Conclusion
Learning how to grow a San Pedro cactus from seed is a rewarding project for patient ornamental plant lovers. Start with fresh seeds, use a fine gritty mix, surface sow, maintain warm and humid conditions for germination, and provide bright indirect light. Once seedlings appear, gradually improve airflow and adjust watering as the plants mature. Avoid the classic beginner mistakes: burying seeds too deeply, keeping trays soggy, using weak light, transplanting too early, and treating tiny seedlings like full-grown desert cactus.
With time, your seedlings can become beautiful columnar cacti with strong ribs, healthy color, and real personality. The process is slow, but that is part of the fun. San Pedro cactus grown from seed is not just a plant; it is a long-term project with spines, charm, and a surprisingly good sense of timing.