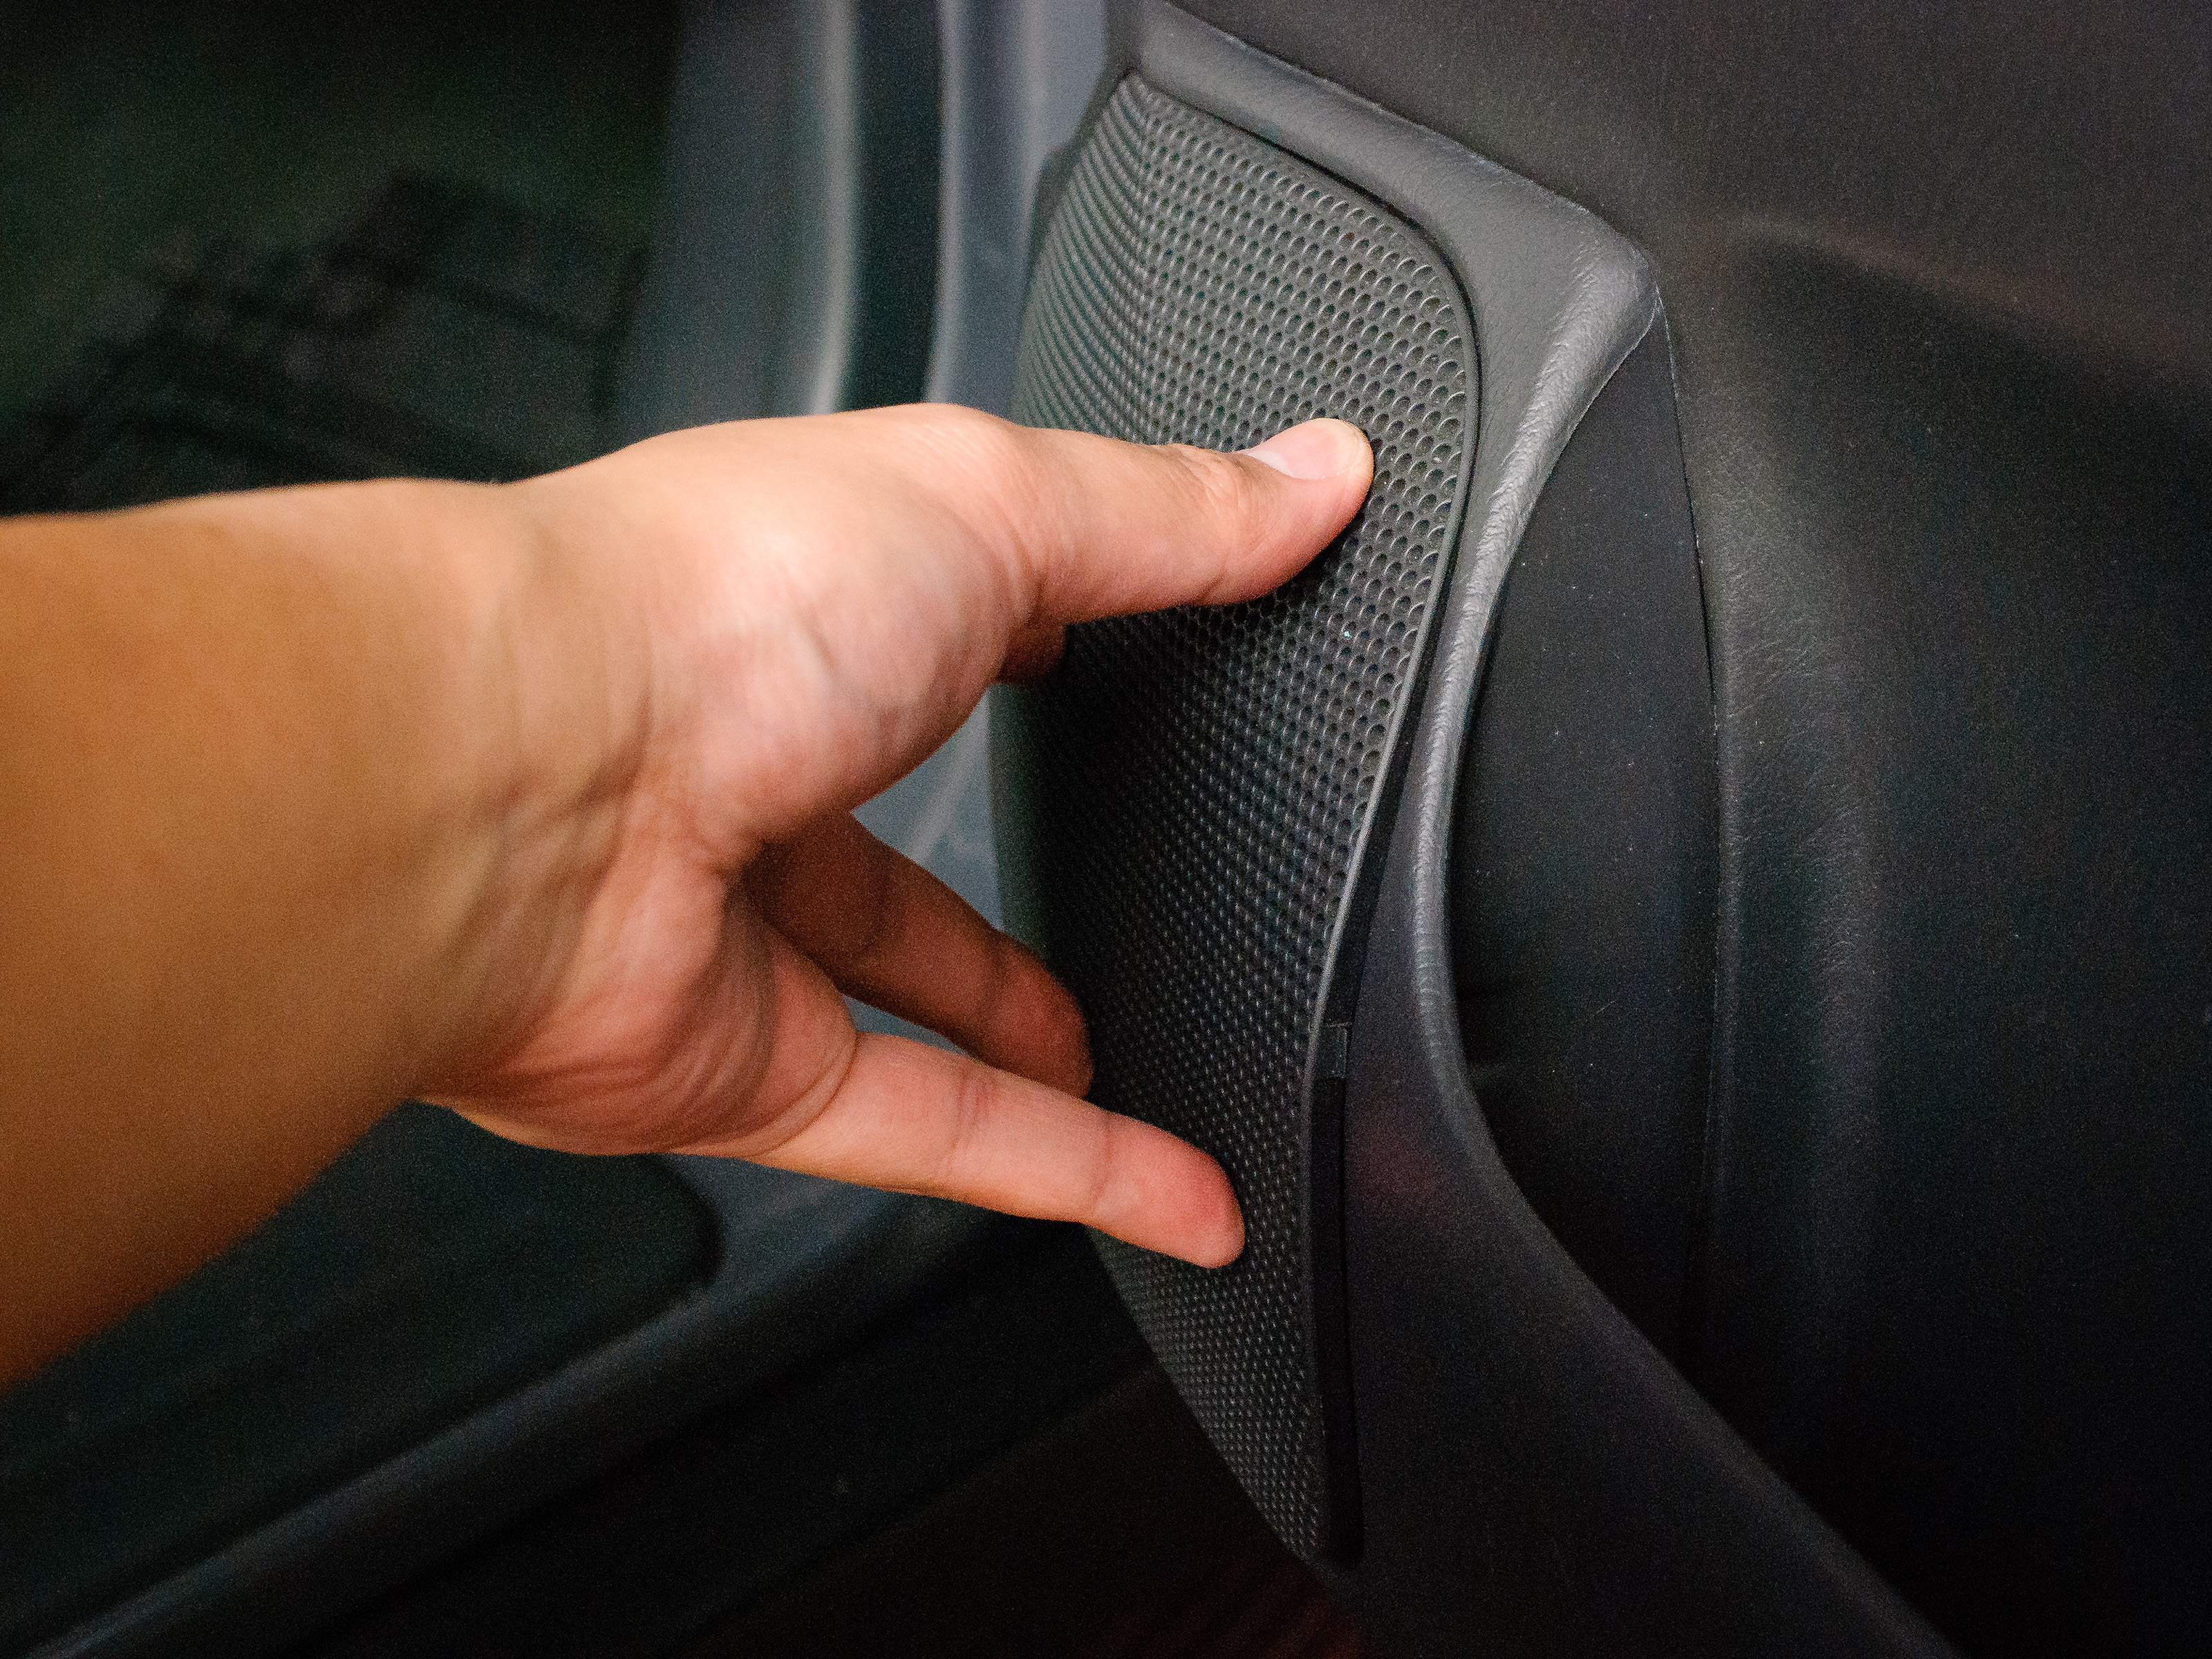

Upgrading your car speakers is one of the quickest ways to make every commute feel less like “traffic” and more like a private concert
(minus the guy in the next lane who thinks his bass is a personality). The good news: installing car speakers is usually a straightforward
DIY job if you’re patient, organized, and willing to wrestle a door panel without taking it personally.
This guide walks you through the process in a practical, step-by-step waywhether you’re replacing blown factory speakers or upgrading
to something clearer, louder, and less “tin can karaoke.” You’ll learn what tools you need, how to avoid common mistakes, and how to
install coaxial or component speakers the right way.
What You’ll Need Before You Start
Tools
- Trim/panel removal tools (plastic pry tools save your paint and your pride)
- Phillips and flathead screwdrivers
- Torx drivers (many door screws are Torx)
- Socket set/ratchet (10mm is basically the official tool of car ownership)
- Needle-nose pliers
- Wire stripper/crimper
- Utility knife (for clean trimming, not for “rage cutting”)
- Drill + drill bits (only if your factory speaker is riveted)
- Flashlight or headlamp
Supplies
- New speakers (matched to your car’s size and mounting depth)
- Speaker mounting adapters/brackets (often required for aftermarket speakers)
- Speaker wiring harness adapters (highly recommended to avoid cutting factory wiring)
- Crimp connectors or spade terminals (or solder + heat shrink if you prefer)
- Foam gasket tape (helps seal the speaker and reduce rattles)
- Optional: sound deadening material (makes a surprising difference)
- Optional: “bass blockers”/inline high-pass filters for small speakers (helps reduce distortion)
Choose the Right Speakers (So You Don’t Buy a Round Peg for an Oval Hole)
Before you touch a single screw, confirm your speaker size and fitment. Many vehicles use common sizes like 6.5-inch, 6×9-inch, or 5.25-inch,
but the details matter: mounting depth, bolt pattern, and whether the factory speaker is built into a bracket.
Coaxial vs. Component Speakers
- Coaxial speakers (all-in-one) are easiest: woofer and tweeter are mounted together. Great for simple upgrades.
-
Component speakers separate the woofer, tweeter, and crossover. They can sound better and image more clearly, but
installation takes more planning.
Quick compatibility checks
- Impedance: Most aftermarket speakers are 4 ohms. Some factory systems use different impedances (like 2 ohms) to get more volume from factory amps.
- Power handling: Focus on RMS ratings, not “MAX POWER!!!” marketing hype that screams louder than your future regret.
- Sensitivity: Higher sensitivity speakers generally play louder with the same head unit power.
- Factory processing: Some modern cars use factory EQ/DSP tuned to the original speakers. A speaker swap may help, but not always “unlock perfection” without tuning.
Safety First (Because Nobody Wants a Surprise Airbag Light)
Disconnect the negative battery terminal before you start. This helps prevent shorts and reduces the risk of triggering an airbag-related warning if you unplug
something in the door. Also, keep your keys out of the ignition and avoid turning the car on while door wiring is unplugged.
Step-by-Step: How to Install Door Speakers
Step 1: Prep your workspace
- Park on a flat surface and give yourself light and room to work.
- Lower the window about halfway. This can help with access and reduces the chance of hitting the glass.
- Lay a towel or blanket nearby to protect the door panel once it’s off.
- Grab a small container for screws and clips (because “I’ll remember where that goes” is a lie we all tell ourselves).
Step 2: Remove the door panel
Door panels are usually held on with a mix of hidden screws and plastic clips. Look for screws behind trim pieces, inside the door pull/handle area,
and sometimes behind the window switch panel.
- Use a plastic trim tool to pry off small covers hiding screws.
- Remove screws (Phillips, Torx, or a socketdepends on your car).
- Pry around the edges to pop the clips free. Work slowly to avoid snapping them.
- Lift the panel up and away (many panels hook over the window ledge).
- Disconnect wiring connectors (window switches, locks) and any door-handle cable if present.
Pro move: Take a few photos as you go. Future-you will thank present-youlike a time-travel gift exchange, but with fewer paradoxes.
Step 3: Remove the old speaker
Factory speakers may be held in with screws, bolts, or rivets. If it’s riveted, you’ll drill out the rivets and replace them with screws/bolts as needed.
- Unplug the factory speaker connector.
- Remove mounting screws/bolts, or drill rivets carefully.
- Pull the speaker out and inspect the mounting area and wiring.
Step 4: Check speaker fitment (depth matters)
Before you wire anything, do a test fit. Make sure the new speaker doesn’t interfere with the window track or any moving parts.
Check that the mounting holes line upor install an adapter bracket if they don’t.
Step 5: Wire the new speaker (the “don’t guess polarity” part)
The cleanest method is a speaker wiring harness adapter: one end plugs into your factory connector, the other end connects to your speaker terminals.
That means no cutting factory wiring and an easier return-to-stock later.
Polarity basics
- Speaker terminals are typically marked + and –.
- Some speakers use different-size spade terminals: larger is often positive, smaller is often negative (but confirm markings).
- Correct polarity helps keep speakers “in phase” so bass doesn’t sound weak or hollow.
Connection options
- Crimp connectors: Fast, reliable if done properly and tightly.
- Solder + heat shrink: Very solid connection, takes more time.
- Avoid: Twisting wires together and wrapping with tape like you’re making an arts-and-crafts project for your electrical system.
Step 6: Seal and reduce rattles (tiny upgrades, big payoff)
Add foam gasket tape around the speaker rim or adapter to create a better seal against the door. This can improve midbass and reduce vibration.
If you want to go further, install sound deadening on the outer door skin and around the speaker openingjust don’t block drain holes at the bottom of the door.
Step 7: Mount the new speaker
- Position the speaker (or speaker + adapter bracket) and start all screws before tightening.
- Tighten evenly, like lug nuts on a wheelsnug, not “gorilla mode.”
- Make sure wiring is tucked safely so it won’t rattle or get caught.
Step 8: Test before reassembling (the step that saves your sanity)
Reconnect the battery, turn on your stereo at low volume, and test:
- Does the speaker play clearly?
- Do balance/fade controls send sound to the correct location?
- Any buzzing or rattling?
- Does bass sound full (not thin)? If bass is weak, polarity may be reversed on one side.
Once it passes, turn the car off again and disconnect the battery before plugging everything back in behind the door panel.
Step 9: Reinstall the door panel
- Reconnect all electrical connectors and any door-handle cable.
- Hook the panel over the window ledge (if applicable), then align clips.
- Press around the perimeter to snap clips back in.
- Reinstall screws and trim covers.
Installing Component Speakers (Tweeters + Crossovers)
Component sets add a few extra steps: placing tweeters and mounting the crossover. The crossover splits frequencies so the woofer gets lows/mids and
the tweeter gets highs. Done well, component speakers can improve clarity and imagingmeaning vocals sound like they’re in front of you, not trapped in a door pocket.
Tweeter placement tips
- Factory locations: If your car already has tweeters (sail panels, dash corners, A-pillars), use them when possible.
- Aftermarket mounting: Some tweeters surface-mount, others flush-mount (flush mounting may require cutting a hole).
- Avoid interference: Keep tweeters away from airbag deployment zones and moving parts.
Crossover mounting tips
- Mount crossovers inside the door only if they’re protected from moisture and won’t rattle loose.
- A more protected location can be behind the kick panel or inside the cabin if wire routing allows.
- Secure them firmly and keep wiring neatloose crossovers become maracas.
Common Problems and How to Fix Them
No sound from the new speaker
- Connector not fully seated (happens constantly).
- Crimp terminal is loose or slipped off.
- Factory amp/system needs specific wiring or integration (especially in premium audio systems).
Weak bass or “hollow” sound
- One speaker wired out of phase (polarity reversed on one side).
- Poor seal between speaker/adapter and door metal (add foam gasket tape).
- Door panel not fully clipped in, causing air leaks and rattles.
Rattles and buzzing
- Loose screws or missing panel clips.
- Wire tapping against the door metalsecure with tape or zip ties.
- No foam around the speaker or adapter.
Distortion at higher volume
- Head unit power clipping (common with factory radios).
- Speaker receiving too much bass for its design (consider bass blockers/high-pass filtering).
- Factory EQ/DSP making the new speaker work harder than expected.
Small Upgrades That Make a Big Difference
- Sound deadening: Helps reduce road noise and improves perceived clarity and bass response.
- Better sealing: Foam rings/gaskets reduce vibration and improve midbass.
- Amplification: An aftermarket amp can transform clarity and headroombut requires more planning and wiring.
- Professional install option: If you’d rather not fight hidden screws and mystery clips, many retailers offer installation services.
When to DIY vs. When to Call a Pro
DIY speaker installation is usually manageable if you’re replacing factory speakers in the factory locations. Consider professional help if:
- Your system has a factory amplifier with heavy processing and you want guaranteed results.
- You’re installing components with custom tweeter mounting.
- Your factory speakers are riveted and you’re uncomfortable drilling.
- You want an amp, DSP, or full system tune along with the speakers.
Conclusion
Learning how to install car speakers is a high-reward DIY project: you get better sound, save labor costs, and gain the confidence to say,
“Yeah, I took my door apart and put it back togetherand it still opens.” The key is preparation: confirm fitment, use the right adapters and harnesses,
wire with correct polarity, test before reassembly, and take your time with the door panel clips.
If you want the biggest improvement without going down a full audio rabbit hole, start with quality coaxial speakers, proper sealing, and a little sound deadening.
If you’re chasing next-level clarity, component speakers and smart placement can pay offespecially when paired with clean power and sensible tuning.
Real-World Experiences: What Installation Is Actually Like (The Extra )
If you’re imagining a smooth, cinematic DIY momentmusic playing, tools perfectly laid out, door panel gently floating into your handslet’s lovingly
replace that fantasy with reality. Real speaker installs tend to go like this: you start confident, then you meet your first “hidden screw,” and suddenly
you’re negotiating with a piece of plastic like it owes you money.
One of the most common first-timer experiences is the clip surprise. Door panel clips pop out with a satisfying “thunk”… until one stays behind
in the door. Or three do. Or all of them decide to live new lives without you. The fix is simplepull them out with pliers and slide them back onto the panel
but it’s a great lesson: door panels aren’t hard, they’re just dramatic. This is also why trim tools are worth it. A flat screwdriver will work, but it’s
like eating cereal with a fork. Technically possible. Not recommended.
Another very common moment: you pull the factory speaker and discover it’s not a normal “speaker” so much as a speaker-shaped bracket ecosystem.
The factory unit might be molded into plastic, riveted, or using a weird bolt pattern. This is where adapters save the day. People who skip adapters often end up
improvising with mismatched screws, which can lead to rattles laterusually revealed at the exact moment you show a friend your “new setup.”
(The universe has a sense of humor. Respect it.)
Wiring is where DIY installs separate into two groups: “Clean and reversible” and “Why is there electrical tape stuck to my window switch harness?”
In real-world installs, harness adapters are the hero. They reduce stress, prevent cutting factory wiring, and make troubleshooting much easier.
A classic experience is realizing a speaker is silent, then discovering the connector wasn’t fully seated. This happens so often it should come with
a sticker: Push until it clicks. Then push again because you’re still not sure.
The most satisfying “I leveled up” moment usually comes from sealing and deadening. Many people install speakers and think,
“Cool… it’s slightly better.” Then they add foam gasket tape, tighten the mounting properly, and maybe put a small patch of sound deadening around
the speaker openingand suddenly the midbass firms up and vocals sound less like they’re echoing inside a coffee can. It’s not magic; it’s physics.
You’re helping the speaker work against a more stable surface and reducing vibration that turns your door into an unwanted percussion instrument.
Finally, here’s a real-life lesson people learn exactly once: test before reassembly. Because the emotional damage of reattaching
the door panel, reinstalling every screw, snapping every clip, and then hearing… nothing… is powerful. Testing takes two minutes and saves you from
repeating the entire process like a very specific form of cardio. So play a track, check balance and fade, listen for rattles, and confirm that the
window and locks still work. When everything checks out, put the panel back on with confidence.
In short, installing car speakers is absolutely doable. It’s not “hard,” but it does reward patience and attention to detail. Expect a few minor surprises,
keep your screws organized, take photos, and treat every rattle like a cluenot a personal insult. When you’re done, you’ll have better sound and a new skill:
the ability to pop a door panel like you’ve been secretly recruited by an elite audio squad.