
Installing Windows from Ubuntu sounds like one of those computer tasks that should require a wizard robe, three spare keyboards, and a suspiciously confident friend named “Dave.” Luckily, it is much more practical than mystical. Whether you want to replace Ubuntu with Windows, set up a dual-boot system, or rescue a laptop that currently refuses to cooperate, the basic idea is simple: download a genuine Windows ISO, create a bootable USB installer from Ubuntu, boot from that USB drive, and install Windows on the right partition.
The tricky part is that Windows installation media is not always as friendly to Linux tools as Ubuntu installation media is. Many Linux users learn the hard way that simply writing a Windows ISO to a USB stick with a basic disk imaging tool may not produce a bootable installer. That is where tools such as Ventoy and WoeUSB-ng come in. They help Ubuntu users prepare a USB drive that Windows Setup can actually boot from, instead of creating a fancy plastic stick full of disappointment.
This guide explains how to install Windows from Ubuntu safely, clearly, and without turning your storage drive into modern art. We will cover preparation, USB creation, BIOS and UEFI settings, Windows Setup, partition choices, dual-boot concerns, troubleshooting, and real-world lessons that make the process smoother.
Before You Begin: Know What You Are Trying to Do
Before you touch the installer, decide your goal. There are three common scenarios:
1. Replace Ubuntu with Windows
This is the cleanest option. Windows will take over the computer, and Ubuntu will be removed. Choose this if you no longer need Ubuntu or if the machine is being prepared for someone who only wants Windows.
2. Install Windows Beside Ubuntu
This creates a dual-boot setup. You keep Ubuntu and install Windows on a separate partition. This option is useful if you need Windows for games, Adobe apps, Microsoft Office, firmware utilities, or school/work software, but still want Linux for development and daily use.
3. Install Windows on a New Drive
If your PC has two drives, this is often the safest path. Ubuntu stays on one drive, Windows goes on the other, and your boot menu decides which operating system starts. This is the computer equivalent of giving two roommates separate bedrooms instead of asking them to share one drawer.
What You Need
To install Windows from Ubuntu, prepare these items first:
- A USB flash drive with at least 8 GB of space, though 16 GB or larger is better.
- A genuine Windows ISO downloaded from Microsoft.
- A stable internet connection.
- A backup drive, cloud storage, or another safe place for your important files.
- Your Windows license key, if your PC does not already have a digital license.
- Basic knowledge of whether your system uses UEFI or legacy BIOS.
For modern PCs, Windows 11 is the main target. Windows 11 requires a compatible 64-bit processor, 4 GB of RAM, 64 GB or more storage, UEFI firmware with Secure Boot capability, TPM 2.0, and compatible graphics. Windows 10 can still be installed in some cases, but it is no longer the ideal fresh-install choice for most everyday users because its regular consumer support ended in October 2025. If the computer supports Windows 11, use Windows 11.
Step 1: Back Up Your Ubuntu Files
Do not skip this step. Installing Windows can erase partitions. A single wrong click during setup can remove your Ubuntu home folder faster than you can say, “Wait, that was the wrong disk.”
Back up your Documents, Downloads, Pictures, Videos, project folders, browser bookmarks, SSH keys, game saves, and any configuration files you care about. If you are a developer, also back up local databases, Docker volumes, environment files, Git repositories, and any scripts that live outside version control. For many Ubuntu users, the most important hidden folders are inside the home directory, such as .ssh, .config, and .local.
You can use an external drive, a network share, or a cloud service. After copying the files, open a few of them from the backup location to confirm they actually work. A backup you never tested is just a motivational poster with a USB cable.
Step 2: Download the Official Windows ISO
Use Microsoft’s official Windows download page. Avoid random ISO websites, “super lite” editions, pre-activated installers, and mystery builds from forums. They may contain malware, broken components, or licensing problems. The official ISO gives you a clean baseline and the best chance of receiving updates properly after installation.
When downloading Windows 11, choose the correct language and architecture. Most standard laptops and desktops use x64. Arm-based devices require Arm64 media, but those machines are more specific and may need manufacturer guidance. Save the ISO somewhere easy to find, such as your Downloads folder.
Step 3: Choose the Best USB Creation Method
From Ubuntu, the two most practical methods are Ventoy and WoeUSB-ng. Both can work, but they feel different.
Option A: Ventoy, the Easiest Method for Most Users
Ventoy creates a special bootable USB drive. After Ventoy is installed on the USB stick, you simply copy the Windows ISO onto it like a normal file. When you boot from the USB, Ventoy shows a menu where you select the ISO. This is convenient because you can keep multiple ISO files on the same USB drive, such as Windows 11, Ubuntu, Linux Mint, rescue tools, and other installers.
The basic process is:
- Download the Linux version of Ventoy.
- Extract the package.
- Identify your USB drive using Ubuntu’s Disks app or the
lsblkcommand. - Install Ventoy to the USB drive.
- Copy the Windows ISO to the Ventoy partition.
- Reboot and select the USB drive from the boot menu.
Be careful when selecting the target device. If your USB drive is /dev/sdb, use that. Do not choose your internal drive. Installing Ventoy formats the selected USB drive and erases its contents.
A typical Linux command looks like this:
Replace /dev/sdX with the actual USB device name. Again, this is not the time for guessing. Guessing is for birthday presents, not disk names.
Option B: WoeUSB-ng, a Windows-Installer-Focused Tool
WoeUSB-ng is designed specifically to create Windows USB installation media from Linux. It includes a command-line utility and, depending on your installation, a graphical interface. It is a good choice if you want a more traditional Windows installer USB rather than a multi-ISO Ventoy drive.
On Ubuntu, you may need dependencies such as p7zip-full, python3-pip, parted, dosfstools, and ntfs-3g. After installation, the general command pattern is:
As with Ventoy, replace /dev/sdX with your USB drive. Do not add a partition number such as /dev/sdb1 when the tool expects the whole device.
Why Not Just Use Ubuntu Startup Disk Creator?
Ubuntu’s Startup Disk Creator is excellent for Ubuntu ISO files, but it is not the best tool for Windows ISO files. Windows installation media has different boot and file system requirements. If you want fewer headaches, use Ventoy or WoeUSB-ng instead.
Step 4: Check Your Partition Plan
Open Ubuntu’s Disks app or GParted and look at your current storage layout. You may see an EFI System Partition, one or more Linux partitions, a swap partition, and possibly free space. If you plan to replace Ubuntu, you do not need to shrink anything. Windows Setup can delete the Linux partitions and install into unallocated space.
If you plan to dual boot, create free space before starting the Windows installer. From Ubuntu, use GParted carefully to shrink an existing Linux partition. Leave enough space for both systems. For Windows 11, 64 GB is the bare minimum, but 120 GB or more is much more comfortable. If you install games, creative apps, or large development tools, consider 250 GB or more.
Never resize partitions without a backup. Partition resizing usually works, but “usually” is not a recovery strategy.
Step 5: Boot from the Windows USB Drive
Insert the USB drive and restart the computer. During startup, press the boot menu key. Common keys include F12, F2, Esc, Delete, or F10, depending on the manufacturer. Many Dell systems use F12. Many HP systems use Esc or F9. Lenovo often uses F12 or the Novo button. ASUS, Acer, and MSI machines vary, so check the screen during startup or your device manual.
Choose the USB drive in UEFI mode when available. You may see two entries for the same USB stick, one marked UEFI and one not. For Windows 11 and most modern computers, choose UEFI. This helps Windows install with the correct partition style and bootloader.
If the USB does not appear, try another USB port, disable Fast Boot in firmware settings, or recreate the USB drive. If Secure Boot causes trouble with your chosen tool, check whether the tool supports Secure Boot or temporarily adjust the setting in UEFI. After Windows is installed, you can usually enable Secure Boot again if the system supports it.
Step 6: Start Windows Setup
Once the installer loads, choose your language, time format, and keyboard layout. Click Install. Enter your product key if prompted, or choose the option to continue without one if your license is tied to the hardware or you plan to activate later.
When asked what type of installation you want, select Custom: Install Windows only. This is the clean installation path. The upgrade option is not for replacing Ubuntu directly.
Step 7: Choose the Right Drive or Partition
This is the most important screen in the entire process. Windows Setup will show available drives and partitions. Read carefully.
If You Are Replacing Ubuntu
Delete the Ubuntu-related partitions on the target drive until you have unallocated space. Then select that unallocated space and click Next. Windows will create the partitions it needs automatically.
If You Are Dual Booting
Select the unallocated space you prepared earlier. Do not delete your Ubuntu partitions. Windows will install into the free space and create its own required partitions if needed. If you are not sure which partition is which, stop and review. The installer does not reward bravery; it rewards accuracy.
If You Have Multiple Drives
Install Windows on the intended drive. To avoid bootloader confusion, some advanced users temporarily disconnect other drives during installation. On laptops, that is not always practical, but on desktops it can make the process cleaner.
Step 8: Complete the Windows Out-of-Box Experience
After copying files, the computer will restart. Remove the USB drive when Windows begins booting from the internal drive, or leave it inserted but avoid booting into the installer again. Windows will ask for region, keyboard, network, privacy, account, and device settings.
Windows 11 Home and Windows 11 Pro for personal use generally expect internet connectivity and a Microsoft account during initial setup. After setup, run Windows Update immediately. Then install drivers from your PC manufacturer if needed, especially chipset, graphics, Wi-Fi, Bluetooth, audio, and touchpad drivers.
What Happens to Ubuntu After Installing Windows?
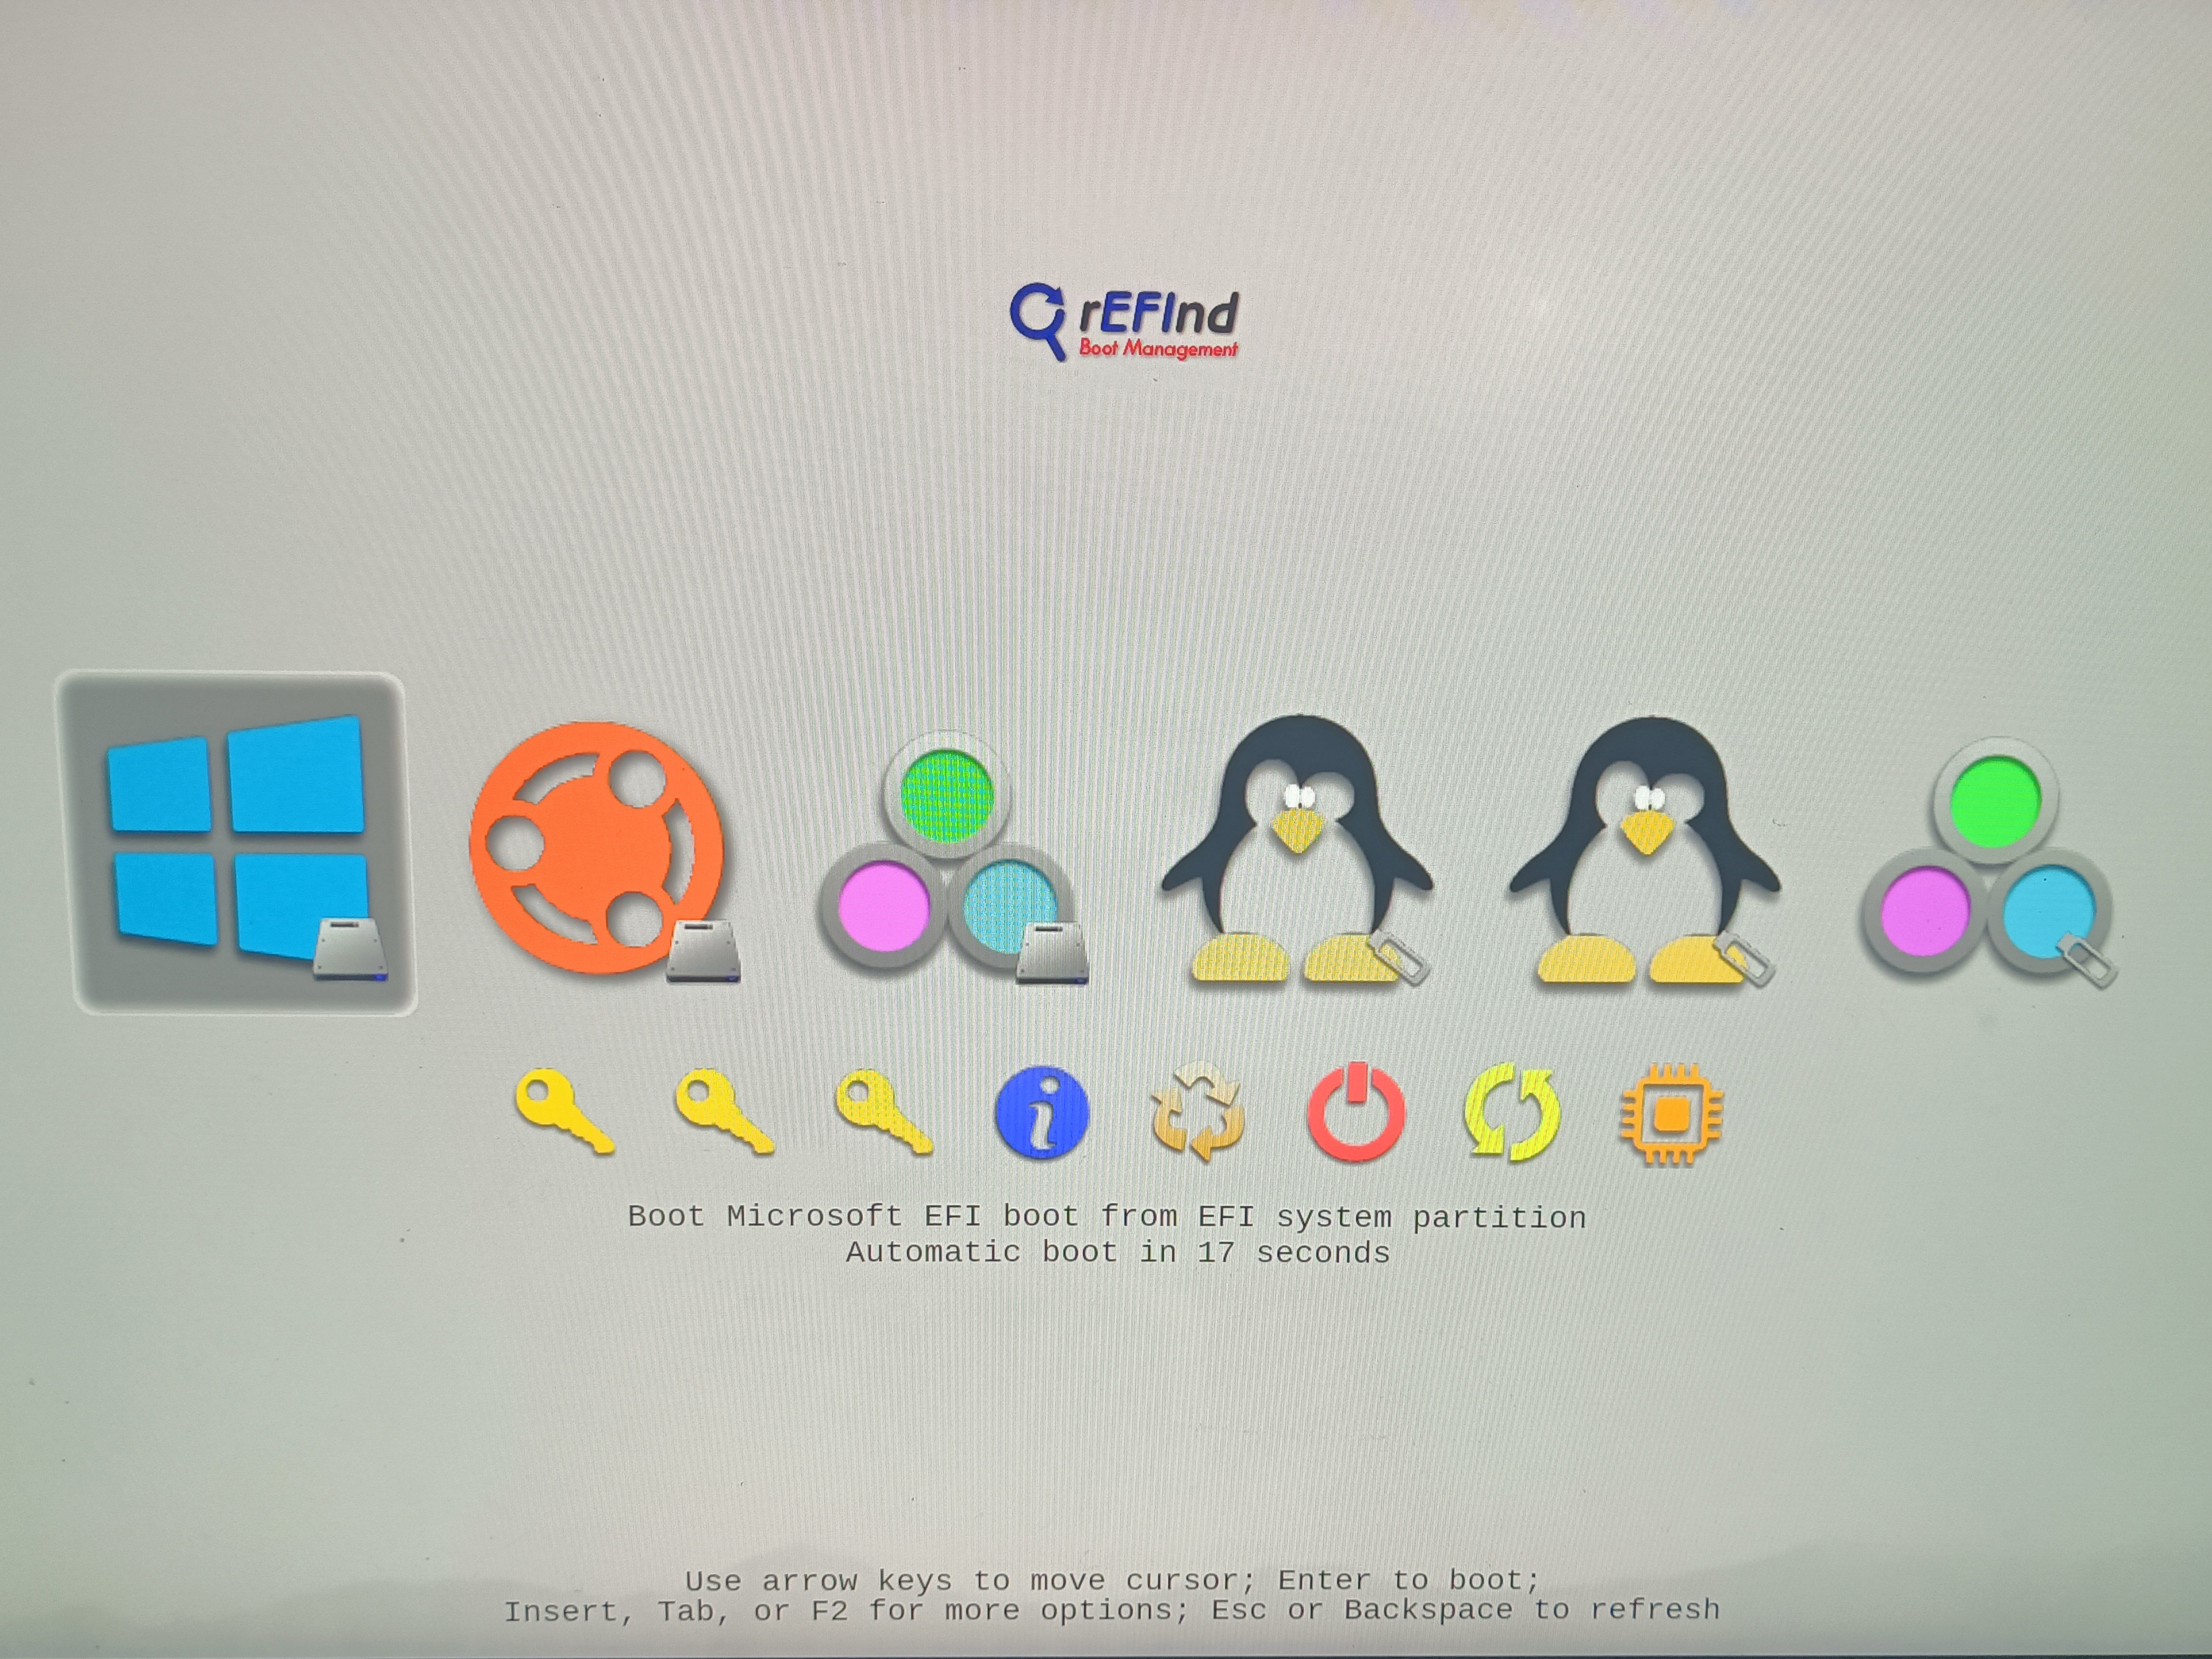
If you replaced Ubuntu, it is gone from the internal drive. Your files are recoverable only from backup. If you dual booted, Ubuntu may still be there, but Windows may take control of the boot order. That does not always mean Ubuntu was deleted. It may simply be hidden behind Windows Boot Manager.
Enter UEFI settings and check the boot order. You may see entries for Windows Boot Manager and Ubuntu. If Ubuntu is available, move it above Windows Boot Manager or use the one-time boot menu when needed. If GRUB no longer appears, you can repair it from an Ubuntu live USB.
For dual-boot systems, it is also smart to disable Windows Fast Startup. Fast Startup can leave Windows partitions in a hibernated state, which may cause problems when accessing shared NTFS partitions from Ubuntu.
Common Problems and Fixes
The USB Drive Does Not Boot
Recreate the USB using Ventoy or WoeUSB-ng. Try a different USB port, preferably a direct port on the laptop or motherboard. Avoid cheap USB hubs during installation. Also check whether your firmware is set to UEFI mode.
Windows Says the PC Does Not Meet Requirements
Check TPM 2.0, Secure Boot capability, CPU support, RAM, and storage. Some PCs have TPM disabled in firmware under names such as Intel PTT or AMD fTPM. Enable it if available. Avoid unofficial requirement bypasses for a daily-use PC unless you fully understand the support risks.
No Drive Appears in Windows Setup
This often happens on systems using certain storage controller modes, especially Intel RST or VMD. You may need to load storage drivers from the manufacturer or change the storage mode in UEFI. Be careful: changing storage mode can affect an existing operating system.
Wi-Fi Does Not Work After Installation
Use Ethernet, USB tethering from a phone, or another computer to download the correct Wi-Fi driver from the laptop manufacturer. Once networking works, Windows Update usually finds many remaining drivers.
Ubuntu Disappeared from the Boot Menu
If you intended to dual boot, boot from an Ubuntu live USB and repair GRUB. Also check UEFI boot entries. In many cases, Ubuntu is still installed, but Windows changed the default bootloader.
Best Practices for a Clean Windows Installation from Ubuntu
Use official ISO files. Use a reliable USB stick. Back up first. Choose UEFI mode. Make enough space. Do not rush the partition screen. Keep your laptop plugged in. Download drivers ahead of time if the machine has unusual hardware. Write down what you changed in BIOS or UEFI so you can reverse it later.
If you are installing Windows for gaming, check GPU drivers after setup. If you are installing Windows for school or work, install security updates before adding sensitive accounts. If you are installing Windows because one specific app does not run well on Ubuntu, consider whether a virtual machine would be enough. For heavy gaming, CAD, Adobe tools, or firmware utilities, native Windows is usually better. For light Office tasks, a VM may be more convenient.
Real-World Experience: Lessons from Installing Windows from Ubuntu
The first lesson is simple: the USB tool matters. Many people assume all ISO files behave the same way. They do not. Ubuntu ISO files are famously easy to write to USB media, while Windows ISO files can be fussier because of file size, boot structure, and firmware expectations. In real installations, Ventoy often saves time because you install Ventoy once, copy the ISO, and boot. It feels almost too easy, which is exactly how a bootable USB tool should feel. WoeUSB-ng is also useful when you want a dedicated Windows installer, especially for machines that dislike multi-boot USB menus.
The second lesson is that the partition screen deserves your full attention. Most disasters happen there, not during the download or the USB creation. If a laptop has one internal drive, replacing Ubuntu is straightforward: delete Linux partitions and install Windows into unallocated space. Dual booting requires more patience. You need to shrink Ubuntu first, leave clean unallocated space, and then make sure Windows Setup uses only that space. When someone says, “I accidentally deleted Ubuntu,” what they usually mean is, “I clicked too quickly on the partition screen.” Coffee helps, but reading helps more.
The third lesson is that firmware settings can make a normal job look broken. A perfectly good USB installer may not appear if Fast Boot is enabled, the port is picky, or the system is looking for legacy boot when the installer was prepared for UEFI. On newer Windows 11 machines, UEFI is the correct path. TPM and Secure Boot settings can also confuse users because manufacturers use different labels. Intel PTT and AMD fTPM are easy to overlook if you are expecting the menu to literally say “TPM 2.0.”
The fourth lesson is to plan for drivers before you need them. Most Windows installations find basic drivers automatically, but Wi-Fi is the one that loves drama. If Windows installs but cannot connect to the internet, you may feel stuck. Downloading the Wi-Fi driver in advance, or having Ethernet or USB phone tethering ready, can turn a frustrating hour into a five-minute fix. For laptops, the manufacturer’s support page is usually better than hunting random driver packages online.
The fifth lesson is that dual booting is not scary, but it is slightly high-maintenance. Windows updates may adjust boot order. Ubuntu may need GRUB repair. Shared NTFS partitions work best when Windows Fast Startup is disabled. Time settings can also differ between Windows and Linux unless configured properly. None of this is terrible, but dual booting is more like owning two pets than one. They can live happily together, but occasionally one drinks from the other’s bowl and acts innocent.
Finally, patience beats cleverness. The safest installation is not the one with the fanciest command; it is the one where you backed up your files, verified the USB device name, selected the correct boot mode, and read every setup screen before clicking Next. Installing Windows from Ubuntu is completely doable, even for non-experts, as long as you treat storage operations with respect. The computer is not trying to trick you, but it also will not stop you from making confident mistakes. Slow down, double-check, and your Windows installation should land smoothly.
Conclusion
Installing Windows from Ubuntu is not difficult once you understand the workflow: back up your files, download the official Windows ISO, create a bootable USB with Ventoy or WoeUSB-ng, boot in UEFI mode, choose the correct partition, and finish Windows Setup. The most important safety rule is to know whether you are replacing Ubuntu or dual booting with it. That single decision controls how you handle partitions and boot settings.
For most users, Ventoy is the easiest method because it lets you copy the Windows ISO directly to the USB drive after installation. WoeUSB-ng remains a strong choice for creating a traditional Windows installer from Linux. Whichever tool you choose, avoid random ISO files, keep backups, and take your time at the drive selection screen.
If something goes wrong, do not panic. Most problems are fixable: recreate the USB, check UEFI settings, enable TPM, load storage drivers, or repair GRUB. With a little preparation, Ubuntu can be the perfect launchpad for a clean Windows installation.
Note: This article is based on current practical guidance from official Microsoft Windows installation resources, Ubuntu bootable-media documentation, Ventoy documentation, WoeUSB-ng project information, and common PC manufacturer installation practices. Always check your device manufacturer’s support page for model-specific BIOS, UEFI, storage, and driver instructions before installing Windows.