
If your dream table has been living in your head rent-free, chances are the legs are the reason. A great tabletop gets the glory, sure, but the legs do the heavy lifting, literally and aesthetically. They decide whether your table feels sleek, industrial, farmhouse, modern, or like it wandered in from a warehouse and somehow got cool. That is why learning how to make a DIY metal table legs setup is less about brute force and more about smart planning, clean design, and knowing where DIY confidence ends and professional fabrication should begin.
Let’s get one thing out of the way: metal table legs are absolutely doable as a home project, but they are not a “hold my iced coffee and eyeball it” kind of project. Cutting, welding, grinding, and finishing metal can be hazardous. The safest approach for many homeowners is to handle the design, measuring, mock-up, mounting layout, and finishing decisions yourself, then have a qualified fabricator or experienced adult do the hot-work portions. That still counts as DIY in the real world, where keeping all your eyebrows is considered a win.
Start with the Table, Not the Legs
Before you choose steel tubing, sketch dramatic X-frames, or fall in love with a powder-coated matte black finish, figure out the table’s job. A dining table, desk, console, coffee table, and bench all ask different things from the base. Dining tables usually land around standard table height, desks need ergonomic legroom, coffee tables sit much lower, and benches need stability without looking clunky.
The smartest move is to begin with the top. Measure its length, width, thickness, and weight. A slim walnut slab and a chunky butcher-block top do not ask for the same leg profile. The thicker and heavier the top, the more your base needs visual and structural presence. Thin, delicate legs under a massive slab can look like the furniture version of wearing flip-flops to move a piano.
Also think about where people’s knees go. This sounds obvious until someone builds a beautiful base that turns every chair into a geometry problem. Make sure the leg placement leaves enough clearance for seating, movement, and daily life. A table should not feel like a trap disguised as décor.
Choose the Right Metal Leg Style
There is no single best metal table leg design. There is only the design that fits your top, room, and skill level.
U-Shaped Legs
These are clean, modern, and relatively forgiving visually. They work well for desks, dining tables, and benches. If you like minimalism with a pulse, U-shaped legs are usually a strong choice.
Trapezoid Legs
Trapezoid legs add a little more flair without going full spaceship. They can make a table feel custom and architectural while still keeping the look light.
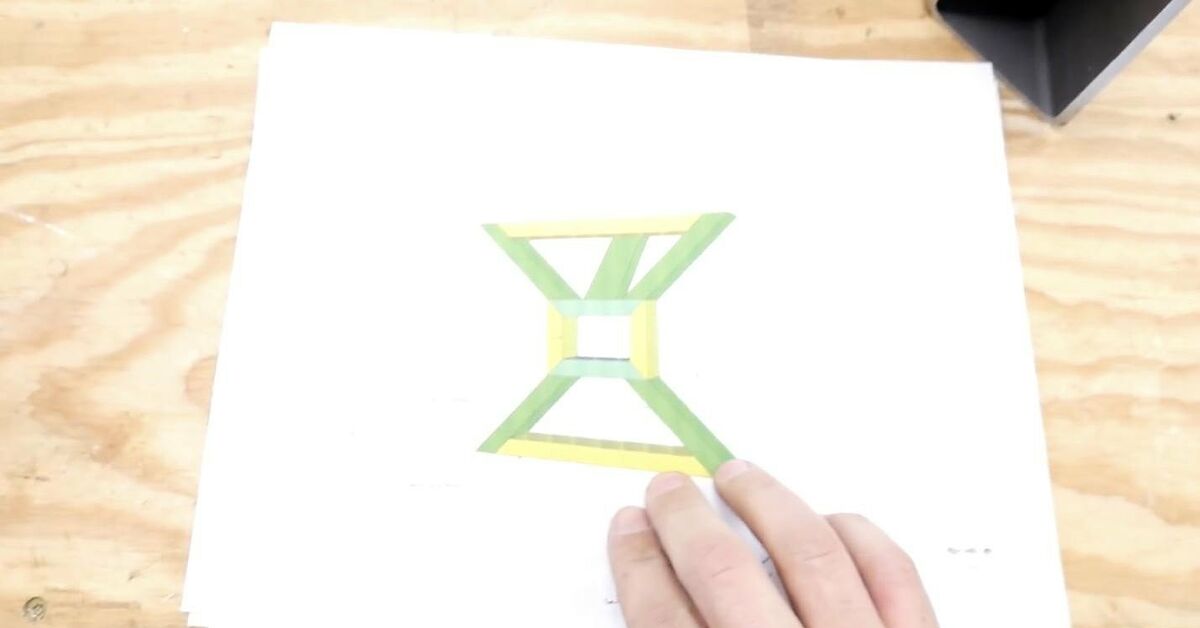
X-Frame or Cross Legs
These offer strong visual character and solid support, especially for rustic or industrial tops. The trade-off is complexity. More intersections usually mean more opportunities for alignment issues, distortion, or “why does this thing rock like a diner table from a ghost movie?”
Rectangular Tube Frames
A full welded frame can offer excellent rigidity and a very tailored look. It also demands more accuracy. If you love crisp lines and hate wobble, this style is appealing, but it rewards precision.
For many first-timers, the sweet spot is a simple, symmetrical shape with straight runs of square or rectangular tubing. It is easier to design, easier to communicate to a fabricator, and easier to match with almost any wood top.
Pick Materials That Match the Project
Mild steel is the usual go-to for DIY metal table legs because it is strong, widely available, and easier to finish than many beginners expect. Square tubing is especially popular because it offers a clean look and dependable rigidity. Rectangular tubing works well too, especially when you want a lower, wider profile for a bench or coffee table.
At this stage, restraint is your friend. You do not need the heaviest steel in the county for a normal home table. Oversized metal can make the piece harder to move, more expensive to fabricate, and visually heavy. On the flip side, going too thin can leave the base looking flimsy or feeling flexy. The goal is balance: enough strength for the top and intended use, without turning the finished table into gym equipment.
If the table will live outdoors, the finish matters just as much as the steel. Bare or poorly coated steel and weather have a long, ugly history together. For indoor tables, you have more flexibility, but moisture, spills, and humidity still matter.
The Safest DIY Workflow Is a Design-First Workflow
Here is the practical truth: the most successful DIY metal leg projects often happen when the homeowner treats the project like a designer and project manager first, not a one-person metal shop with a playlist and a dream.
Start by making a scale drawing. Include overall height, leg width, mounting plate size, and where the legs will sit relative to the tabletop edge. Then mock it up with cardboard, scrap wood, or painter’s tape on the floor. This step feels humble, but it saves real money and real regret. A mock-up reveals whether the legs feel too chunky, too skinny, too inset, or too far out toward the corners.
After that, decide which parts are safe for you to do and which should be delegated. Planning, measuring, marking, dry-fitting, cleaning, paint prep, and final attachment can be homeowner-friendly. Cutting steel, welding joints, and controlling fumes and fire risk are different categories entirely. If you do not already have the tools, training, ventilation, and protective gear, this is where a fabrication shop earns its keep.
Think of it this way: ordering a custom wedding cake does not mean you failed at dessert. It means you wanted the frosting to stay on the cake. Same logic.
What Makes Metal Legs Actually Work Well
Pretty legs are nice. Stable legs are nicer.
The best metal table bases usually share a few traits. First, they are square and level. Second, their welds or joints are balanced so the frame does not pull out of alignment. Third, the mounting plate or top connection is designed to work with wood movement. That last part is a big deal.
Solid wood expands and contracts across the grain with seasonal humidity changes. Metal does not move the same way. If you lock a wood top rigidly to a metal base with no allowance, the wood may eventually protest by splitting, bowing, or stressing the fasteners. That is why slotted mounting holes are such an important detail. They allow the top to move a little instead of forcing it to behave like plastic. Wood is beautiful, but it is also stubborn. Respect the grain, and everybody gets along.
Mounting plates should also be substantial enough to support the top without telegraphing every tiny imperfection. Adjustable levelers can be worth their weight in gold on uneven floors. They are not glamorous, but neither is a wobbly dining table.
Attaching the Legs to a Wood Top
This is where many otherwise gorgeous projects go sideways. People obsess over the metalwork, then attach the base like they are bolting down a bridge. Easy there, Captain Infrastructure.
A wood tabletop should usually be attached in a way that allows for seasonal movement. In practice, that often means a mounting plate with slotted holes, carefully placed fasteners, and a centered layout that keeps the top balanced. The connection should feel secure without being so rigid that it fights the wood.
Before final attachment, place the top upside down on a padded surface, position the finished base carefully, and confirm the reveal on all sides. Small layout errors are surprisingly visible once the table is standing in the middle of a room under actual human lighting, which is much less forgiving than workshop optimism.
Also, think ahead. Will the table need to fit through a doorway? Will you ever move homes? Can the base be detached later without drama? Smart DIY is not only about building; it is about future you, who may eventually need to carry this masterpiece down a hallway while muttering creative words.
Finish Like You Mean It
Raw steel can look amazing, but only if it is intentionally protected. Otherwise, it tends to age like a banana left on a dashboard.
For many indoor projects, a durable primer-and-paint system works well. Surface prep matters more than people want it to. Loose rust, residue, oils, and dust can ruin adhesion and shorten the life of the finish. A properly prepped surface gives paint or clear coat a fighting chance. If you want the toughest, most uniform result, powder coating is often the premium option, especially for a table that will see heavy use.
Matte black remains the classic choice because it plays nicely with nearly every wood species, from light oak to dark walnut. Clear-coated steel offers more workshop-chic character, including some natural variation. White, bronze, and custom colors can look fantastic too, but only when the room supports them. Not every table needs to audition for a design show.
Common Mistakes That Ruin the Look
Ignoring Top Thickness
If you build the legs to a fixed height and forget to subtract the tabletop thickness, your “standard” dining table can end up awkwardly tall or annoyingly short.
Choosing Style Over Function
A dramatic leg shape may look amazing online and behave terribly in a real dining room. Always check seating clearance and foot placement.
Skipping a Mock-Up
Sketches lie. Full-size mock-ups tattle.
Overcomplicating the First Build
Your first project does not need compound angles, decorative gussets, and a finish schedule worthy of a concept car. Simpler shapes usually look more expensive anyway.
Forgetting Wood Movement
This is the big one. A beautiful slab paired with rigid mounting is a slow-motion argument between two materials.
A Better DIY Strategy for Beginners
If this is your first time tackling metal legs, here is the most realistic path: design a clean shape, confirm your dimensions, mock it up, source the steel, and have the cutting and welding done by a qualified shop or experienced fabricator. Then handle final finishing, top prep, installation, and styling yourself. You still control the design, the look, and the finished piece, but you avoid treating dangerous shop work like a casual Saturday craft.
This hybrid approach often produces a better result than an all-in solo attempt. The frame is more likely to be square, the welds cleaner, and the finish smoother. More importantly, your project becomes repeatable. Once you have one good design, you can reuse the pattern for benches, desks, console tables, or nightstands. Suddenly you are not just building furniture; you are building a system. Very suspiciously efficient.
Experience Notes: What Building DIY Metal Table Legs Teaches You
The funny thing about a project like this is that the metal legs rarely teach you only about metal. They teach you about patience, proportion, humility, and the emotional power of a tape measure. You start by thinking, “I just need legs.” Then, three sketches later, you are debating overhang, discussing floor levelers like a philosopher, and staring at a slab of wood as if it personally owes you clarity.
One of the biggest lessons people learn from making a DIY metal table base is that furniture is all about relationships. The top and the legs have to relate. The weight of the wood has to relate to the visual weight of the steel. The table has to relate to the room, the chairs, the traffic flow, and even the people who will bump into it while carrying laundry or setting down pizza boxes. A table is never just a table. It is a daily-use object that gets judged by coffee mugs, elbows, children, pets, laptops, and life in general.
Another experience builders talk about is how much confidence comes from simply getting the proportions right. Even before the final finish goes on, a well-sized base changes everything. The piece starts looking intentional. It stops feeling like a project and starts feeling like furniture. That moment is oddly satisfying. It is the home-improvement equivalent of putting on a jacket that actually fits.
There is also a deeper appreciation for craftsmanship once you go through the process. When you price custom furniture after attempting your own design, it suddenly makes more sense. Good work takes time. Accurate cutting takes care. Clean fabrication takes skill. Durable finishing takes prep. Once you understand how many little decisions go into a table leg, you stop seeing furniture as random stuff and start seeing it as solved problems made beautiful.
Many first-time builders are surprised by how much the final success depends on the boring parts. Not the glamorous leg shape. Not the stain color. Not the dramatic reveal photo. The boring parts. Measurement. Layout. Surface prep. Hardware choice. Mounting strategy. These are the parts that separate a table that lasts from a table that becomes a cautionary tale in the group chat.
Then there is the emotional side. DIY metal table legs can be intimidating because metal feels less forgiving than wood. Wood can sometimes be sanded, filled, softened, or charmed into cooperation. Metal tends to keep receipts. If something is out of square, it will let you know forever. But that is also what makes the project rewarding. When the finished table stands flat, feels stable, and looks sharp, the satisfaction is real because you know accuracy made it happen.
In the end, the best experience is not saying, “I welded this myself,” unless that is actually true and you had the right training. The best experience is saying, “I built the table I wanted, and I built it smart.” That might mean doing every step personally. It might mean designing it yourself and bringing in help for the dangerous parts. Either way, the win is the same: you end up with a custom piece that fits your home, your taste, and your actual life.
And that is the beauty of a DIY metal table legs project. It is practical, creative, slightly obsessive, and deeply satisfying. It makes you notice details. It makes you respect materials. And once it is done, every time someone says, “Where did you get that table?” you get to smile a little and say, “That? It started as an idea, a sketch, and a very serious relationship with measurements.”
Final Thoughts
If you want a table that looks custom, lasts for years, and feels more expensive than it really was, metal legs are a smart move. The trick is to approach the project with design discipline and safety sense. Measure carefully, choose a leg style that matches the top, allow for wood movement, and do not confuse bravery with fabrication skill. A great DIY project is not the one that risks the most. It is the one that turns out beautifully and keeps the story pleasant enough to retell.
So yes, you can absolutely make a DIY metal table legs project happen. Just do it with a plan, a mock-up, a respect for materials, and the wisdom to outsource the scary sparks when needed. Your future table, and quite possibly your future eyebrows, will thank you.