
Making a custom iPhone ringtone on a PC sounds like it should be as simple as right-clicking a song and choosing “Make My Phone Sound Fancy.” Unfortunately, Apple has historically treated ringtones like a tiny digital puzzle box: you need the right file type, the right length, the right transfer method, and enough patience not to name your file “ringtone-final-FINAL-actually-final.m4r.”
The good news? Once you understand the workflow, creating iPhone ringtones on Windows is very doable. Whether you want the chorus of your favorite song, a voice memo, a funny sound effect, a game notification, or a five-second “pick up your phone already” alert, this guide walks you through the process in plain English.
This article explains how to make iPhone ringtones on a PC using iTunes for Windows, how to prepare audio properly, how to convert files to the iPhone-friendly M4R format, how to transfer the ringtone to your iPhone, and how to fix the common issues that make people stare at their USB cable like it personally betrayed them.
What You Need Before Making an iPhone Ringtone on Windows
Before you start trimming songs and renaming files, gather a few basics. You will need a Windows PC, your iPhone, a USB or USB-C cable, and either iTunes for Windows or Apple’s newer Windows apps depending on your setup. Many PC users still rely on iTunes for custom ringtone work because the classic ringtone process was built around creating an AAC file and changing it into an M4R ringtone file.
You also need an audio file you are allowed to use. This may be an MP3, WAV, M4A, or another supported audio format. It could be a song you own, a sound you recorded yourself, royalty-free audio, or a personal clip. Avoid using Apple Music streaming tracks for this process because subscription songs are not the same as files you fully own and can freely convert. If the track is protected, cloud-only, or unavailable as a local file, it may not work.
Quick Checklist
- A Windows 10 or Windows 11 PC
- iTunes for Windows or access to Apple’s Windows device tools
- An iPhone and charging cable
- A local audio file, preferably MP3, WAV, or M4A
- File name extensions enabled in Windows File Explorer
- A ringtone clip no longer than about 30 seconds
Understanding the iPhone Ringtone Format
iPhone ringtones commonly use the .m4r file extension. An M4R file is essentially an AAC audio file prepared for ringtone use. That is why many tutorials begin by converting a song to AAC, locating the newly created M4A file, and then changing the extension from .m4a to .m4r.
Think of it like dressing your audio file for the correct event. The sound itself may not change much, but the file extension tells your iPhone, “This is not just music; this is a ringtone.” Your iPhone is picky, but at least it is consistent about being picky.
Step 1: Choose the Best Part of the Song or Audio Clip
A good ringtone is short, recognizable, and not too chaotic. The first three seconds matter most because that is usually when you decide whether to answer the call, ignore it, or pretend your phone is not yours. Choose a section with a clear hook, clean vocal line, memorable guitar riff, or sound effect that starts quickly.
For example, if you are using a song, the chorus may be a better choice than a slow intro. If you are using a spoken clip, cut directly to the funny line. If you are making a ringtone from your dog barking, first of all, excellent taste. Second, choose the cleanest bark, not the part where someone in the background yells, “Who left the fridge open?”
Best Ringtone Length
Keep your ringtone under 30 seconds. In practice, 15 to 25 seconds is often better. A ringtone does not need to be a full concert. It only needs to alert you before everyone in the coffee shop silently judges your taste in audio branding.
Step 2: Add the Audio File to iTunes on Your PC
Open iTunes on your Windows computer. If your audio file is not already in your iTunes library, add it manually. In iTunes, choose File, then Add File to Library. Select your audio file and click Open. You can also drag the file directly into the iTunes window.
Once the file appears in your library, play it once to make sure it works. If iTunes cannot play the file, convert the original audio to a more common format such as MP3 or WAV using a trusted audio editor first.
Step 3: Set the Start and Stop Time in iTunes
Now you need to tell iTunes which part of the track should become your ringtone. Find the song in your iTunes library, right-click it, and choose Song Info. Click the Options tab. You will see fields for start and stop.
Enter the exact start and stop times for the ringtone section you want. For example, if the best part begins at 0:42 and ends at 1:07, enter 0:42 as the start time and 1:07 as the stop time. That creates a 25-second section.
Click OK. Do not worry: this does not permanently cut the original song. It simply tells iTunes what portion to use when creating the converted copy. Later, you should return to the original song and remove those start and stop settings so the full track plays normally again.
Step 4: Set iTunes to Convert Audio Using AAC Encoder
To create a ringtone-friendly file, iTunes should convert the clip to AAC. In iTunes for Windows, go to Edit, then Preferences. Under the General tab, click Import Settings. In the “Import Using” menu, choose AAC Encoder. Click OK, then click OK again to close Preferences.
This step matters because the final ringtone file usually starts as an AAC file. If iTunes is set to create MP3 versions instead, you will not get the M4A file you need for the usual M4R conversion method.
Step 5: Create the AAC Version
Select the song again in iTunes. Then go to File, choose Convert, and click Create AAC Version. iTunes will create a new copy of the track using only the start and stop times you selected.
You should now see two versions of the track in your library: the original full-length track and the short ringtone-length copy. Check the duration carefully. If your new version is still several minutes long, go back and confirm that the start and stop boxes were checked in the Options tab.
Step 6: Find the New AAC File in Windows
Right-click the short AAC version in iTunes and choose Show in Windows Explorer or Show in File Explorer. Windows will open the folder where the new file is stored. The file should end in .m4a.
If you cannot see the file extension, enable extensions in Windows. Open File Explorer, choose View, select Show, and turn on File name extensions. This is important because changing “SongName” to “SongName.m4r” will not work if Windows is hiding the real extension. You might accidentally create something like SongName.m4r.m4a, which is the file-format equivalent of wearing socks over shoes.
Step 7: Rename the File from M4A to M4R
In File Explorer, click the short AAC file once, then rename it. Change the extension from .m4a to .m4r. Windows may warn you that changing a file extension could make the file unusable. Click Yes.
You now have an iPhone ringtone file. The audio has been trimmed, converted, and dressed in its proper ringtone uniform.
Step 8: Add the M4R Ringtone to Your iPhone
Connect your iPhone to your PC using a cable. Unlock your iPhone and tap Trust This Computer if prompted. In iTunes, click the small iPhone icon when it appears.
Depending on your iTunes version, you may be able to drag the M4R file directly onto your device in iTunes. Some setups show a Tones section under the connected iPhone. Drag the M4R file into that area or onto the iPhone device section. Then sync your iPhone.
If you are using Apple’s newer Windows apps, such as Apple Music, Apple TV, and Apple Devices, your workflow may look different. Apple has been moving Windows users toward separate apps for music, TV, and device management. However, custom ringtone transfer can still be less straightforward than ordinary music syncing. If the ringtone does not appear after using the newer Apple Devices app, the classic iTunes method, GarageBand method, or direct iPhone method may be easier depending on your iOS version.
Step 9: Set the Custom Ringtone on Your iPhone
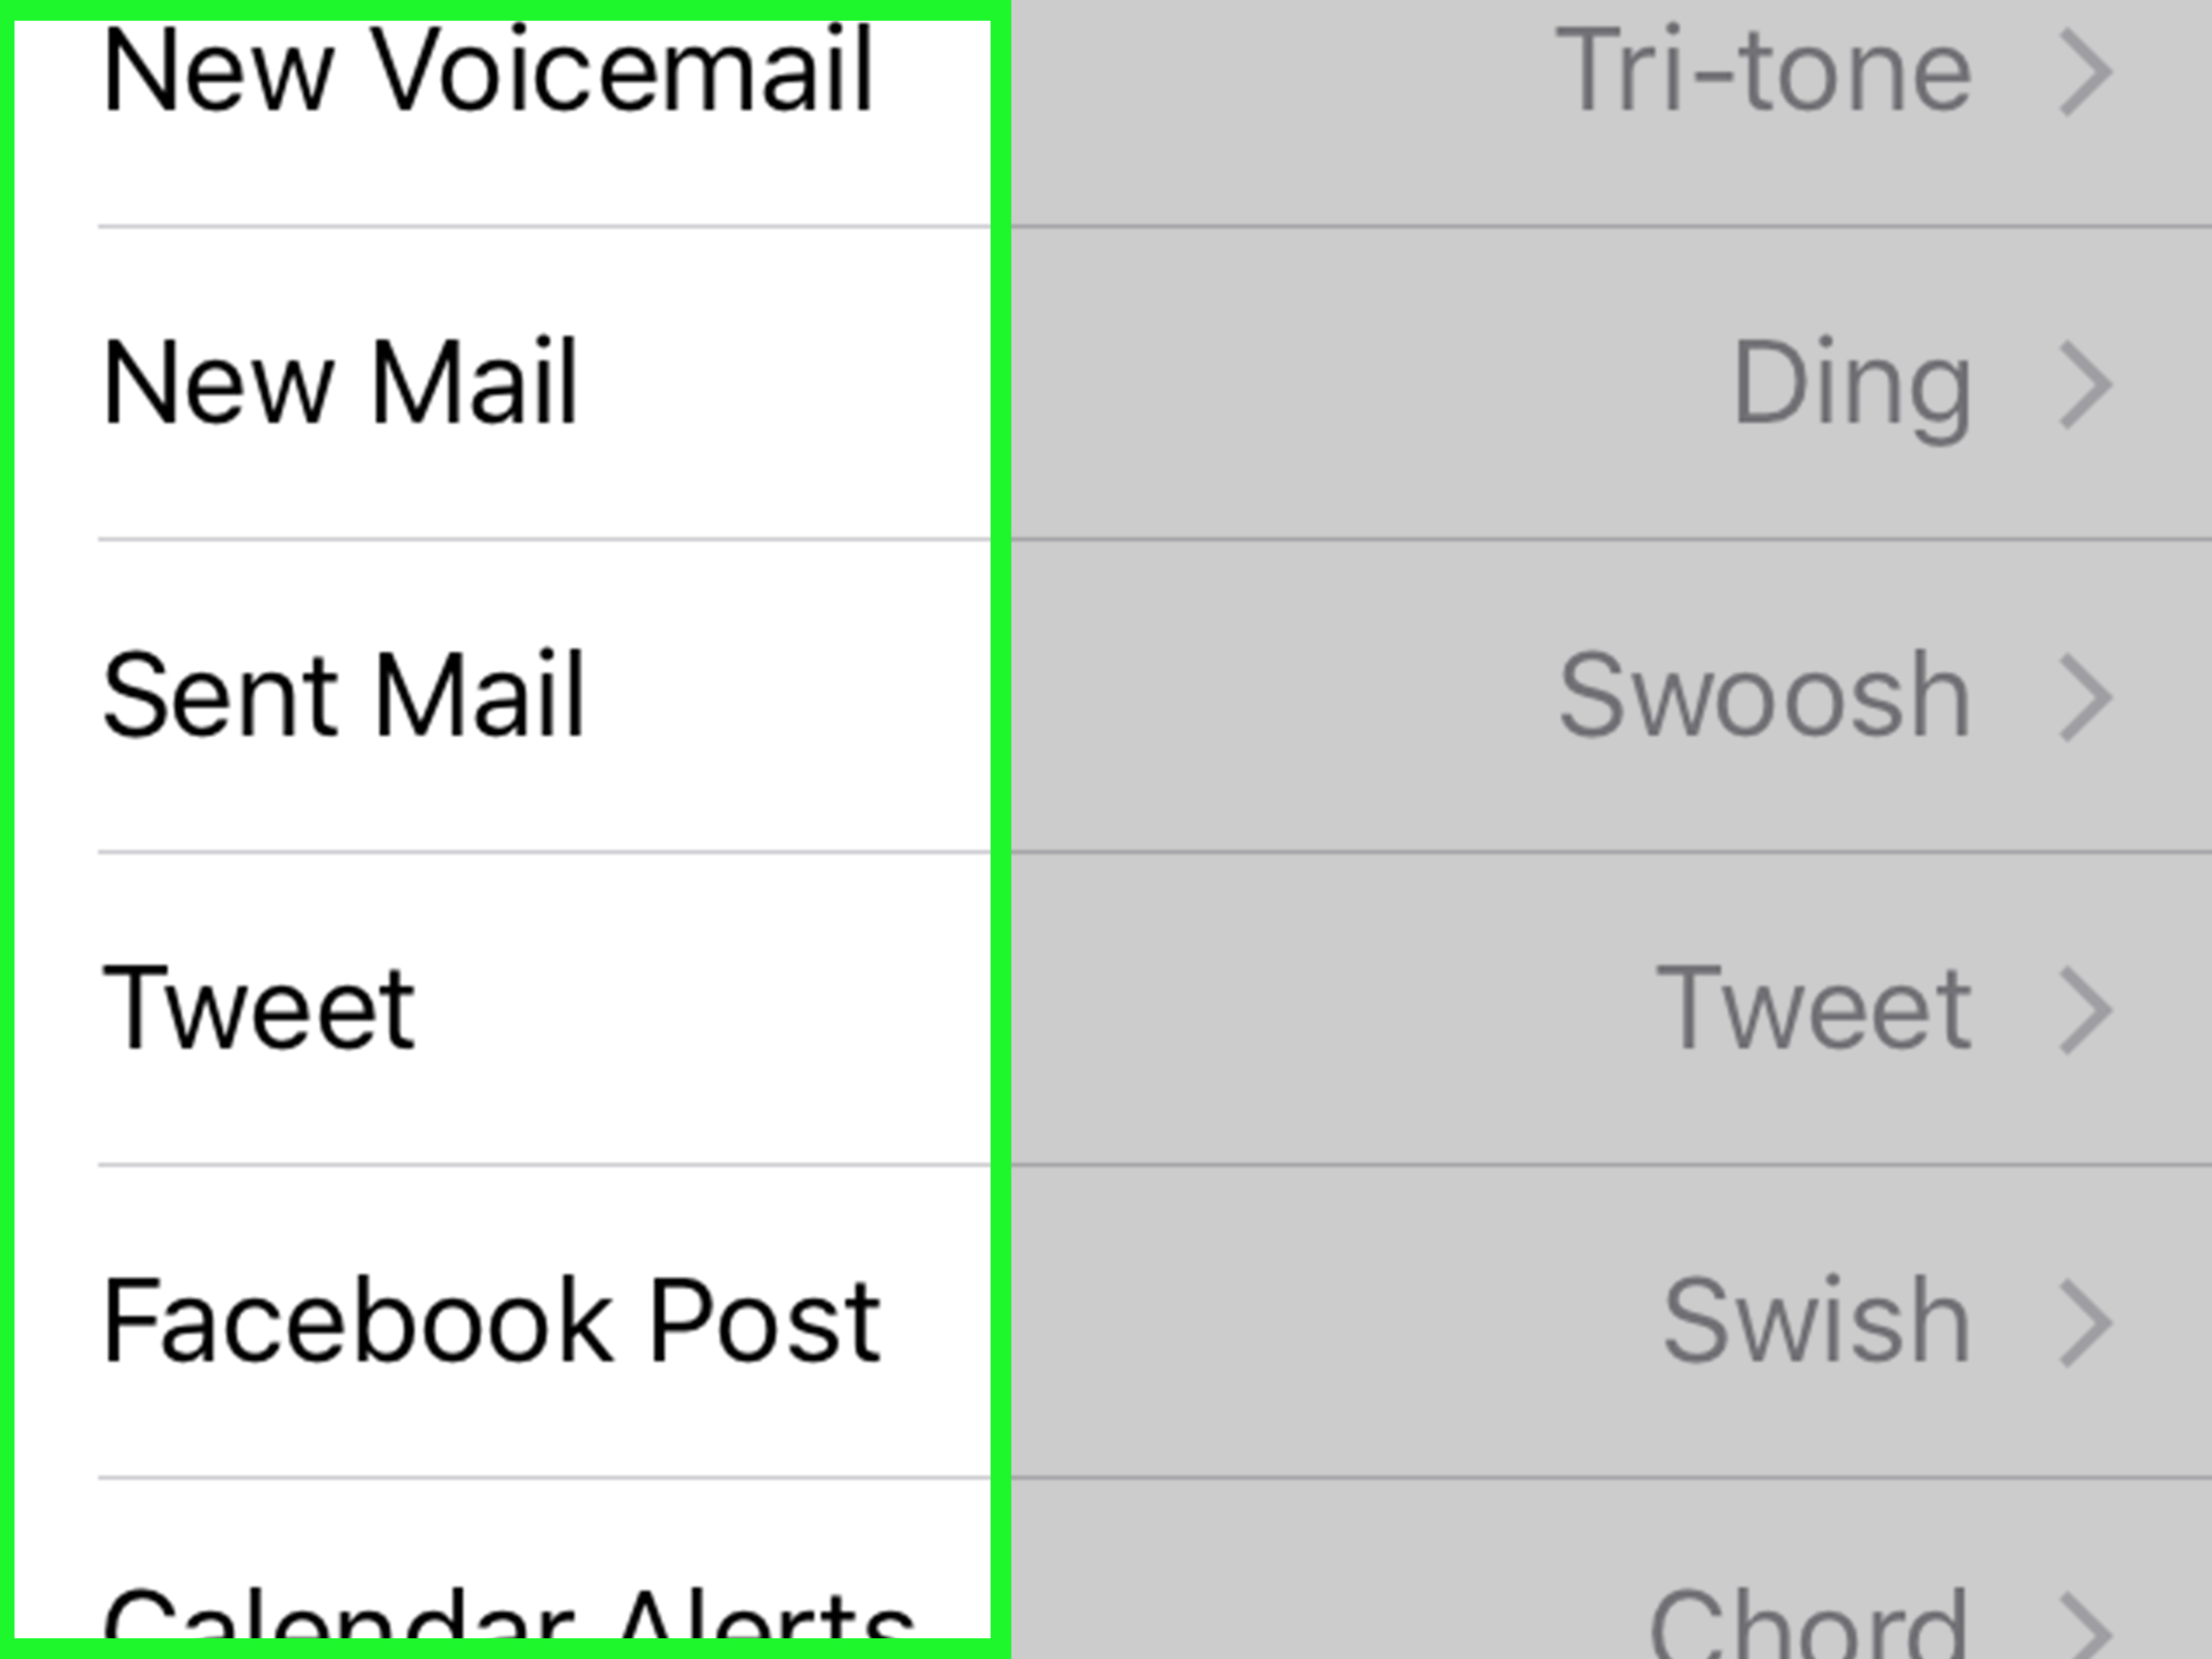
After the ringtone is transferred, open your iPhone and go to Settings. Tap Sounds & Haptics, then tap Ringtone. Your custom tone should appear near the top of the list. Tap it to set it as your default ringtone.
You can also assign a custom ringtone to a specific contact. Open the Contacts app, choose a person, tap Edit, tap Ringtone, and select your custom sound. This is useful if you want one ringtone for family, another for work, and a dramatic movie-trailer horn for the one friend who only calls when they need help moving furniture.
Alternative Method: Edit the Audio First with Audacity
If you want more control over the sound, use an audio editor such as Audacity before bringing the file into iTunes. This is especially helpful when the track is too quiet, too long, has a slow fade-in, or includes background noise.
Open the audio file in Audacity, select the section you want, trim it, and export it as a common format such as WAV or MP3. A WAV file is larger but keeps quality high before conversion. An MP3 file is smaller and easier to handle. After exporting, add the file to iTunes and follow the AAC-to-M4R process described above.
When Audacity Helps Most
- You want to fade in or fade out the ringtone.
- The original audio is too quiet.
- You need to remove silence at the beginning.
- You are combining multiple clips.
- You are making a ringtone from your own recording.
Can You Make iPhone Ringtones Without iTunes?
Yes, but the best method depends on your iPhone and iOS version. Apple’s GarageBand app can create and assign custom ringtones directly on the iPhone. Newer iOS workflows have also made it easier in some cases to use short audio files from the Files app. However, for PC users who already have local music files on Windows, iTunes remains one of the most familiar ways to create an M4R ringtone.
If you are using an iPhone with a recent iOS version, it is worth checking whether your device allows you to set a short audio clip as a ringtone directly from Files or through GarageBand. Still, the PC method is useful when your audio library lives on Windows, when you want precise trimming, or when you prefer managing files manually.
Common Problems and How to Fix Them
The Ringtone Does Not Show Up on the iPhone
First, confirm that the file ends in .m4r, not .m4a or .m4r.m4a. Next, make sure the ringtone is short enough. If it is too long, trim it again and create a new AAC version. Also confirm that your iPhone successfully synced after you added the ringtone.
“Create AAC Version” Is Missing
If you do not see “Create AAC Version,” check your iTunes import settings. Go to Edit > Preferences > General > Import Settings and choose AAC Encoder. After that, the Convert menu should offer the AAC option.
The File Extension Will Not Change
This usually happens because Windows is hiding extensions. Turn on File name extensions in File Explorer. Once extensions are visible, rename the file properly from .m4a to .m4r.
The Song Is Protected or Will Not Convert
Protected audio files and subscription-based streaming tracks may not convert. Use a DRM-free file, a purchased track that allows conversion, a personal recording, or royalty-free audio. Do not use tools that claim to remove protection from songs you do not have the right to modify.
The Ringtone Is Too Quiet
Open the audio in an editor before converting it. Increase the volume slightly, but avoid pushing it so high that it distorts. A ringtone should be loud enough to hear in a bag or across a room, not so loud that it sounds like your phone is auditioning for a disaster movie.
Tips for Making Better iPhone Ringtones
The best custom ringtones are not always the loudest or longest. In fact, shorter clips usually work better. Choose a sound with a clear beginning. Avoid long intros, heavy bass that disappears on small phone speakers, or lyrics that begin awkwardly halfway through a sentence.
If you are using music, test the clip on your iPhone speaker, not just your PC headphones. Some sounds that seem rich on headphones become muddy on a phone speaker. High-pitched melodies, crisp vocals, bells, synth hooks, and clean percussion often cut through better than deep bass.
Also consider where the ringtone will play. A hilarious ringtone may be perfect at home but less perfect in a quiet office, hospital waiting room, or serious meeting. Customization is fun, but “professional enough not to make your boss blink twice” is also a valid audio strategy.
Best Audio Ideas for Custom iPhone Ringtones
- A 20-second chorus from a favorite song
- A short instrumental loop
- A funny voice recording from a friend or family member
- A pet sound, such as a bark, meow, or bird chirp
- A game sound effect
- A soft chime for work calls
- A louder alert for important contacts
Safety, Copyright, and Common Sense
Making a ringtone for personal use is usually a simple customization task, but you should still use audio responsibly. Do not download copyrighted songs from shady websites. Do not use stolen audio. Do not install random “free ringtone maker” programs that look like they were designed during a thunderstorm in 2003.
Use files you own, music you purchased legally, recordings you made yourself, or royalty-free sound libraries. This keeps your PC safer and your ringtone collection cleaner. A ringtone is not worth malware, browser hijackers, or a mysterious toolbar named “SuperMusicSearchProPlus.”
of Real-World Experience: What Actually Makes the Process Easier
After helping many people make iPhone ringtones on a PC, one pattern becomes obvious: the technical steps are not the hardest part. The hardest part is staying organized. Most problems happen because the user has three copies of the same song, file extensions are hidden, or the ringtone clip is longer than expected. Before you begin, create a folder on your desktop called iPhone Ringtones. Put your original audio, edited clip, AAC version, and final M4R file in that folder. This one habit can save twenty minutes of confusion.
Another practical tip is to write down your start and stop times before opening the Song Info window. Listen to the track first and note the exact section you want. For example, “0:36 to 0:58” is much easier to enter than guessing while clicking around. If the ringtone begins too late, it may not be recognizable before the call goes to voicemail. If it begins too early, you may hear two seconds of silence or a weak intro. A ringtone should jump into action like it has somewhere to be.
Volume is another underrated detail. Many songs are mixed for headphones, car speakers, or full-size speakers, not tiny phone speakers. A bass-heavy track may sound powerful on your PC but nearly vanish on the iPhone. When testing, play the final ringtone through the iPhone speaker at a normal ringtone volume. If it sounds too soft, edit the clip and raise the gain slightly. If it crackles, you pushed it too far. Clean audio beats loud-but-crunchy audio every time.
It is also smart to make several versions of a ringtone before choosing the final one. Try a 12-second version, a 20-second version, and a 28-second version. You may discover that the shorter clip is actually more effective. The goal is not to create a mini music video; the goal is to know who is calling before your phone finishes vibrating off the table.
For people who use ringtones for different contacts, keep the mood practical. Use a calm tone for work, a fun tone for friends, and a distinct tone for family. If every contact gets a loud novelty sound, the novelty disappears fast. Worse, you may train yourself to dread your own ringtone. That is not personalization; that is emotional sabotage with a file extension.
Finally, keep a backup of your M4R files. When you upgrade phones, reinstall Windows, or move to a new Apple app setup, custom tones can be easy to lose. Store your finished ringtones in a cloud folder or external drive. A good custom ringtone can last for years, especially if it is personal, clean, and not annoying by the third ring. Once you get the process right, making iPhone ringtones on a PC becomes less like a tech chore and more like giving your phone a tiny personality upgrade.
Conclusion
Learning how to make iPhone ringtones on a PC is mostly about understanding Apple’s preferred format and following the steps in the right order. Choose a short audio clip, add it to iTunes, set the start and stop time, convert it to AAC, rename the file from M4A to M4R, transfer it to your iPhone, and select it in Sounds & Haptics. That is the whole recipe.
The process may feel fussy the first time, but once you make one ringtone successfully, the next one takes only a few minutes. Whether you want a polished musical hook, a custom alert for one contact, or a deeply unserious sound effect that makes you laugh every time your phone rings, a Windows PC can absolutely get the job done.