
A freshly stained wood deck can make the whole backyard look like it finally has its life together. The boards look richer, the grain pops, and suddenly that slightly wobbly patio chair feels less like a yard-sale survivor and more like “intentional outdoor design.”
Learning how to stain a wood deck is not complicated, but it is one of those projects where preparation does most of the heavy lifting. Skip the cleaning, stain damp boards, or rush through the application, and your deck may reward you with blotches, peeling, sticky footprints, and a finish that ages faster than a banana in July.
This guide explains how to stain a wood deck step by step, including the materials list, deck preparation, stain selection, application techniques, drying tips, and common mistakes to avoid. Whether you are refinishing an old pressure-treated deck or protecting a newer cedar deck, the goal is the same: help the wood look good while standing up to sun, rain, foot traffic, barbecue drips, and the occasional mystery stain.
Why Staining a Wood Deck Matters
Deck stain is more than outdoor makeup. A quality exterior wood stain helps reduce the effects of ultraviolet light, moisture, dirt, mildew, and ordinary wear. Sun exposure can turn wood gray and brittle-looking over time, while rain and snow can encourage swelling, splitting, and surface damage.
Depending on the product, deck stain may also include water-repellent protection. Some stains are designed as stain-and-sealer combinations, while others require a separate protective sealer. Either way, the main job is to help the wood resist the outdoor elements without trapping moisture where it does not belong.
Staining also makes routine deck care easier. A protected surface is generally simpler to sweep, rinse, and maintain than raw wood that has been left to battle every storm, spilled drink, falling leaf, and pollen invasion on its own.
Materials List for Staining a Wood Deck
Before beginning, gather everything you need. Stopping halfway through to search for a brush is an excellent way to create lap marks and invent new vocabulary.
Essential Materials
- Exterior wood deck stain or stain-and-sealer product
- Wood deck cleaner
- Wood brightener or neutralizer, if needed
- Wood stain stripper, if removing an old failing finish
- Stiff-bristle deck brush
- Garden hose with spray nozzle
- Bucket
- Paint tray or stain bucket
- High-quality exterior brush
- Stain pad or paint pad applicator
- Extension pole for the stain pad or roller
- Roller and roller cover, if recommended for your stain
- Painter’s tape
- Drop cloths or plastic sheeting
- Sandpaper, usually medium grit for rough areas
- Orbital sander or pole sander, optional but useful
- Putty knife or scraper
- Replacement deck screws
- Rags for cleanup and wiping excess stain
Safety Gear
- Safety glasses
- Rubber or chemical-resistant gloves
- Dust mask or respirator for sanding and chemical products
- Long sleeves and work pants
- Closed-toe shoes with good traction
If you are sanding or scraping a painted deck on an older home, take extra care. Old coatings may create hazardous dust when disturbed. Keep children and pets away from the work zone, use proper protective gear, and consider professional testing or lead-safe renovation practices when appropriate.
Choose the Right Deck Stain Before You Start
The best deck stain depends on the condition of the wood, how much grain you want to show, your climate, and how much future maintenance you are willing to tolerate. There is no single magic can that works perfectly for every deck, despite what the aisle of shiny labels may suggest.
Clear or Transparent Deck Stain
Clear finishes offer minimal color and allow the natural character of the wood to remain visible. They are a good choice for attractive new wood, especially cedar or redwood, but they typically offer less UV protection than more heavily pigmented stains.
Transparent and Semi-Transparent Deck Stain
Transparent and semi-transparent stains add color while still allowing the wood grain to show through. These finishes are popular for homeowners who want the deck to look natural rather than painted. They can be ideal for wood that still has a decent appearance but needs protection and a visual refresh.
Solid-Color Deck Stain
Solid stain covers most of the grain and behaves more like a thin, breathable paint. It is useful for older decks with uneven color, visible repairs, stubborn discoloration, or wood that no longer looks great in its natural state. A solid finish can hide visual imperfections, but it may require more attention when it eventually starts to wear.
Oil-Based vs. Water-Based Deck Stain
Oil-based stains often penetrate deeply and can be forgiving on older, weathered wood. Water-based stains usually dry faster, have lower odor, and can be easier to clean up. Both can perform well when the surface preparation is correct and the product is used according to its label.
Do not choose solely by color. First determine what type of coating is already on the deck. Applying a transparent stain over a failing solid coating, for example, will not make the old finish disappear through positive thinking.
Step 1: Inspect the Deck Carefully
Walk across the deck slowly and look for damage before reaching for the cleaner or stain. Check for loose boards, popped nails, raised screws, splinters, soft spots, rot, cracked boards, and unstable railings.
Tighten or replace loose fasteners. Replace boards that are badly split, rotted, or structurally compromised. Sand sharp splinters and rough edges. Stain can improve the appearance of wood, but it cannot repair boards that have entered their retirement era.
Also inspect the existing finish. If the deck has peeling paint, flaking solid stain, or a thick coating that is failing in patches, you may need to strip or sand the old finish before restaining. A new coating is only as reliable as the surface underneath it.
Step 2: Check Whether the Wood Is Ready for Stain
Wood must be clean and dry before staining. If the deck is damp from rain, morning dew, pressure washing, or recent cleaning, wait until it dries thoroughly. Staining wet wood can interfere with penetration, adhesion, and curing.
A simple water-drop test can help. Sprinkle a few drops of water on several deck boards. If the water absorbs into the wood within a short time, the surface may be ready for stain. If it beads up, the wood may still contain moisture or may have an existing water-repellent finish that needs more preparation.
New pressure-treated lumber often needs time to dry before staining. Depending on weather, wood species, and treatment level, that can take several weeks. Do not stain a new deck simply because the calendar says it has been sitting there long enough. Test the wood and follow the stain manufacturer’s guidance.
Step 3: Clear and Protect the Work Area
Remove furniture, planters, rugs, grills, toys, lights, and anything else that could become permanently decorated with stain. Sweep the entire deck, including corners and gaps between boards.
Cover nearby siding, concrete, landscaping, windows, and fixtures with drop cloths or plastic sheeting. Wet nearby plants before using deck cleaner, then cover them lightly while you work. Avoid sealing plants under plastic for long periods on a hot day unless you are trying to build a tiny greenhouse they never requested.
Step 4: Clean the Wood Deck Thoroughly
Cleaning is one of the most important steps in the entire deck staining process. Dirt, mildew, pollen, sunscreen residue, old leaves, and invisible grime can prevent stain from penetrating evenly.
- Pre-rinse the deck with a garden hose.
- Apply deck cleaner according to the product directions.
- Let the cleaner sit for the recommended amount of time.
- Scrub the boards with a stiff-bristle brush, working along the wood grain.
- Rinse thoroughly so cleaner residue does not remain on the surface.
Use a pressure washer only with care. Too much pressure or holding the nozzle too close can gouge the wood, raise fibers, and leave the deck looking like it survived a disagreement with a lawnmower. Use a low-to-moderate setting, keep the nozzle moving, and maintain a safe distance from the boards.
If mildew, gray weathering, tannin stains, or old finish residue remain after cleaning, use the appropriate deck brightener, stain remover, or stripper. These products can restore a more even wood surface before staining, but they must be rinsed and allowed to dry fully.
Step 5: Sand Rough Areas and Remove Dust
Once the deck is clean and dry, inspect it again. Light sanding can smooth raised wood fibers, soften splinters, and improve the look of rough sections. Focus especially on handrails, stair treads, high-traffic paths, and boards that feel fuzzy after washing.
For most deck projects, medium-grit sandpaper is enough. You are not trying to turn the deck into a polished dining table. Over-sanding can close the wood pores and make it harder for stain to penetrate.
After sanding, sweep thoroughly and remove all dust. A leaf blower can help, but do not use it at hurricane-force speed unless you enjoy watching your drop cloths travel into the neighbor’s yard.
Step 6: Pick the Right Weather Window
Weather can make or break a deck staining project. Choose a dry day with moderate temperatures and no rain expected during the product’s required drying period. Many stains perform best when air and surface temperatures are roughly between 50°F and 90°F, although the label on your chosen product is the final authority.
Avoid staining in direct midday sun when possible. Hot boards can make stain dry too quickly, creating lap marks, uneven absorption, and a blotchy finish. Early morning after dew has evaporated or late afternoon often works better, depending on how sunlight moves across your deck.
Check humidity as well. High humidity can slow drying, while extremely hot and dry conditions can make the stain set before you have time to blend it properly.
Step 7: Stir the Deck Stain Properly
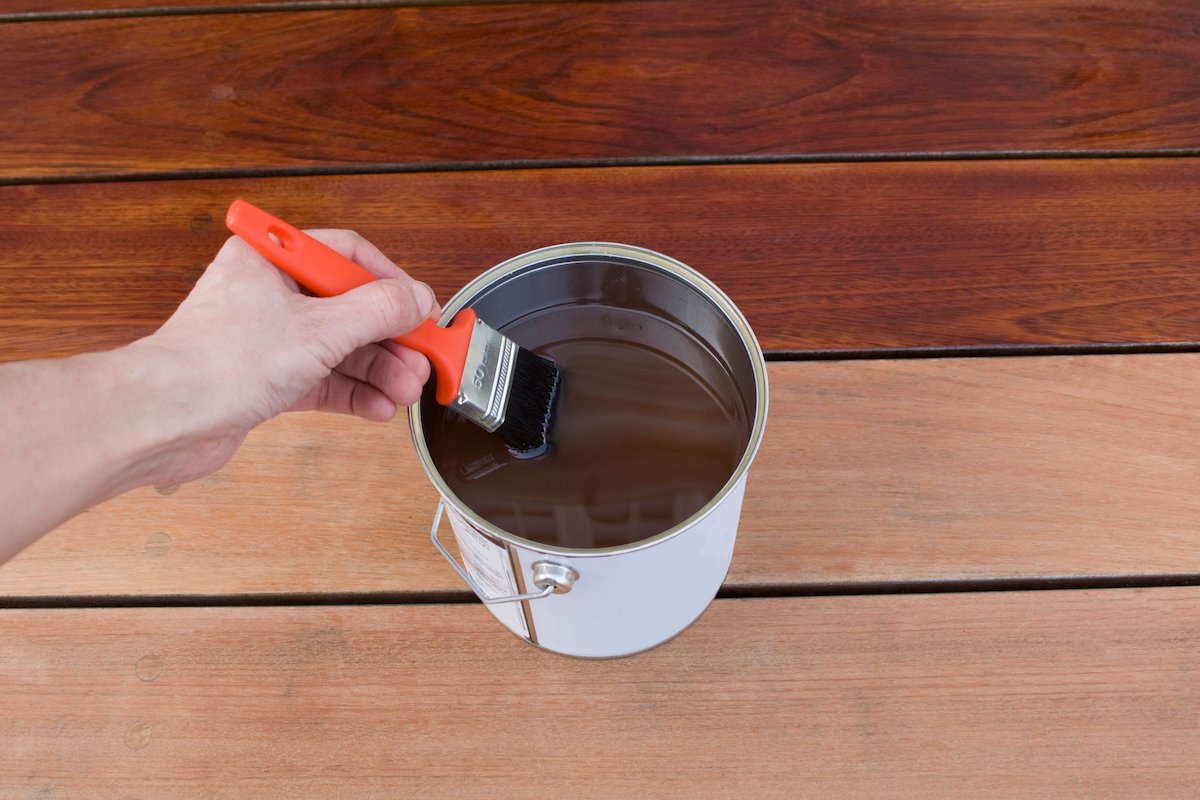
Open the can and stir slowly but thoroughly. Pigments can settle at the bottom, especially in semi-transparent and solid-color stains. Stir occasionally throughout the project to keep the color consistent.
Do not shake the can unless the manufacturer specifically recommends it. Shaking can create bubbles, and bubbles are cute in soda, not on your deck.
If you are using more than one container of stain, combine them in a larger bucket before applying. This is called boxing the stain, and it helps keep the color uniform across the whole deck.
Step 8: Stain the Railings, Edges, and Tight Areas First
Start with railings, posts, balusters, steps, board ends, corners, and areas close to the house. Use a quality brush to work stain into cracks, seams, and narrow spaces.
Brush along the grain and avoid overloading the brush. Thin, even coverage is usually better than a heavy coat that sits on top of the wood and turns sticky.
Step 9: Apply Stain to the Deck Boards
For the main deck surface, a stain pad, brush, roller, or pump sprayer can work well depending on the product and the deck size. Many DIYers use a combination: brush for detail work, stain pad for the broad boards, and a small brush for gaps and edges.
Work Two or Three Boards at a Time
Apply stain to two or three full-length boards at a time, working from one end to the other. This method helps maintain a wet edge and reduces obvious lap marks.
Always follow the direction of the wood grain. Do not stop halfway across a board if you can avoid it. Finish the full board length before moving to the next section.
Use Thin, Even Coats
Do not flood the deck with stain. Excess stain can create shiny patches, sticky spots, and uneven color. Apply a thin coat, then use a brush or stain pad to spread puddles and work the product into the wood.
If you use a sprayer, back-brush or back-roll immediately. Spraying gets stain onto the wood quickly, but brushing it in helps improve uniformity and reduces the risk of missed spots.
Watch for Puddles
Pay close attention to knots, board ends, cracks, and low spots. Wipe or spread excess stain before it dries. Puddles may look harmless while wet, then turn into dark, gummy little landmines later.
Step 10: Let the Deck Dry and Cure
After staining, keep people, pets, furniture, rugs, and potted plants off the deck for the recommended drying period. Many products need at least 24 to 48 hours before normal foot traffic and furniture replacement, while some oil-based finishes may need longer.
Do not assume the deck is ready just because it feels dry to the touch. Surface dryness and full curing are not always the same thing. A deck can feel dry on top while the finish underneath is still developing its protective film.
Keep an eye on the forecast. Rain arriving too soon can damage a fresh stain job, especially if the coating has not had enough time to cure.
Common Deck Staining Mistakes to Avoid
Staining Damp Wood
Wet or damp boards can prevent stain from penetrating properly. Give the deck enough drying time after rain, cleaning, or pressure washing.
Skipping the Cleaning Step
Stain applied over dirt, mildew, or old residue may fail early. Cleaning is not glamorous, but neither is redoing the entire project next season.
Applying Too Much Stain
More stain does not always equal more protection. Too much product can lead to tackiness, peeling, and blotchy color. Follow the coverage instructions on the can.
Staining in Harsh Sunlight
Direct heat can cause stain to dry too fast. Work in manageable sections and choose a time of day when the boards are not scorching hot.
Ignoring Existing Coatings
A deck that has been painted, sealed, or covered with a solid stain may need stripping, sanding, or compatibility testing before a new finish is applied.
Forgetting the Board Ends
Board ends absorb moisture quickly. Use a brush to coat cut ends, exposed edges, stairs, and railings carefully.
How Often Should You Restain a Wood Deck?
There is no universal schedule because every deck lives a different life. A shaded deck in a mild climate may hold its finish longer than a sun-baked deck beside a pool, under a grill, and home to three enthusiastic dogs.
Inspect the deck at least once a year. Look for fading, water no longer beading or absorbing evenly, worn traffic paths, splinters, peeling finish, mildew, and exposed raw wood. Transparent finishes may need refreshing more often than solid stains, especially in sunny locations.
Regular sweeping, gentle washing, and prompt cleanup of spills can extend the life of the stain. Keeping leaves and standing water off the deck also helps prevent moisture-related damage.
Experience-Based Tips for a Better Deck Staining Project
The first lesson most homeowners learn is that staining a deck is not really a painting project. It is a timing project disguised as a painting project. The brush, pad, and stain matter, but the real stars are dry wood, mild weather, patient preparation, and a realistic understanding that the deck will not care about your weekend plans.
One common experience is underestimating how long cleaning takes. The actual staining may take only a few hours, but moving furniture, protecting plants, scrubbing boards, rinsing cleaner, waiting for the wood to dry, sanding rough spots, and sweeping dust can easily stretch the project across multiple days. That is normal. A deck is large, horizontal, full of cracks, and somehow capable of hiding dirt in places you did not know existed.
Another useful lesson is to buy slightly more stain than the coverage estimate suggests. Coverage rates can change depending on wood species, age, roughness, moisture level, previous coatings, and how thirsty the boards are. Older wood often drinks stain like it has just crossed a desert. Having one extra can is much better than discovering you are short when only one small corner remains.
Testing stain color on a hidden board is also worth the few extra minutes. The color on the label may look warm brown, soft cedar, or elegant driftwood gray. On your actual wood, it may look darker, redder, lighter, or unexpectedly similar to a 1990s kitchen cabinet. Wood species, old finishes, and weathering all affect the final appearance.
Homeowners also tend to learn that working with the sun is smarter than fighting it. Begin on the shaded side of the deck and move as the shade moves. This gives you more time to blend each section before the stain dries. On a hot day, trying to stain boards in direct sun can feel like frosting a cake on top of a radiator.
Using two applicators can make the job smoother. A stain pad or roller covers large boards quickly, while a brush handles board gaps, edges, railings, and spots where stain gathers. The combination often produces a more even finish than relying on one tool for everything.
Finally, resist the urge to put furniture back too soon. The deck may look finished, but early foot traffic, chair legs, rugs, and planters can leave marks before the stain has cured. Give the finish the quiet recovery time it needs. Your deck will reward you with a richer color, better protection, and a backyard that looks ready for coffee, cookouts, quiet evenings, and at least one neighbor asking who did the work.
Final Thoughts
Knowing how to stain a wood deck is mostly about respecting the process. Inspect the boards, repair damage, clean thoroughly, let the wood dry, choose a compatible stain, apply thin even coats, and give the finish enough time to cure.
The secret is not expensive equipment or mysterious contractor-level wizardry. It is careful preparation and avoiding the temptation to rush. When done well, deck staining protects the wood, refreshes the entire outdoor space, and gives you a very satisfying reason to stand on the porch and say, “Yes, I did that.”