
“`
Woodburning, also known as pyrography, is the art of decorating wood with heated tools. It sounds dramatic, like something a blacksmith would do in a mountain cave, but the beginner version is surprisingly friendly: a hot pen, a smooth piece of wood, a simple design, and enough patience to keep your lines from looking like they drank three espressos.
Learning how to woodburn is part drawing, part woodworking, and part “please do not touch the metal tip.” With the right tools and safety habits, you can create signs, ornaments, cutting board decorations, coasters, wall art, gift tags, bookmarks, and custom keepsakes. The secret is not brute force. A woodburning pen is not a tiny branding iron you wrestle into submission. It works best when you guide it slowly and let heat do the heavy lifting.
This beginner-friendly guide explains how to choose your tools, prepare wood, transfer a pattern, burn clean lines, add shading, fix common mistakes, and finish your project. By the end, you will know how to woodburn with confidenceand your scrap wood pile may suddenly start looking like an art supply store.
What Is Woodburning?
Woodburning is a decorative technique that uses a heated metal tip to make permanent marks on wood. The hotter the tip, the slower your hand, or the longer the contact, the darker the burn. Lighter burns come from lower heat, faster movement, or a gentler touch.
The word pyrography comes from Greek roots meaning “writing with fire.” That sounds intense, but modern pyrography tools give you far more control than an open flame. Instead of scorching randomly, you use pen-like tips to create lines, dots, textures, letters, gradients, and shadows.
Woodburning Tools and Supplies You Need
You do not need a luxury workshop to start woodburning. A basic setup can fit on a small desk or craft table. However, the quality of your tools and materials can make a major difference in how smooth your first project feels.
Basic Woodburning Supplies
- Woodburning pen or pyrography tool
- Interchangeable tips or nibs
- Clean, unfinished wood
- Sandpaper in several grits
- Pencil and eraser
- Graphite paper or transfer paper
- Heat-safe stand for the tool
- Masking tape or painter’s tape
- Small fan or ventilation setup
- Heat-resistant gloves, if desired
- Clear finish or sealer for completed projects
Solid-Point Burners vs. Wire-Nib Burners
Most beginner woodburners fall into two categories: solid-point burners and wire-nib burners.
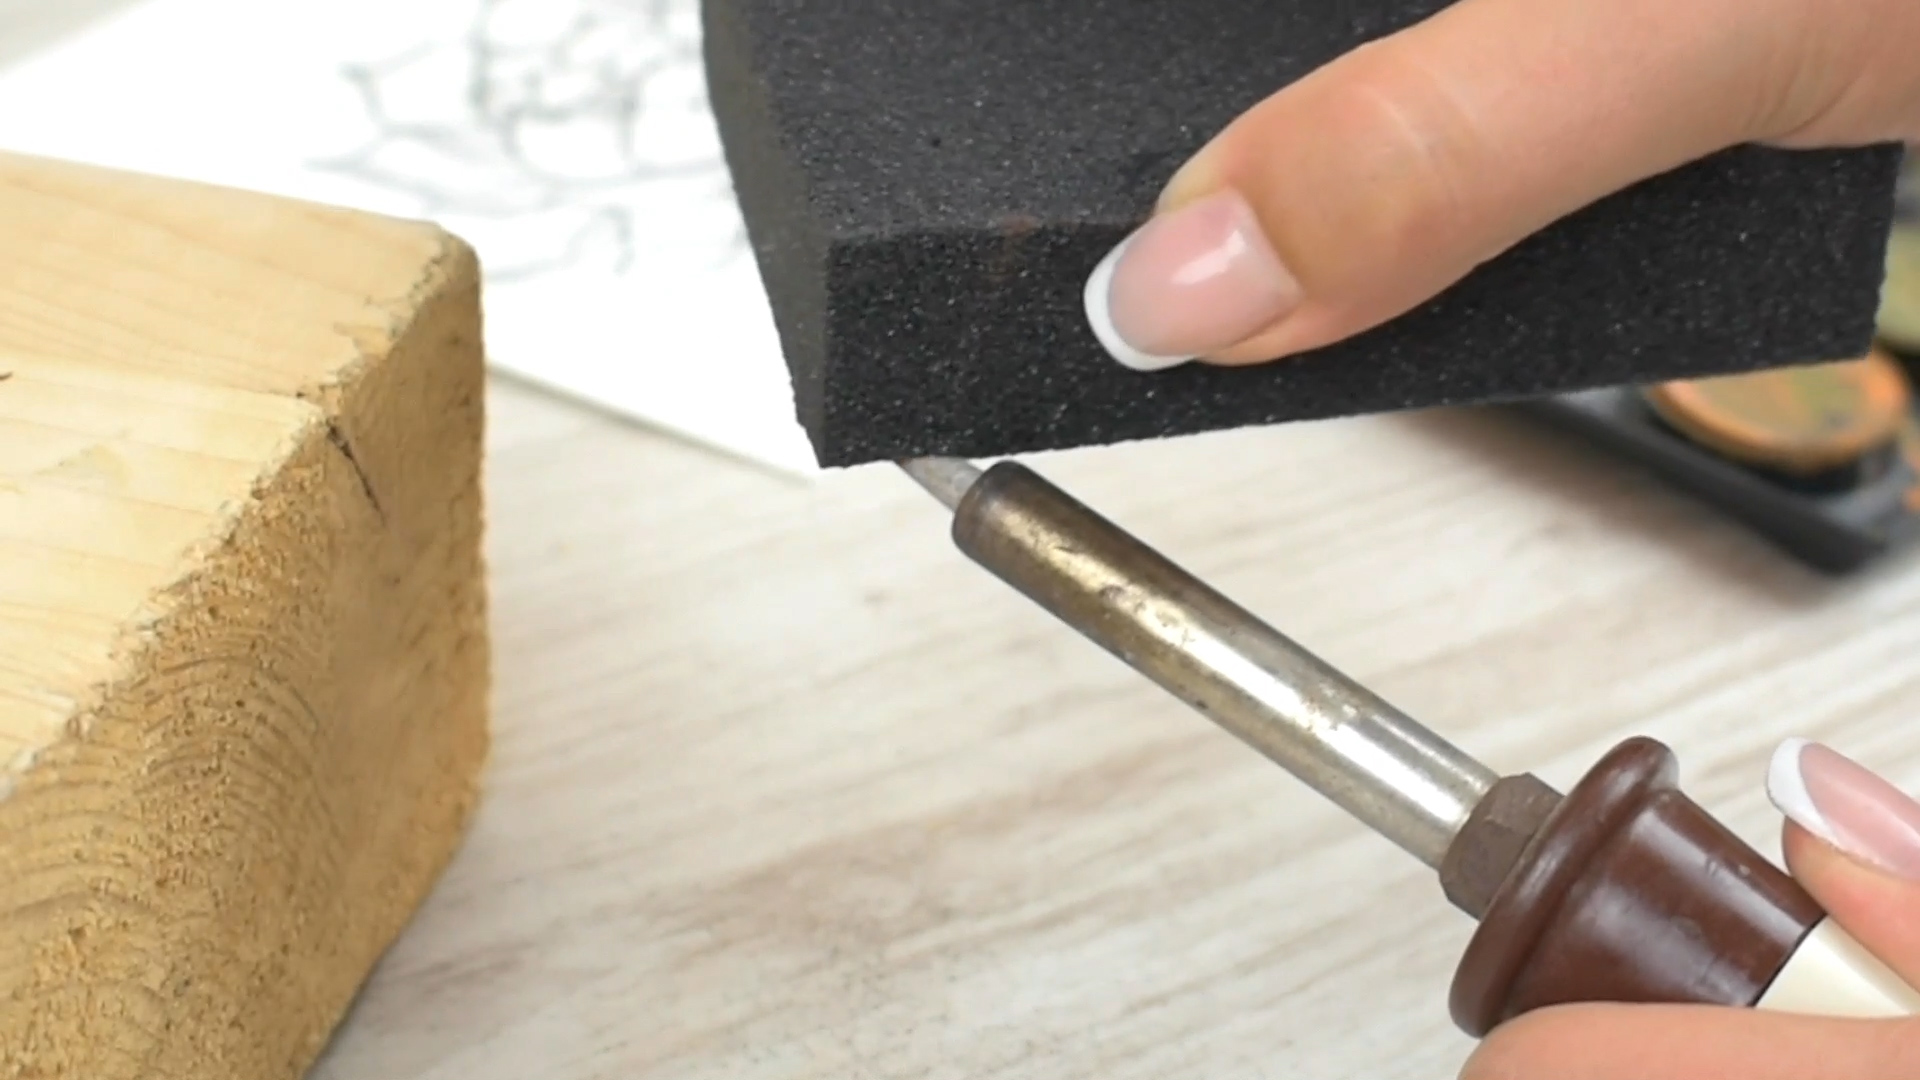
A solid-point burner looks like a soldering iron with screw-in brass tips. It is usually affordable, sturdy, and easy to find in craft stores. The downside is that it may heat and cool slowly, and changing tips requires patience. Patience, in this case, means not grabbing the hot tip with your fingers like a raccoon making poor life choices.
A wire-nib burner uses thin heated wire tips and often includes adjustable temperature control. These tools usually heat faster, cool faster, and offer more control for shading and detailed work. They cost more, but many hobbyists upgrade once they know they enjoy pyrography.
For a first project, either type can work. If your goal is simple lettering, outlines, and basic designs, a starter solid-point kit is enough. If you want smoother shading, portraits, wildlife art, or serious detail, a temperature-controlled wire-nib tool is easier to grow with.
Choose the Best Wood for Woodburning
The wood you choose can make your project feel smooth and satisfyingor bumpy, smoky, and deeply annoying. Beginners should look for light-colored wood with a smooth surface and subtle grain. Strong grain lines can pull the pen off course and make shading uneven.
Beginner-Friendly Woods
- Basswood: A favorite for pyrography because it is pale, soft, and smooth.
- Birch: Light in color and good for detail, especially in plywood panels made for crafts.
- Poplar: Affordable, easy to find, and usually pleasant to burn.
- Maple: Harder than basswood but smooth and excellent for crisp details.
- Cherry: Attractive and fine-grained, though it may darken naturally over time.
Basswood is often the easiest starting point because it accepts burn marks evenly. Birch and maple are also excellent when sanded properly, but they may require slightly higher heat or slower movement.
Woods and Materials to Avoid
Never burn pressure-treated wood, painted wood, stained wood, varnished wood, pallet wood, particle board, MDF, plywood not intended for craft burning, or any material with glue, synthetic coating, unknown chemicals, or mystery garage history. If the board looks like it has survived three renovations and a suspicious basement flood, let it retire peacefully.
Burning treated or finished materials can release harmful fumes. For safe woodburning, use clean, raw, unfinished wood from a reliable source. If you want to add paint, stain, watercolor, oil, or sealer, do it after the burning is completenot before.
Safety First: Ventilation, Heat, and Dust
Woodburning is fun, but it still involves heat, smoke, and fine dust from sanding. Good safety habits protect your lungs, eyes, skin, and furniture. Your future self will appreciate not learning these lessons through coughing fits or a scorched dining table.
Work in a Ventilated Area
Always burn in a well-ventilated space. Open a window if possible and use a small fan to move smoke away from your face. Do not position the fan so it blows smoke directly across your breathing zone. A fume extractor or carbon-filtered fan is even better if you plan to woodburn often.
Control Wood Dust
Sanding wood creates dust that can irritate your eyes, skin, and lungs. Sand outdoors or in a workshop when possible, and wear a properly fitted dust mask or respirator when sanding. Wipe the wood clean with a tack cloth or slightly damp cloth before burning. Let the surface dry completely before applying heat.
Respect the Hot Tool
A woodburning pen can get extremely hot. Keep it in a heat-safe stand whenever you are not using it. Keep cords away from the hot tip. Tie back long hair, avoid loose sleeves, and clear paper scraps from your work area. If you need to change tips, unplug the tool and allow it to cool fully unless your specific tool includes a safe tip-changing system.
How to Prepare Wood for Woodburning
Preparation is the difference between clean lines and a project that looks like it was burned during a small earthquake. Smooth wood allows the hot tip to glide evenly. Rough wood catches the tip, causes blotches, and turns curves into tiny obstacle courses.
Step 1: Sand the Surface
Start with medium-grit sandpaper, such as 120 or 150 grit, to remove rough areas. Then move to 220 grit for a smoother finish. Some artists go even finer, especially for detailed portraits or lettering. Sand with the grain, not against it.
Step 2: Remove Dust
After sanding, remove dust thoroughly. Use a clean cloth, tack cloth, or gentle brush. Dust left on the surface can interfere with the burn and may create extra smoke.
Step 3: Test Burn on Scrap Wood
Before touching your final piece, test the burner on scrap wood of the same type. Different woods burn at different speeds and shades. A setting that makes a beautiful brown line on basswood may barely whisper on maple or shout dramatically on pine.
How to Transfer a Design to Wood
You can freehand your design directly onto wood, but beginners often get better results by transferring a pattern. This helps with spacing, symmetry, and lettering. It also reduces the classic beginner problem of starting a word beautifully and realizing halfway through that the last three letters need to fit into the space of a postage stamp.
Simple Transfer Methods
- Pencil sketch: Draw lightly on the wood and burn over the lines.
- Graphite paper: Place graphite paper between the printed design and wood, then trace.
- Rubbing method: Shade the back of a printed design with pencil, tape it down, and trace from the front.
- Stencil: Use a stencil for letters, borders, or simple shapes.
Keep pencil lines light. Heavy pencil marks can be difficult to erase after burning, especially if they settle into the grain.
How to Woodburn: Step-by-Step
Once your wood is smooth, your design is ready, and your workspace is safe, it is time to burn. Move slowly, breathe normally, and remember: woodburning rewards patience. It does not reward panic scribbling.
Step 1: Heat the Tool
Place the pen in its stand, plug it in, and let it heat according to the manufacturer’s instructions. Many basic tools need several minutes to reach working temperature. Adjustable tools may heat faster, but you should still test before starting.
Step 2: Practice Lines on Scrap Wood
Practice straight lines, curved lines, dots, small circles, and shading strokes. Try moving quickly, then slowly, and compare the results. You will notice that slower movement creates darker marks, while faster movement creates lighter marks.
Step 3: Start With Outlines
Begin with the main outlines of your design. Use light pressure. Pressing harder does not create better burns; it usually creates dents, uneven marks, and unnecessary stress on the tool. Let the heated tip glide across the surface.
Step 4: Pull the Pen Toward You
For smoother control, pull the pen toward your hand instead of pushing it away. Pulling often helps the tip move more steadily with the grain. Turn the wood as needed so your hand stays comfortable. The project can rotate; your wrist does not need to become a circus performer.
Step 5: Build Darkness Gradually
Do not try to achieve the darkest burn in one pass. Layer your marks. Go over an area again if it needs more depth. Gradual burning gives you more control and reduces harsh blotches.
Step 6: Add Texture and Shading
Once the outlines are complete, add dimension with texture. Dots can create soft shading. Short strokes can suggest fur, grass, feathers, or woodgrain. A flat or spoon-shaped tip can create smooth gradients. For shadows, work from light to dark and build slowly.
Step 7: Let the Piece Cool
When the burning is finished, unplug the tool and let both the tool and wood cool. Do not apply finish while the wood is warm. This is a craft project, not a race against common sense.
Woodburning Techniques for Beginners
Learning a few basic woodburning techniques will help you create cleaner and more professional-looking projects.
Line Work
Line work is the foundation of pyrography. Use consistent speed and light pressure. If your line becomes too dark, your hand may be moving too slowly. If it is too pale, increase heat slightly or move more slowly.
Stippling
Stippling uses dots to create value and texture. More dots placed closer together create darker areas. Fewer dots create highlights. This technique is excellent for beginner shading because it is controlled and forgiving.
Hatching and Cross-Hatching
Hatching uses parallel lines to build shadow. Cross-hatching adds another layer of lines at an angle. These techniques work well for rustic designs, animal sketches, and vintage-style illustrations.
Gradient Shading
Gradient shading moves from light to dark smoothly. Use a shader tip, low-to-medium heat, and repeated gentle passes. Keep the pen moving to avoid harsh spots.
Lettering
Lettering is popular but tricky. Block letters are easier than cursive because they have fewer tight curves. Burn the outer edges first, then fill the centers carefully. For small letters, use a fine tip and avoid overheating, which can make letters blur together.
Common Woodburning Mistakes and How to Fix Them
Pressing Too Hard
If your hand cramps or the tool digs into the wood, you are pressing too hard. Use lighter pressure and adjust speed or temperature instead.
Skipping Sanding
Rough wood causes jagged lines and uneven burns. Sanding may feel boring, but it saves time later. Think of sanding as the warm-up act that keeps the main performance from falling down the stairs.
Burning Too Hot
Excessive heat can create dark blobs, smoke, and loss of detail. Lower the temperature or move faster. You can always darken a light burn, but removing a dark burn is much harder.
Using Unsafe Wood
Do not burn finished, painted, treated, glued, or unknown wood. When in doubt, do not burn it. Buy clean craft wood instead.
Starting With a Complicated Design
Highly detailed portraits and tiny cursive quotes are not ideal first projects. Start with simple shapes, leaves, mountains, initials, borders, or bold lettering. Success builds skill faster than frustration does.
How to Finish and Seal a Woodburned Project
After burning, you can leave the piece natural or apply a finish. A clear sealer helps protect the wood and may slow fading. Choose a finish based on how the item will be used.
- Wall art: Clear spray sealer, polyurethane, or acrylic finish can work well.
- Coasters: Use a moisture-resistant finish and allow proper curing time.
- Decorative signs: Choose indoor or outdoor finish depending on placement.
- Kitchen items: Use food-safe finishes only, and avoid burning deeply into surfaces that will contact food heavily.
Always follow the finish manufacturer’s directions. Apply finish in a ventilated area and allow it to cure fully before handling, gifting, or using the item.
Beginner Woodburning Project Ideas
If you are wondering what to make first, choose a project that is small, simple, and low-pressure. A giant heirloom portrait of your grandmother’s wedding day can wait until your hand and burner are on speaking terms.
- Wooden bookmarks with simple vines or initials
- Rustic name signs
- Holiday ornaments
- Coasters with geometric patterns
- Gift tags
- Recipe box labels
- Small mountain or forest scenes
- Simple quote plaques
- Decorative wooden spoons for display
- Keychains or small charms
How to Improve Your Woodburning Skills
Woodburning improves through repetition. Practice the same strokes on scrap wood until your hand learns the rhythm. Keep a sample board with different tips, temperatures, and textures. Label each section so you can remember what worked.
Study contrast. The best pyrography is not just dark lines on pale wood. It uses light, medium, and dark values to create depth. Leave some areas untouched for highlights. Use medium tones for form. Reserve the darkest burns for the deepest shadows or strongest outlines.
Most importantly, slow down. Beginners often move too quickly because they are nervous. A steady pace produces smoother burns. If your line wobbles, pause, rotate the wood, relax your grip, and continue.
Real-World Experiences and Practical Lessons From Woodburning
The first major lesson in woodburning is that the wood has an opinion. You may have a beautiful design planned, but the grain, hardness, sanding quality, and heat setting all influence the final result. Basswood may feel smooth and cooperative, while pine can surprise you with uneven grain that burns darker in soft sections and lighter in hard sections. This is why experienced woodburners test every new board before committing to the final design.
A common beginner experience is expecting the burner to behave exactly like a pen. It does not. A pen uses ink; a woodburning tool uses heat. That means your line depends on temperature, speed, pressure, tip shape, wood species, and even the direction of the grain. At first, this can feel frustrating. After a little practice, it becomes the fun part. You start to understand how tiny changes create different effects.
Another practical lesson is that simple designs often look better than complicated ones. A clean mountain outline, a bold monogram, or a well-spaced quote can look polished and intentional. A crowded design with tiny details can become muddy, especially if the wood grain is strong. When in doubt, give the design breathing room. Empty space is not wasted space; it is the quiet part that makes the burned design stand out.
Many beginners also discover that sanding is not optional. It is tempting to skip it because the wood already looks smooth enough. Then the burner catches on a rough patch, the line jerks sideways, and suddenly your elegant leaf has developed a suspicious elbow. Sanding creates a more predictable surface. It also makes shading easier because the tip can move in soft, even passes.
Ventilation is another experience-based lesson. Woodburning may produce only a thin trail of smoke, but your face is often close to the work. Over a long session, that smoke can become irritating. A small fan pulling fumes away from your face makes the process much more comfortable. Good lighting helps too. When you can clearly see the burn color forming, you are less likely to overburn an area.
Temperature control takes time to understand. Beginners often think darker burns require harder pressure, but pressure is rarely the answer. If you want darker values, slow down slightly, raise the heat a little, or add another layer. If you want lighter values, lower the heat or move faster. Practice strips are extremely useful: burn a row of lines at different speeds and settings, then keep the strip nearby as a reference.
One of the best habits is finishing each project with a short review. Ask yourself what worked, what felt difficult, and what you would change next time. Maybe the lettering needed more space. Maybe the shading looked better with a flat tip. Maybe the wood was too grainy. These small observations build skill quickly.
Finally, woodburning is a craft where imperfections can become part of the charm. A tiny wobble does not always ruin the project. Sometimes it makes the piece feel handmade in the best way. The goal is not machine-perfect burning. The goal is control, creativity, and steady improvement. Also, the goal is not burning your table. Please keep using that heat-safe stand.
Conclusion
Learning how to woodburn starts with the basics: choose safe unfinished wood, sand it smooth, transfer a simple design, practice on scrap, and burn slowly with light pressure. Good ventilation, smart tool handling, and clean materials are just as important as artistic technique. Once you understand how heat, speed, and wood grain work together, pyrography becomes a relaxing and rewarding craft.
Start small, keep your first designs simple, and let each project teach you something. With practice, you can create custom gifts, rustic home decor, detailed artwork, and personal keepsakes that look far more impressive than the humble setup required to make them. Woodburning is proof that a hot pen and a plain board can become something memorableprovided you do not rush, skip sanding, or try to burn mystery plywood from the garage.