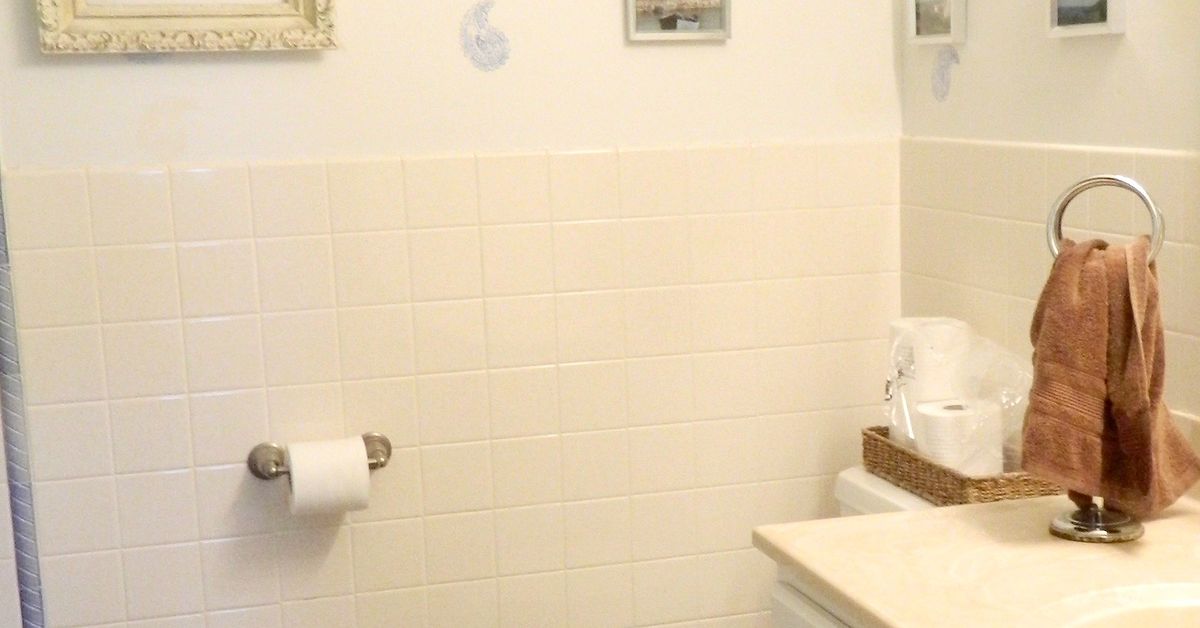

If your bathroom tile looks like it time-traveled from a decade best remembered for frosted lipstick and aggressively beige décor, you are not alone. Replacing tile is expensive, messy, and loud enough to make your whole house feel like a construction-themed reality show. That is exactly why painting bathroom tile has become such a popular budget-friendly makeover. It offers a fresh look without demolition, a new color palette without a contractor convoy, and a practical way to stretch the life of a dated bathroom.
But let’s be honest: painting bathroom tile is not magic. It is a strategy. When done correctly, it can dramatically improve the look of a bathroom. When done carelessly, it can peel faster than your patience on a humid Monday morning. The difference comes down to using the right products, choosing the right surface, and respecting the prep work even when prep work is painfully unglamorous.
This guide breaks down everything you need to know about painting bathroom tile, including when it makes sense, when it does not, how to do it step by step, what mistakes to avoid, and how to make the finished result last as long as possible.
Can You Really Paint Bathroom Tile?
Yes, you can paint bathroom tile. That said, not every tile surface is an equally good candidate. Vertical tile on walls, backsplashes, and low-splash areas tends to respond best. These surfaces deal with less abuse, less standing water, and less friction from feet, baskets, stools, and cleaning tools. In other words, they are less likely to fight back.
Bathroom floor tile is a different beast. Shower tile is even moodier. Surfaces that are constantly wet, frequently scrubbed, or exposed to heavy traffic are harder to keep looking pristine after painting. That does not mean it is impossible, but it does mean your expectations should be reasonable. Painted tile is typically a cosmetic refresh, not a forever finish that behaves exactly like brand-new ceramic or porcelain.
If you approach the project with that mindset, you are already ahead of the game.
When Painting Bathroom Tile Is a Smart Idea
Painting bathroom tile makes sense when the tile is structurally sound but visually outdated. Maybe the color is wrong, the finish feels tired, or the pattern says “1998 starter home” louder than you would prefer. If the tile is firmly attached, not severely cracked, and the grout is repairable, painting can be a smart shortcut to a cleaner, brighter, more current look.
It is especially useful when:
- You want a low-cost bathroom update.
- You are preparing a rental, guest bath, or secondary bath for a style refresh.
- You need a temporary design improvement before a future remodel.
- You want to avoid demolition, dust, and the cost of tile replacement.
- You are repainting vertical tile that does not sit under constant streams of water.
For many homeowners, painting bathroom tile is the sweet spot between doing nothing and doing a full renovation. It is not the luxury route, but it can absolutely be the clever route.
When You Should Not Paint Bathroom Tile
There are times when painting is more lipstick-on-a-leaking-plumbing-problem than legitimate upgrade. If your tile is loose, badly cracked, mold-damaged, or paired with failing grout and caulk, painting will not solve the underlying issue. It will just make the problem look fresher for a little while.
You should think twice before painting bathroom tile if:
- The tile is inside a shower or tub surround that gets soaked daily.
- The tile is on the floor in a busy family bathroom.
- The grout is crumbling or missing in large sections.
- The tile surface is badly chipped or unstable.
- You want a zero-maintenance, long-term finish.
If your bathroom sees heavy moisture, lots of kids, energetic pets, or the cleaning habits of someone who treats a scrub brush like a sword, tile replacement or professional refinishing may be a better investment.
Best Paint and Materials for Bathroom Tile
Painting bathroom tile successfully is not about grabbing leftover wall paint from the garage and hoping for a miracle. Tile is slick, glossy, and designed to repel moisture, so it needs products that are made to grip stubborn surfaces and hold up in humid environments.
What you will need
- Tile cleaner or degreasing cleaner
- Mildew treatment if needed
- Repair grout and paintable caulk
- 220- to 400-grit sandpaper or deglosser
- Painter’s tape and drop cloths
- Bonding primer
- Tile paint, epoxy paint, or another tile-approved coating system
- Foam roller and angled brush
- Protective gloves, eyewear, and a mask or respirator
- Optional protective topcoat if the product system calls for it
The stars of the show are the bonding primer and the tile-specific topcoat. These products are designed for slick surfaces and humid conditions. Standard wall paint usually does not belong in this project. It belongs on drywall, where it can live a simpler and less dramatic life.
How to Paint Bathroom Tile Step by Step
1. Inspect the tile before you do anything else
Look for loose tiles, cracked grout, moldy caulk, chips, or signs of water intrusion. Painting over damage is like putting a clean shirt over a broken zipper. It may look fine at first, but the underlying issue is still there waiting to embarrass you.
Replace broken tiles if necessary. Re-grout missing sections. Remove failing caulk and plan to recaulk after painting if your product instructions require it. The surface should be stable, clean, and dry before any coating goes on.
2. Deep-clean like your finish depends on it, because it does
Soap scum, oils, hairspray residue, and mystery bathroom buildup can sabotage adhesion. Clean every inch of tile and grout with an appropriate degreasing cleaner. Pay extra attention to corners, around sinks, near vanities, and anywhere product residue tends to collect.
If mildew is present, treat it fully and allow everything to dry completely. Do not rush this step. Paint hates grime almost as much as homeowners hate scraping old caulk.
3. Repair grout, cracks, and caulk lines
Painting over crumbling grout gives you a fresh color with old problems. Patch small grout defects, replace damaged caulk, and smooth out any repair compounds that are rated paintable. If the grout is severely deteriorated, the project may need more than paint.
This repair stage is also where you decide whether you want a crisp, modern monochrome look with painted grout lines or a finish that highlights existing pattern and texture.
4. Scuff-sand or degloss the surface
Glossy tile needs a little “tooth” so the primer can hang on. Light sanding is often recommended to dull the shiny glaze. You are not trying to destroy the tile. You are just creating a surface the coating system can grip. Wipe away all dust thoroughly afterward.
Some systems also use a deglosser. If you go that route, follow the product instructions exactly and make sure the room is well ventilated. No improvising, no chemistry experiments, and definitely no mixing cleaners like you are auditioning for a cautionary tale.
5. Tape everything off and protect the room
Remove switch plates, hardware, and accessories if possible. Tape edges carefully around mirrors, counters, tubs, fixtures, and trim. Cover floors and nearby surfaces with drop cloths or plastic sheeting. Painting tile can be neat, but it is still paint, and paint tends to explore.
6. Apply bonding primer
This is the handshake between tile and paint. Skip it, and you are asking two incompatible personalities to suddenly get along. Use a bonding primer designed for slick or hard-to-coat surfaces. Cut in edges with a brush and roll the main field with a foam roller for a smoother finish.
Test adhesion in a hidden area if possible. Let the primer dry fully according to the manufacturer’s instructions. Fully means fully, not “it seems pretty dry and I have plans later.”
7. Paint in thin, even coats
Use a foam roller for broad tile surfaces and a brush for corners and grout lines. Thin coats are your friend. Thick coats are what happen when impatience and optimism join forces. They are also more likely to drip, streak, and cure poorly.
Most painted bathroom tile projects require at least two coats. Allow proper dry time between coats. Maintain a wet edge when possible so the finish looks even, especially on larger tile fields. If you are changing a dark tile to a light color, you may need more coverage.
8. Add a protective finish if your product system calls for one
Some tile-paint systems include or recommend a protective topcoat or gloss layer. Others are designed as complete systems without an extra finish. Follow the instructions for the exact paint you chose. This is not the moment for “close enough.” Compatibility matters.
A protective finish can help with washability and moisture resistance, particularly on bathroom backsplashes and wall tile. Just remember that a topcoat does not magically turn painted tile into factory-fired ceramic.
9. Let it cure before normal bathroom use
Dry and cured are not the same thing. Dry means it no longer feels tacky. Cured means the finish has hardened enough to take real-life use. Give the tile the full cure time recommended by the manufacturer before scrubbing it, steaming up the room, or splashing it like a toddler at swim class.
Ventilation matters during and after painting. Open windows, run fans, and keep air moving. Some epoxy systems have strong fumes and limited pot life after mixing, so preparation before opening the can is essential.
Best Color Ideas for Painted Bathroom Tile
Color choice matters because painted bathroom tile does more than cover old surfaces. It changes the whole mood of the room. White and warm off-white shades are popular because they make small bathrooms feel brighter and cleaner. Soft greige, pale taupe, muted sage, and warm gray can give a bathroom a more current, spa-like look without feeling trendy in a doomed way.
If you want a more dramatic result, charcoal, navy, or deep green can look beautiful on accent tile or lower-splash wall tile. Just remember that darker colors may show soap residue, water spots, and brush marks more clearly if the finish is not smooth.
A few smart design approaches include:
- Painting dated pink or peach tile a soft white for a cleaner classic look
- Using a warm greige to tone down busy wall tile
- Painting grout and tile the same shade for a seamless, modern effect
- Keeping walls light and using accessories to add contrast and personality
In a small bathroom, lighter painted tile often wins because it reflects more light and helps the space feel less cave-like and more calm retreat.
Common Mistakes That Ruin Painted Bathroom Tile
The biggest mistakes are boring, which is unfortunate because boring mistakes are often the most expensive. Here are the usual culprits:
- Skipping the cleaning step: Paint cannot bond well to soap scum, oils, or residue.
- Using the wrong paint: Regular wall paint is not built for slick tile surfaces.
- Ignoring moisture exposure: A painted shower surround has a harder life than a painted backsplash.
- Applying thick coats: Thick paint tends to sag, mark, and cure unevenly.
- Rushing cure time: Early use can weaken the finish before it hardens.
- Painting over damaged grout or caulk: Surface beauty cannot hide structural neglect for long.
Most failed paint jobs are not caused by bad luck. They are caused by impatience disguised as confidence.
How Long Does Painted Bathroom Tile Last?
That depends on the surface, the products, and your household habits. Painted bathroom wall tile in a lower-moisture zone can look good for years with proper prep and gentle cleaning. Painted shower tile or heavily used floor tile usually has a shorter and more unpredictable lifespan.
To help it last longer:
- Clean with non-abrasive products
- Avoid harsh scrub pads
- Use exhaust fans regularly
- Wipe down standing moisture when possible
- Touch up chips early before they spread visually
Think of painted tile like a well-styled budget blazer. It can look surprisingly polished, but it still should not be mistaken for a custom-tailored suit.
Is Painting Bathroom Tile Worth It?
For the right bathroom, yes. Painting bathroom tile can be absolutely worth it when your goals are cosmetic improvement, better color flow, and a lower-cost update. It is especially appealing in guest bathrooms, powder rooms, or bathrooms with sound tile that is simply ugly enough to annoy you every day.
If you want a luxury-grade finish that handles standing water, heavy traffic, and years of aggressive cleaning without complaint, full replacement or professional refinishing is the better route. But if you want a practical facelift that saves money and avoids demolition, painting can deliver a dramatic improvement with a manageable investment of time and effort.
The secret is not pretending paint is tile. The secret is using paint wisely where it has the best chance to succeed.
Experiences Related to Painting Bathroom Tile
One of the most common experiences homeowners describe after painting bathroom tile is sheer disbelief at how much brighter the room feels. A bathroom that once looked dingy, peachy, beige, or oddly yellow can suddenly feel cleaner, newer, and more intentional just from a color shift. Many people start the project expecting a modest improvement and end it wondering why they stared at those old tiles in quiet resentment for three full years.
Another frequent experience is underestimating the prep. People often assume the hard part is the painting itself, but the real workout is cleaning, sanding, repairing, taping, and waiting. There is always a moment in the middle of the job when the bathroom looks worse than when it started. Everything is taped off, the room smells like effort, the tile is dull and patchy, and morale drops. Then the primer goes on, the color starts to even out, and suddenly hope returns like a dramatic movie soundtrack.
Color choice also creates interesting experiences. Homeowners who go with soft white or warm greige usually report that the room feels larger and calmer. Those who choose dark charcoal, deep green, or navy often love the drama but sometimes notice that imperfections show more easily. The bold colors look stunning when the finish is smooth, but they are less forgiving if brush marks, drips, or uneven gloss sneak in.
There is also the emotional experience of realizing that painted tile changes how you feel about the whole bathroom. Once the tile looks fresh, the old mirror suddenly becomes the next problem. Then the vanity light looks tired. Then the faucet seems suspiciously dated. Painting bathroom tile has a way of turning one small project into a gentle design awakening. It is not chaos exactly, but it is definitely how “quick refresh” becomes “well, maybe we should also replace the hardware.”
People who have the best long-term experiences tend to be the ones who chose the right surface. Painted wall tile near a vanity or backsplash area often gets positive reviews because it gives a lot of visual payoff without constant punishment. On the other hand, people who paint tile in high-splash showers or busy bathroom floors sometimes find themselves doing touch-ups sooner than expected. That does not always mean the project failed. It just means the surface was living a harder life than the paint could gracefully manage.
Finally, many homeowners say the most satisfying part is standing back at the end and realizing the bathroom now looks styled rather than survived. The tile no longer dominates the room in a bad way. The walls, towels, vanity, and lighting finally make sense together. And that is the real charm of painting bathroom tile: it can transform a room from “we tolerate it” to “honestly, this looks pretty great” without requiring demolition, a dumpster, or a second mortgage.
Conclusion
Painting bathroom tile is one of those home improvement projects that rewards realism. It is not the right answer for every bathroom, and it does not replace the durability of new tile. But for sound, outdated tile in the right location, it can be a smart, affordable, and surprisingly stylish solution. The key is choosing the right surface, respecting the prep work, using the correct products, and allowing enough time for the finish to cure properly.
If you treat it like a real coating project rather than a shortcut with a paintbrush, you can give an old bathroom a cleaner, more modern look without tearing the room apart. And honestly, any makeover that avoids demolition dust deserves at least a little applause.
SEO Tags