
If you think using a cuticle cutter like a pro means snipping away like you are auditioning for a speed round on a reality show, let us pause the dramatic music right there. A real nail tech does not go wild with the nippers. A real pro works slowly, trims only what truly needs trimming, and knows that the cleanest manicure usually comes from restraint, not destruction.
That is the secret most beginners miss. The goal is not to remove your entire cuticle area until your nails look suspiciously airbrushed. The goal is to clean up loose dead skin, tidy hangnails, and create a polished, healthy-looking nail contour without turning your fingertips into tiny regret machines. When done right, a cuticle cutter can make your manicure look crisp and refined. When done wrong, it can leave you with soreness, ragged edges, and a strong desire to hide your hands in your hoodie sleeves.
In this guide, you will learn how to use a cuticle cutter safely, how pros prep the nail before they ever touch the tool, which mistakes make hands look worse instead of better, and how to get that neat salon finish without overdoing it. Think of this as your no-nonsense, slightly sassy, very practical manual for cuticle care.
What a Cuticle Cutter Actually Does
A cuticle cutter, often called a cuticle nipper, is a small precision tool designed to trim loose dead skin around the nail. It is not a mini hedge trimmer for your entire nail fold. It is meant for cleanup work: tiny hangnails, dry peeling skin, and bits of dead tissue that lift after proper prep.
That distinction matters because a lot of people use the phrase cut your cuticles when what they really should mean is trim loose dead skin carefully. Nail techs who create a beautiful manicure do not just grab nippers and start clipping at random. They soften, lift, inspect, and then trim only what is clearly detached or dead.
So if you want to use a cuticle cutter like a pro nail tech, remember this golden rule: the tool is for detail work, not demolition.
Know the Difference: Cuticle, Hangnail, and Live Skin
Before you start, you need to know what you are looking at. This is where many DIY manicures go off the rails.
Cuticle
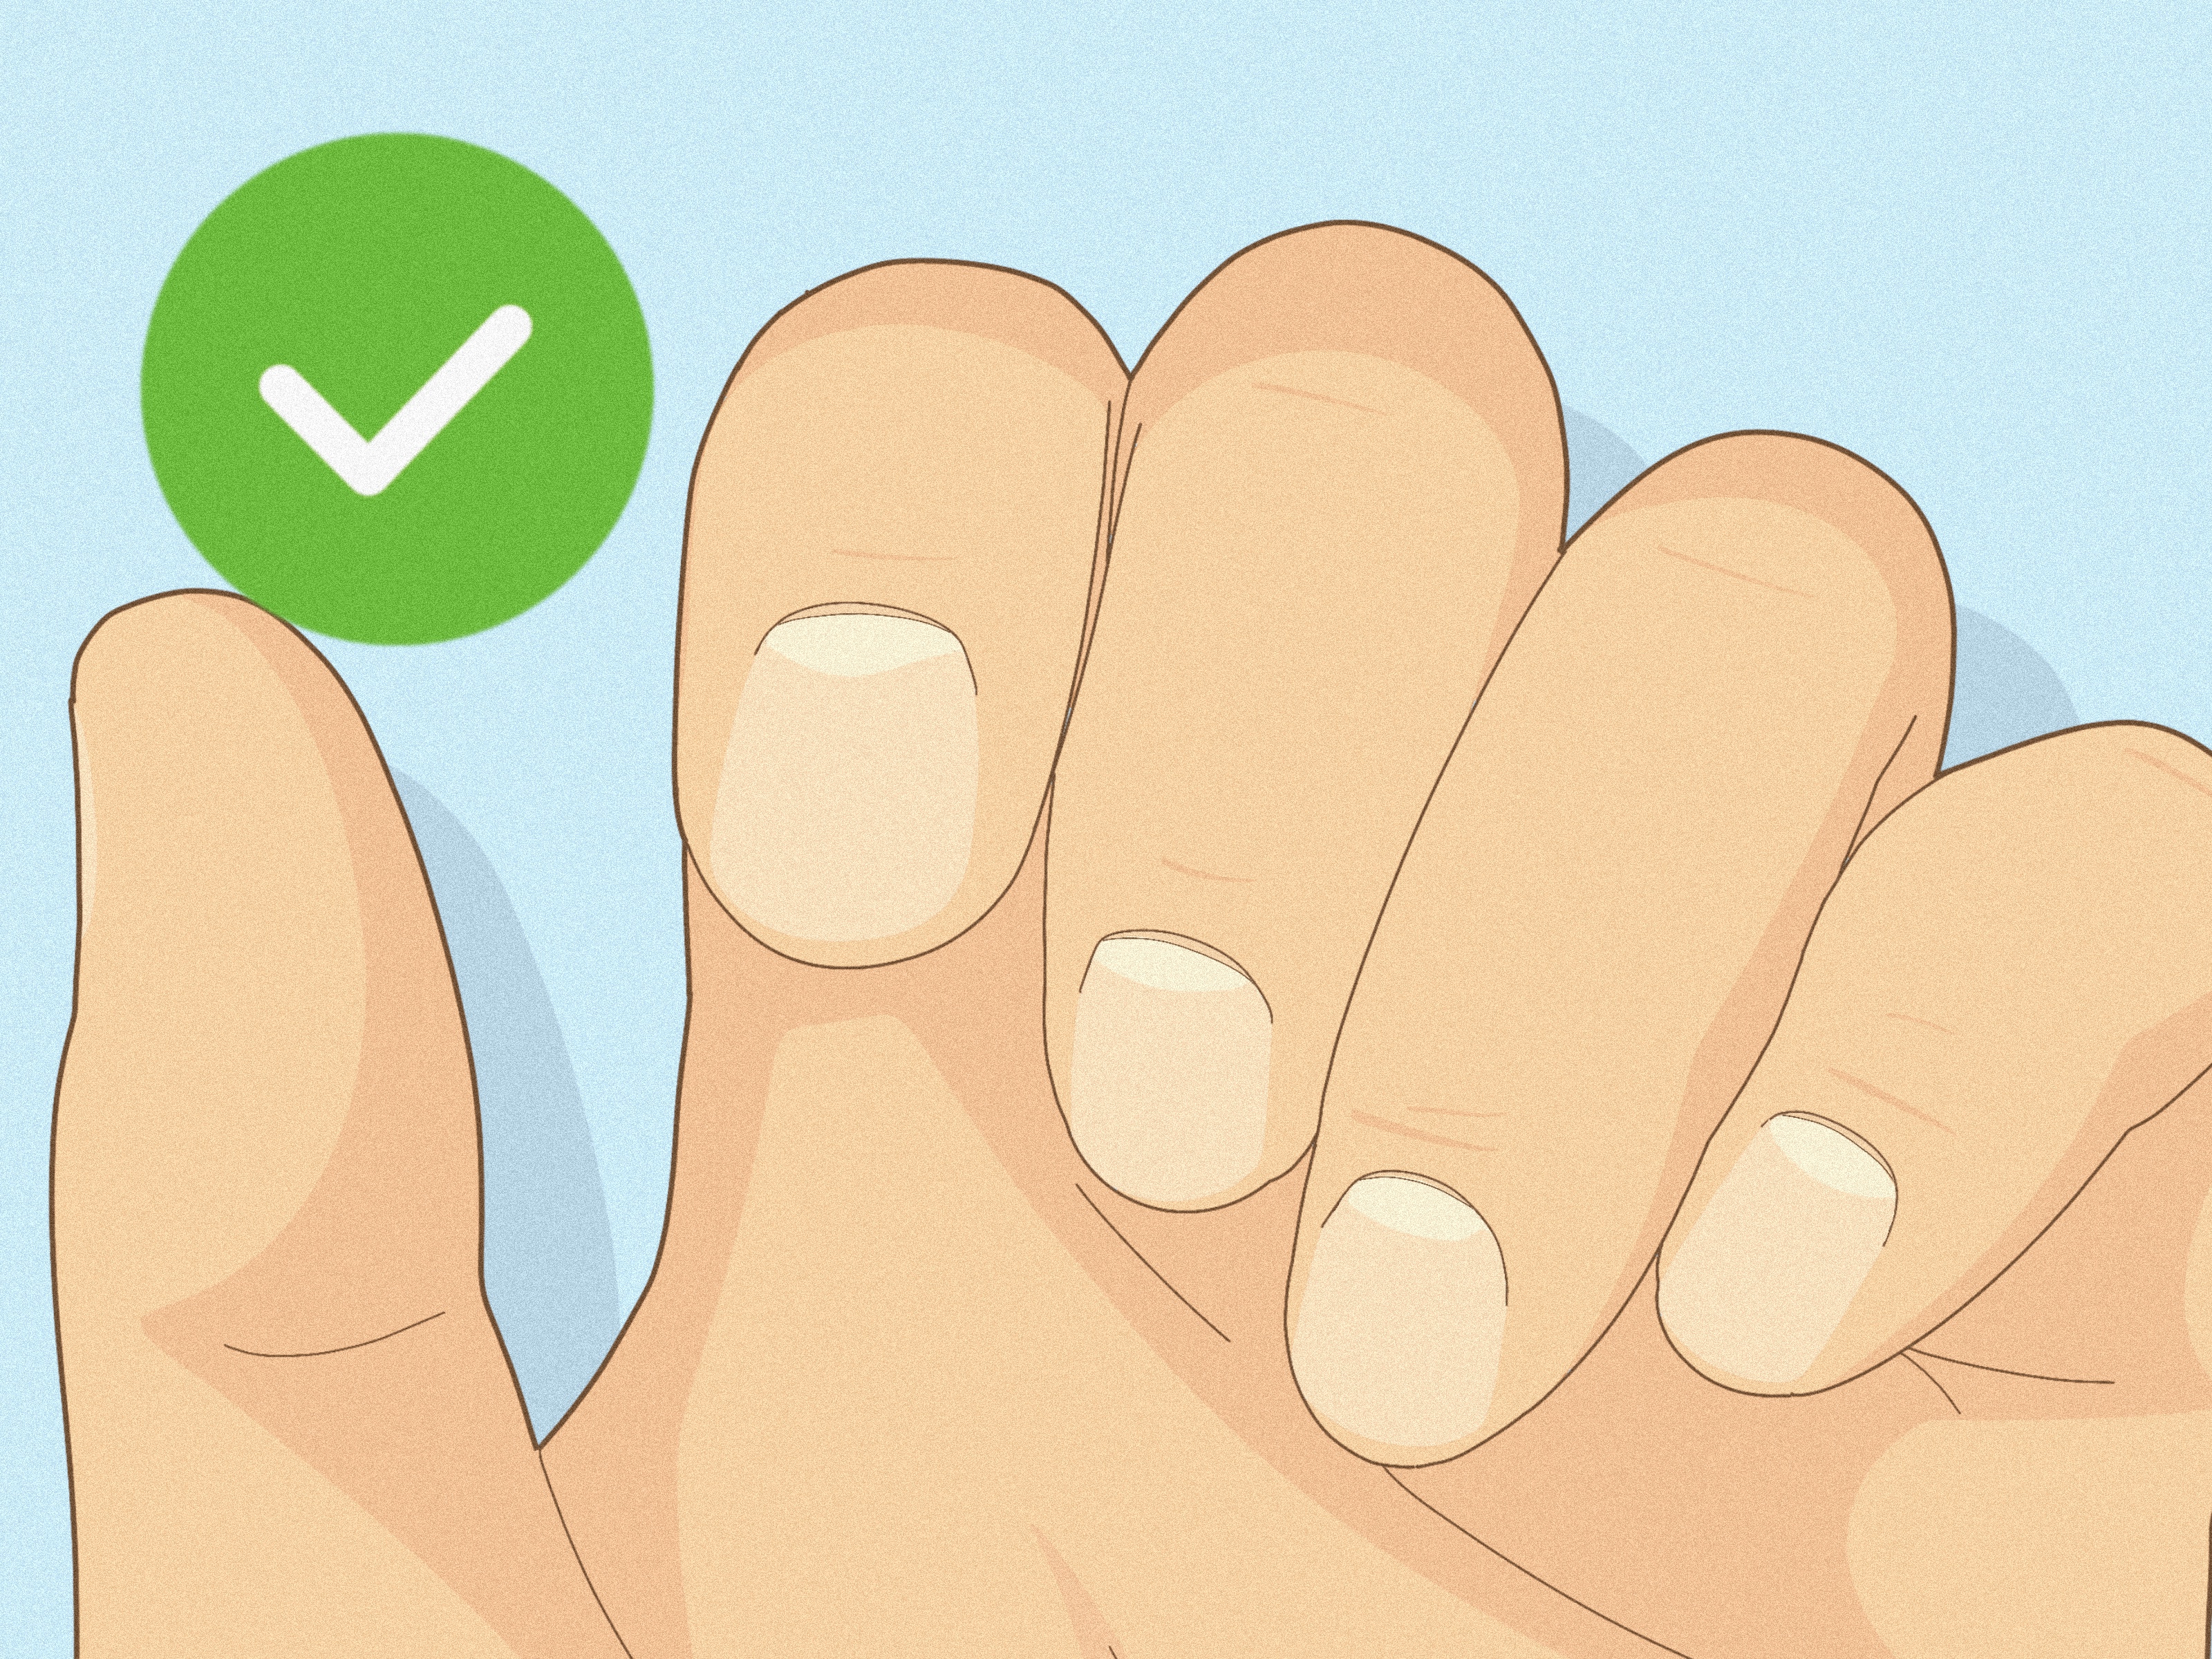
The cuticle is the thin layer of tissue that sits on the nail plate near the base of the nail. Some of it can appear dry, clingy, or chalky. That is usually the part people want to tidy.
Hangnail
A hangnail is a torn piece of skin at the edge of the nail. It is annoying, catches on sweaters, and somehow always appears when you are already running late.
Live skin
Live skin is the healthy tissue around the nail fold. If it looks pink, attached, tender, or stretchy, leave it alone. That is not your target. Snipping it will not make your nails look better. It will make your next hand wash feel like betrayal.
Professional-looking cuticle work starts with identifying dead, lifted skin and ignoring healthy tissue. That one habit separates a clean manicure from a painful one.
What You Need Before You Start
You do not need a giant salon cart or a ring light bright enough to signal aircraft. You just need the right basics:
- A sharp, clean cuticle cutter or cuticle nipper
- A cuticle pusher or orangewood stick
- Warm water and mild soap
- A clean towel
- Cuticle remover or cuticle softener if you use one
- Rubbing alcohol for tool cleanup
- Cuticle oil or rich hand cream
- Good lighting
The quality of your tool matters. A dull nipper can pull and tear instead of making a crisp trim. That is the manicure version of trying to slice a tomato with a butter knife. Technically possible, emotionally unnecessary.
How to Use a Cuticle Cutter Like a Pro Nail Tech: Step by Step
1. Start with clean hands and a clean tool
Wash your hands first. Clean the nipper before use and make sure it is dry and free of debris. If you are doing your nails at home, a clean tool is non-negotiable. If you are sharing tools, stop right there and rethink your life choices. Nail tools should be properly cleaned and disinfected before they touch skin.
2. Soften the area
Soak fingertips in warm, soapy water for about five to ten minutes. This is one of the simplest pro tricks because soft skin is easier to manage and far less likely to tear. You can also apply a cuticle softener or remover according to the product directions. The point is to loosen dry tissue, not flood your hands like you are prepping for a swim meet.
3. Gently push back the cuticle area
Use a cuticle pusher or orangewood stick to gently nudge the softened tissue back. Do not scrape aggressively. Do not dig. Do not try to excavate your nail plate. You are simply lifting the dead skin enough to see what is loose and what should be left alone.
This step is crucial because it reveals the actual cleanup zone. Pros do not trim blindly. They push first, inspect second, and trim last.
4. Inspect before you clip
Look closely under good light. You are searching for small bits of dead skin, frayed edges, and hangnails. If the skin is still firmly attached, pink, or tender-looking, skip it. If you are unsure whether it is dead skin or healthy skin, do not cut it. When in doubt, leave it out.
5. Hold the cuticle cutter with control, not force
Hold the nipper comfortably so the blades feel steady in your hand. Keep your grip relaxed but controlled. You want precision, not pressure. The blades should meet the skin gently, never stab at it. This is delicate detail work, not a race against the clock.
6. Trim tiny bits at a time
This is the move that makes all the difference. Instead of taking one big dramatic clip, make tiny, careful snips along the loose dead skin. Follow the lifted edge rather than cutting into the skin line. Small snips create a cleaner finish and lower the chance of tearing.
If you feel resistance, stop. If the skin pulls, stop. If you have to convince yourself it is probably fine, definitely stop. Pro-level technique is mostly about knowing when not to cut.
7. Only trim hangnails, not surrounding healthy skin
For a hangnail, isolate the little flap of loose skin and clip it flush without yanking. Never pull it off with your fingers. That is how you turn a tiny annoyance into a larger problem. One neat snip is all you need.
8. Wipe, check, and stop before you overwork the area
After a few snips, wipe the area and look again. Many beginners keep trimming because they want a perfectly bare edge. That is usually when trouble starts. A clean manicure does not require every molecule of cuticle to disappear. The goal is tidy, not stripped.
9. Finish with oil or cream
Once you are done, apply cuticle oil or a rich hand cream. Massage it into the nail folds and surrounding skin. This helps the area look smoother immediately and can reduce future dryness, peeling, and hangnails. In other words, moisture is your manicure’s publicist. It makes everything look better.
What Makes a Manicure Look Professional
People often assume a salon-quality look comes from cutting more. Usually, it comes from better prep and better aftercare. Here is what actually creates that clean, polished finish:
- Softening the skin before trimming
- Using a sharp tool instead of a dull one
- Making tiny precise snips
- Stopping as soon as the area looks neat
- Keeping the nail folds moisturized between manicures
Pros also work under bright light, keep the hand steady, and never try to fix dryness by clipping away half the fingertip. If your cuticles always look rough, the answer is often more hydration and gentler maintenance, not more cutting.
Common Mistakes That Ruin the Result
Using the nipper on dry skin
Dry cuticles crack, split, and tear more easily. Softening first is not an optional flourish. It is the whole game.
Taking one giant cut
Big cuts usually create jagged edges or accidental nicks. Small snips are slower, but they look better and feel better later.
Cutting attached skin
If the skin is still attached and healthy, clipping it will not improve the manicure. It will only increase irritation.
Ignoring tool maintenance
A dirty or dull cuticle cutter is bad news. Keep it clean, dry, and stored properly. Replace it when it no longer cuts cleanly.
Trying to make the nail look “perfect”
Perfection is where many home manicures become overworked. A professional result looks clean, not raw. Leave a little alone and your hands will usually look better the next day.
How Often Should You Use a Cuticle Cutter?
Not every day. Not every time you look down and feel ambitious. For most people, occasional cleanup is enough. If you keep your cuticles moisturized, gently push them back after a shower once in a while, and trim only true hangnails or loose dead skin, you will probably need the nipper much less than you think.
Overusing a cuticle cutter can make the area look rougher over time because skin that is irritated or repeatedly over-trimmed tends to become dry, ragged, and more tempting to pick at. That becomes a very annoying cycle. Moisture breaks the cycle. Random snipping does not.
When You Should Not Use a Cuticle Cutter
Skip the nipper if the skin around your nails is red, swollen, cracked deeply, bleeding, or painful. Also avoid using it if you have an obvious infection, if the area feels hot or looks irritated, or if you know your hands are reacting badly to products.
If you have diabetes, poor circulation, or a condition that makes healing harder, be extra careful with any at-home trimming around the nails. And if you notice persistent redness, swelling, tenderness, or drainage, it is smarter to get medical advice than to keep experimenting with manicure tools like a detective in a beauty aisle.
Pro Tips for Cleaner, Safer Cuticle Work
- Do your cuticle cleanup after a shower if you do not want a full soak.
- Use cuticle oil daily if your skin gets dry quickly.
- Wear gloves when cleaning or washing dishes a lot.
- Do not bite, pick, or peel skin around your nails.
- Keep a nipper for cuticles only. Do not use it to cut nails.
- Work on one finger at a time so you can see exactly what needs trimming.
- Stop the second the area looks neat enough.
That last tip is the most professional one of all. Salon-quality work often comes from a lighter touch, not a heavier hand.
Quick FAQ
Should you cut the whole cuticle?
No. The better approach is to soften the area, gently push it back, and trim only obvious loose dead skin or hangnails if needed.
Does a cuticle cutter hurt?
It should not hurt when used correctly on softened, dead skin. Pain usually means you are clipping live skin, using too much pressure, or working on an irritated area.
Can you use a cuticle cutter on toenails?
The tool can trim loose skin around toenails too, but the same rule applies: tiny bits of dead skin only. Never dig into corners or use it like an ingrown nail tool.
What if you accidentally nick the skin?
Stop immediately, clean the area gently, and do not keep trimming. If the spot becomes more red, swollen, sore, or looks infected, get it checked by a healthcare professional.
Real-Life Lessons From Using a Cuticle Cutter
Ask anyone who has ever tried to level up their home manicure and you will hear the same thing: the first time using a cuticle cutter feels strangely empowering. Suddenly you have the tiny shiny tool. You have the warm soak. You have big main-character energy. And then, about three minutes in, you realize this tool rewards patience and punishes overconfidence with impressive efficiency.
One of the most common beginner experiences is thinking that every uneven bit of skin needs to go. It does not. People often start with one hangnail, get a good result, feel unstoppable, and then keep trimming until the whole cuticle line looks overworked. The lesson usually arrives the next time they wash their hands. Soap hits the area, the sting kicks in, and the brain quietly whispers, “Ah. So that was live skin.” It is a humbling moment. Educational, yes. Fun, no.
Another very real experience is discovering that dry skin is a liar. Before softening the nails, everything can look like something that needs clipping. After a warm soak and a little cuticle oil, half of those “problems” suddenly disappear. What looked messy was often just dehydration. That is why people who start moisturizing regularly are shocked by how much less trimming they need. It is not glamorous advice, but cuticle oil does more for neat-looking nails than aggressive snipping ever will.
There is also the classic dull-tool disaster. Plenty of people assume any cuticle cutter will do, only to find that a dull nipper does not really cut. It grabs. It tugs. It creates those fuzzy little edges that somehow look worse than the original dry skin. Once you experience the difference between a dull tool and a sharp, clean one, you understand why nail techs are so particular. Precision matters. A lot.
Then there is the speed issue. Beginners tend to rush because the tool looks small and the task looks simple. Professionals, on the other hand, move slowly because they know tiny details are where manicures either shine or fall apart. The best cuticle work often takes less cutting than people expect and more observation than they are used to. It is a quiet skill. Very little drama, lots of control.
People who get consistently beautiful results usually end up with the same routine: soften, push back gently, trim almost nothing, then moisturize like it is their job. They stop chasing that ultra-bare cuticle line they saw in overly edited nail photos and start focusing on healthy-looking skin. Funny enough, that healthier approach often looks more polished in real life.
And maybe that is the biggest lesson of all. Using a cuticle cutter like a pro nail tech is not about being fearless. It is about being selective. Pros are not brave because they cut more. They are skilled because they know exactly what to leave alone. That is what makes the manicure look clean, expensive, and effortless. Well, effortless for the viewer. You, meanwhile, are under a desk lamp whispering, “Tiny snips. Tiny snips. Do not get cocky.” That is still progress.
Conclusion
If you want to use a cuticle cutter like a pro nail tech, forget the idea that professional equals aggressive. It does not. Professional means clean tools, softened skin, a gentle push-back, tiny controlled snips, and enough self-control to stop before your manicure turns into a cautionary tale.
Trim only what is clearly loose and dead. Keep the area moisturized. Respect the skin around the nail. And remember: the prettiest cuticle work is usually the kind nobody notices because it simply looks healthy, tidy, and well maintained. That is the real pro finish.