
Flat back earrings are the tiny overachievers of the jewelry world. They sit smoothly against your ear, they do not poke your neck while you sleep, and they make your curated ear stack look like you have your life togethereven if your laundry chair says otherwise. But when it is time to remove them, many people discover the plot twist: flat backs do not work like regular butterfly-back earrings.
If you have been pinching, twisting, tugging, whispering motivational speeches, or bargaining with a stubborn stud in the bathroom mirror, take a breath. Most flat back earrings come in two common styles: threadless push-pin flat backs and internally threaded screw-in flat backs. The good news is that both can be removed at home when the piercing is fully healed and the jewelry is not swollen, embedded, infected, or painful. The even better news? You do not need a toolbox, a prayer circle, or Olympic finger strengthjust the right technique.
This guide explains how to remove flat back earrings in two easy ways, how to tell which type you have, what to do when the earring will not budge, and when it is smarter to let a professional piercer handle the tiny metal drama.
What Are Flat Back Earrings?
A flat back earring, often called a flatback stud, labret stud, or flat back piercing jewelry, has a smooth, flat disk on the back instead of a butterfly clutch or traditional push-on backing. The flat disk rests against the back of the ear, while the decorative front sits on the visible side.
Flat back earrings are popular for lobe piercings, helix piercings, conch piercings, tragus piercings, forward helix piercings, and other ear cartilage placements. They are comfortable, secure, and less likely to snag than some traditional backs. Many professional piercers use flatback jewelry because it can be made from body-safe materials such as implant-grade titanium or solid gold and because it tends to sit neatly in healing piercings.
However, not all flat backs open the same way. Before removing yours, identify the closure style.
The Two Main Types of Flat Back Earrings
Threadless flat back earrings are also called push-pin or press-fit earrings. The decorative top has a tiny pin that slides into the hollow post. A slight bend in the pin creates tension, holding the jewelry together. To remove it, you pull the front and back apart.
Internally threaded flat back earrings have a decorative top that screws into the post. To remove it, you hold the flat back steady and unscrew the front piece, usually by turning it to the left.
Here is the simple rule: if the front pulls off, it is probably threadless. If the front turns like a tiny jar lid for ants, it is probably threaded.
Before You Remove Flat Back Earrings: Safety First
Removing flat back earrings is simple, but your ear is still skinand sometimes healing skin. Before you start, make sure the piercing is ready. If the piercing is new, irritated, crusty, swollen, hot, painful, bleeding, or oozing pus, do not force the jewelry out. Removing jewelry too early may allow the hole to shrink or close, and removing jewelry from an infected piercing without guidance can sometimes make the situation worse.
You Will Need
- Clean hands
- Mild soap and water
- A clean towel or paper towel
- Disposable nitrile or latex gloves for better grip
- A mirror with good lighting
- Saline spray or sterile saline for aftercare
- A towel placed over the sink drain so tiny jewelry pieces do not vanish into plumbing history
When Not to Remove Flat Back Earrings at Home
Do not attempt at-home removal if the jewelry feels stuck inside the skin, the flat back has become embedded, the area is very swollen, the piercing is extremely painful, or the jewelry is in a hard-to-reach cartilage placement. You should also avoid removing it yourself if you suspect infection, have a fever, see spreading redness, or notice thick yellow or green discharge. In those cases, contact a professional piercer or healthcare provider. Your bathroom mirror is talented, but it is not a medical degree.
Easy Way 1: Remove Threadless Push-Pin Flat Back Earrings
Threadless flat back earrings are common in modern piercing studios. They look sleek and simple, but they can feel confusing the first time you remove them because there are no visible threads. The decorative front is held in place by tension from a tiny bent pin.
How to Tell If You Have a Threadless Flat Back Earring
You may have a threadless earring if the front decorative piece does not seem to rotate much, the jewelry feels like two pieces pressed together, and the post is hollow. Some threadless tops may twist slightly when you try to grip them, but twisting is not what unlocks them. The main motion is pulling the front away from the flat back.
Step-by-Step Instructions
Step 1: Wash and dry your hands. Use soap and warm water, then dry your hands completely. Damp fingers slip, and slippery fingers turn earring removal into a slapstick routine.
Step 2: Put on gloves for grip. Disposable gloves help you hold the tiny jewelry pieces more securely. If the earring is small, smooth, or gemstone-shaped, gloves can make a huge difference.
Step 3: Hold the flat back steady. Place one hand behind your ear and gently pinch the flat disk. Keep the post stable so you are not pulling the entire piercing channel back and forth.
Step 4: Grip the decorative front. With your other hand, hold the gem, ball, disk, or charm on the front of the earring. If the top is very tiny, use a clean piece of gauze between your fingers and the jewelry for extra traction.
Step 5: Pull the front straight out. Gently but firmly pull the decorative front away from the post. You can add a tiny side-to-side wiggle, but avoid aggressive twisting or yanking. The front should pop out of the hollow post.
Step 6: Remove the post. Once the top is out, slide the flat back post out from the back of the ear. Move slowly and keep the angle straight to avoid irritating the piercing.
What If the Threadless Earring Will Not Come Apart?
If the top does not release, do not panic. Threadless jewelry can feel tight because the bent pin is designed to stay secure. Try drying your fingers again, using gloves, or holding the jewelry with clean gauze. You can also try a gentle twist-and-pull motion, but the pull is still the main action.
If it still will not move after a few calm attempts, stop. Too much pulling can irritate the piercing, especially in cartilage. A professional piercer can remove it quickly with proper tools and a much better angle than you can get while pretending to be a contortionist in front of the sink.
Easy Way 2: Remove Internally Threaded Screw-In Flat Back Earrings
Internally threaded flat back earrings have a decorative end that screws into the post. The threading is inside the post, which is smoother for the piercing channel than external threading. These earrings are secure, but they can become surprisingly tight over time, especially if you have been sleeping on them or accidentally tightening them during cleaning.
How to Tell If You Have a Screw-In Flat Back Earring
You may have an internally threaded earring if the front piece turns repeatedly, the top looks like a ball or gem that screws into the post, or the jewelry was described as “threaded” when purchased. If the front rotates and gradually loosens, you are dealing with screw-in jewelry.
Step-by-Step Instructions
Step 1: Wash your hands and prepare your space. Clean hands are non-negotiable. Place a towel over your sink or work over a table so the decorative top does not drop, bounce once, and teleport to another dimension.
Step 2: Dry everything well. Dry your hands, ear, and jewelry. A dry surface gives you better control.
Step 3: Hold the flat back firmly. Use one hand to hold the flat disk behind the ear. Keep it still. The goal is to turn only the decorative front, not spin the entire post inside the piercing.
Step 4: Turn the front to the left. With your other hand, twist the decorative top counterclockwise. Remember the classic phrase: lefty-loosey, righty-tighty. If you are looking in a mirror, your brain may briefly file a complaint, so go slowly.
Step 5: Unscrew until the top comes off. Continue turning until the decorative piece separates from the post. Do not pull hard while it is still threaded; let the screw do the work.
Step 6: Slide the post out. After the front is removed, gently slide the flat back post out from behind the ear.
What If the Screw-In Flat Back Is Too Tight?
First, improve your grip. Gloves or clean gauze often solve the problem. Try holding the back perfectly still while turning only the front. If both pieces spin together, you are not actually loosening the jewelry.
If the earring is still stuck, do not use household pliers, tweezers, or random tools from a drawer. They can scratch jewelry, crush the post, pinch skin, or introduce bacteria. A piercer has proper hemostats and experience removing stubborn jewelry safely.
After Removing Flat Back Earrings
Once the earring is out, check your piercing. A healed piercing may look calm and normal, while a slightly irritated one may be a little pink for a short time. Clean the area gently with sterile saline or mild soap and water, then pat dry. Avoid harsh products such as hydrogen peroxide, rubbing alcohol, iodine, or strong acids because they can dry and irritate the skin.
If you plan to insert new jewelry, have it ready before removing the old piece. Even healed piercings can shrink faster than expected, especially cartilage piercings or newer lobe piercings. Choose jewelry in the correct gauge and length. If the new post is thicker, shorter, or shaped differently, do not force it. Forcing jewelry through a shrinking piercing can cause trauma, swelling, and a very rude evening.
How to Put Flat Back Earrings Back In
Insertion can be trickier than removal. For threadless jewelry, insert the post through the back of the piercing first, then line up the decorative pin with the hollow post and press until secure. For screw-in jewelry, insert the post, place the decorative end into the opening, and turn it to the right until snug.
The key word is snug, not “welded by Thor.” Jewelry that is too loose may fall out. Jewelry tightened too aggressively may be difficult to remove later. Check your ends occasionally with clean hands, especially after sleeping, hair washing, or wearing headphones.
Common Mistakes to Avoid
Mistake 1: Removing Jewelry Too Soon
Fresh piercings need time. Earlobe piercings often heal faster than cartilage piercings, but healing time varies by placement, body, jewelry quality, and aftercare. If your piercing still feels tender, crusty, swollen, or irritated, wait or ask your piercer before changing jewelry.
Mistake 2: Pulling When You Should Twist
If you have a threaded flat back, pulling will not remove it. If you have a threadless flat back, endless twisting may not help much. Identify the jewelry style first, then use the correct method.
Mistake 3: Using Dirty Hands
Touching a piercing with unwashed hands increases the chance of irritation or infection. Even if the piercing is healed, clean hands are the easiest safety step.
Mistake 4: Ignoring Pain
A little pressure is normal. Sharp pain is not. If removal hurts, stop and reassess. Pain may mean the jewelry is stuck, the piercing is not healed, or swelling has made the post too tight.
Mistake 5: Replacing Jewelry With the Wrong Metal
If earrings often make your skin itchy, red, or bumpy, consider nickel sensitivity. Many people react to nickel in jewelry. Safer options often include implant-grade titanium, niobium, solid gold from a reputable source, platinum, or nickel-free surgical-grade stainless steel. Avoid mystery metal jewelry, especially in healing piercings. “Cute but suspiciously cheap” is not a metal category your ear requested.
When to See a Professional Piercer or Doctor
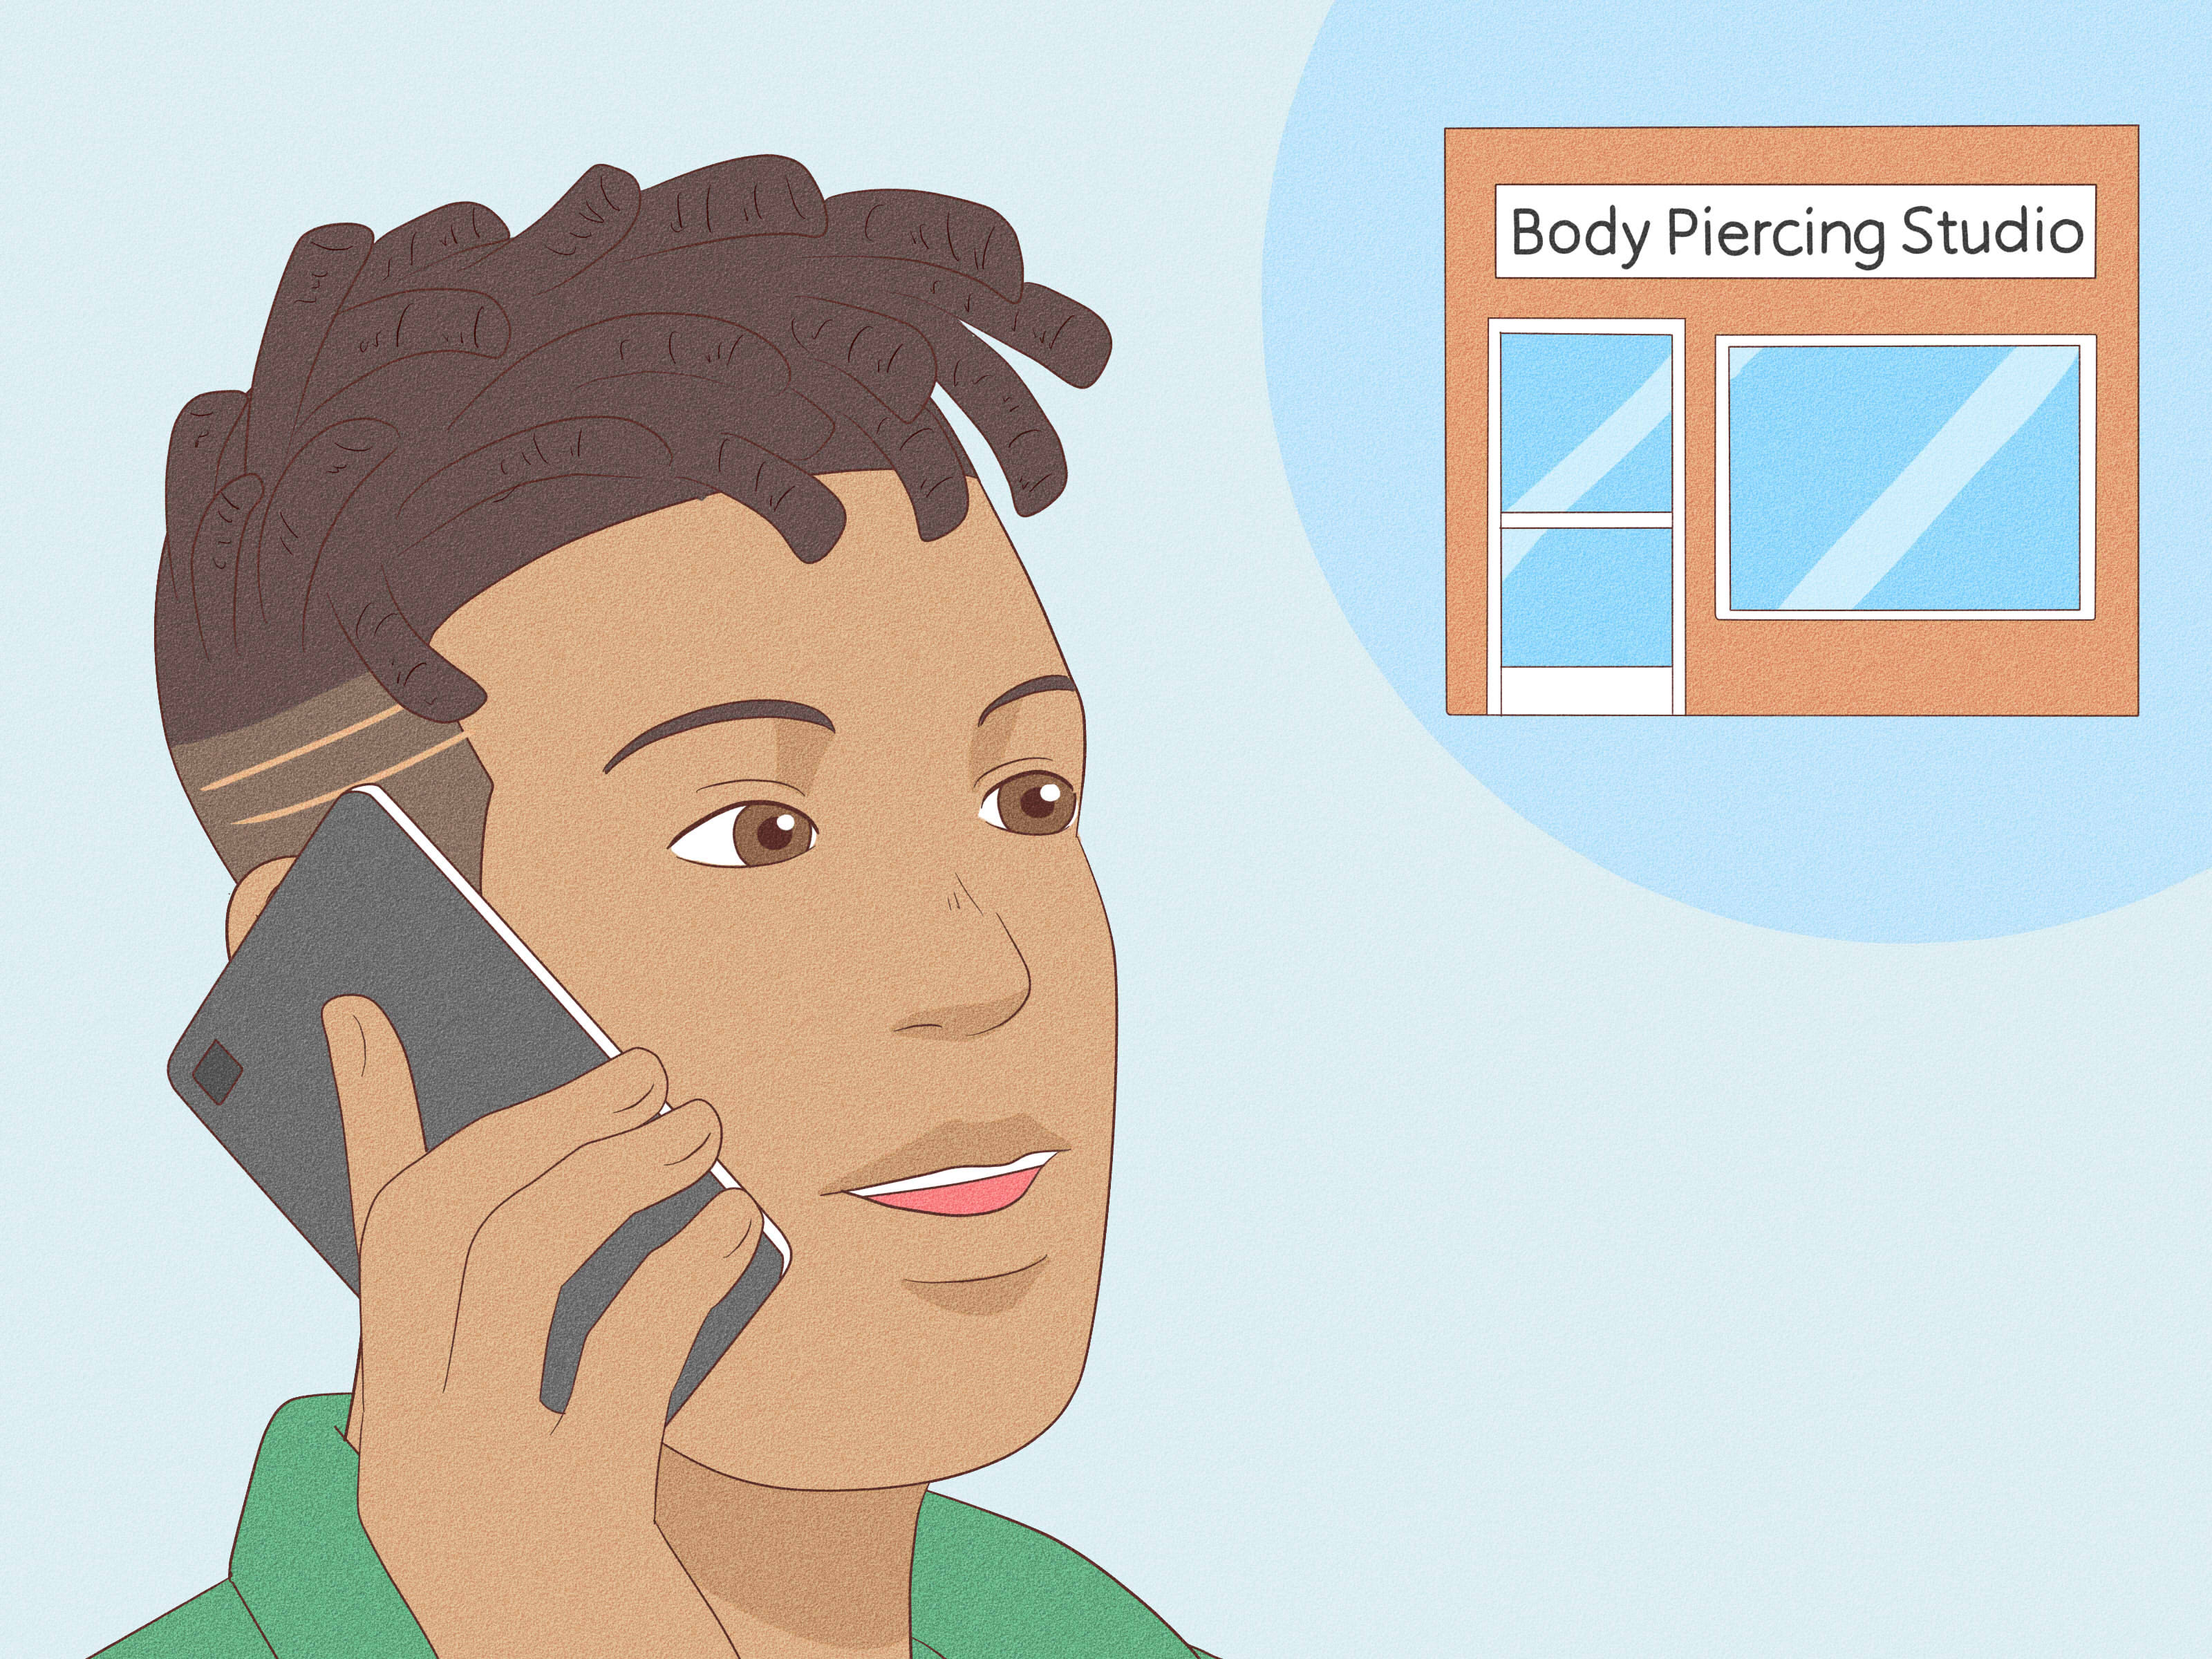
See a professional piercer if the flat back earring is stuck, too small to grip, located in a difficult cartilage placement, or if you are unsure whether it is threadless or threaded. Piercers change jewelry all day and can often remove a stubborn flat back in minutes.
Contact a healthcare provider if you notice spreading redness, warmth, swelling, severe tenderness, fever, pus, a bad smell, or worsening pain. Cartilage infections can be more serious than simple lobe irritation because cartilage has less blood flow. If something looks angry, do not start a wrestling match with your ear. Get help.
Real-Life Experiences: What People Learn the First Time They Remove Flat Back Earrings
The first time someone removes flat back earrings, the experience often begins with confidence and ends with a suspicious amount of squinting in the mirror. Many people assume the jewelry works like a butterfly back, so they reach behind the ear and start searching for a backing to pinch. Instead, they find a smooth little disk that offers no clues and absolutely no emotional support.
One common experience is discovering that grip matters more than strength. A tiny gem top can be almost impossible to hold with bare fingers, especially after washing your hands or applying lotion. Once gloves or clean gauze enter the scene, the same “stuck” earring suddenly becomes manageable. It is not that the jewelry was impossible; it was just too smooth to grab. Flat backs are sleek, which is lovely for sleeping and styling, but less lovely when your fingertips keep sliding off like they are trying to peel a grape.
Another lesson is that mirrors can be surprisingly confusing. When removing a screw-in flat back, turning left sounds easy until you are looking at your own reversed reflection. People often tighten the earring by accident, then wonder why it has become even more stubborn. A helpful trick is to pause, hold the back firmly, and turn the front slowly. If it feels tighter, reverse direction. No shame. Mirrors have been messing with humanity for centuries.
People with threadless push-pin earrings often describe the first successful removal as a tiny “pop” moment. The decorative top pulls away from the post, and suddenly the mystery makes sense. The bent pin may look damaged at first, but that bend is intentional. It creates the tension that keeps the jewelry secure. Once you understand that, threadless flat backs feel much less intimidating.
Cartilage piercings can be a different story. A lobe flat back may come out easily because it is soft, visible, and simple to reach. A tragus, forward helix, or conch piercing may require awkward angles and patience. Many people learn that there is no prize for removing difficult jewelry alone. Visiting a piercer is not failure; it is strategy. A professional can see the angle clearly, hold the jewelry correctly, and prevent unnecessary irritation.
The biggest experience-based tip is to plan the jewelry swap before taking anything out. Have the new earring cleaned, correctly sized, and ready. Some piercings shrink quickly, and trying to reinsert jewelry after a long delay can be stressful. If you remove a flat back just to “give your ear a break,” remember that the piercing may interpret that break as retirement.
Finally, most people become gentler after their first flat back removal. They stop twisting healing piercings, stop using harsh cleaners, and stop forcing jewelry that clearly does not want to cooperate. The best approach is calm, clean, and patient. Your ear is not a jar of pickles. You do not have to defeat it; you just have to understand how the jewelry opens.
Conclusion
Learning how to remove flat back earrings comes down to identifying the closure. For threadless push-pin flat backs, hold the flat disk steady and pull the decorative front straight out. For internally threaded screw-in flat backs, hold the back firmly and unscrew the front to the left. Clean hands, dry fingers, gloves, good lighting, and patience make the process much easier.
If the piercing is new, painful, swollen, infected-looking, or the jewelry will not move, stop and get professional help. A reputable piercer can save you irritation, panic, and the deeply humbling experience of losing a microscopic earring top in the sink.