
Building a solar panel sounds like the kind of project that belongs in a secret laboratory with dramatic lightning, tiny goggles, and someone yelling, “It’s alive!” In reality, a small DIY solar panel is mostly about careful planning, delicate soldering, smart waterproofing, and respecting electricity enough that it never has to remind you who is boss.
This guide explains how to build a small, educational solar panel for low-voltage, off-grid uses such as charging a small battery, powering LED lights, running a tiny fan, or learning how photovoltaic technology works. It is not a guide for installing rooftop solar, connecting to your home’s electrical panel, or building a grid-tied system. Those jobs require certified equipment, permits, code compliance, and qualified professionals.
If your goal is to understand solar energy from the inside out, a homemade solar panel is a fantastic project. You will learn how solar cells turn sunlight into electricity, how cells combine to make more voltage and current, why sealing matters, and why a commercial solar module is more than just shiny blue squares under glass.
What Is a Solar Panel?
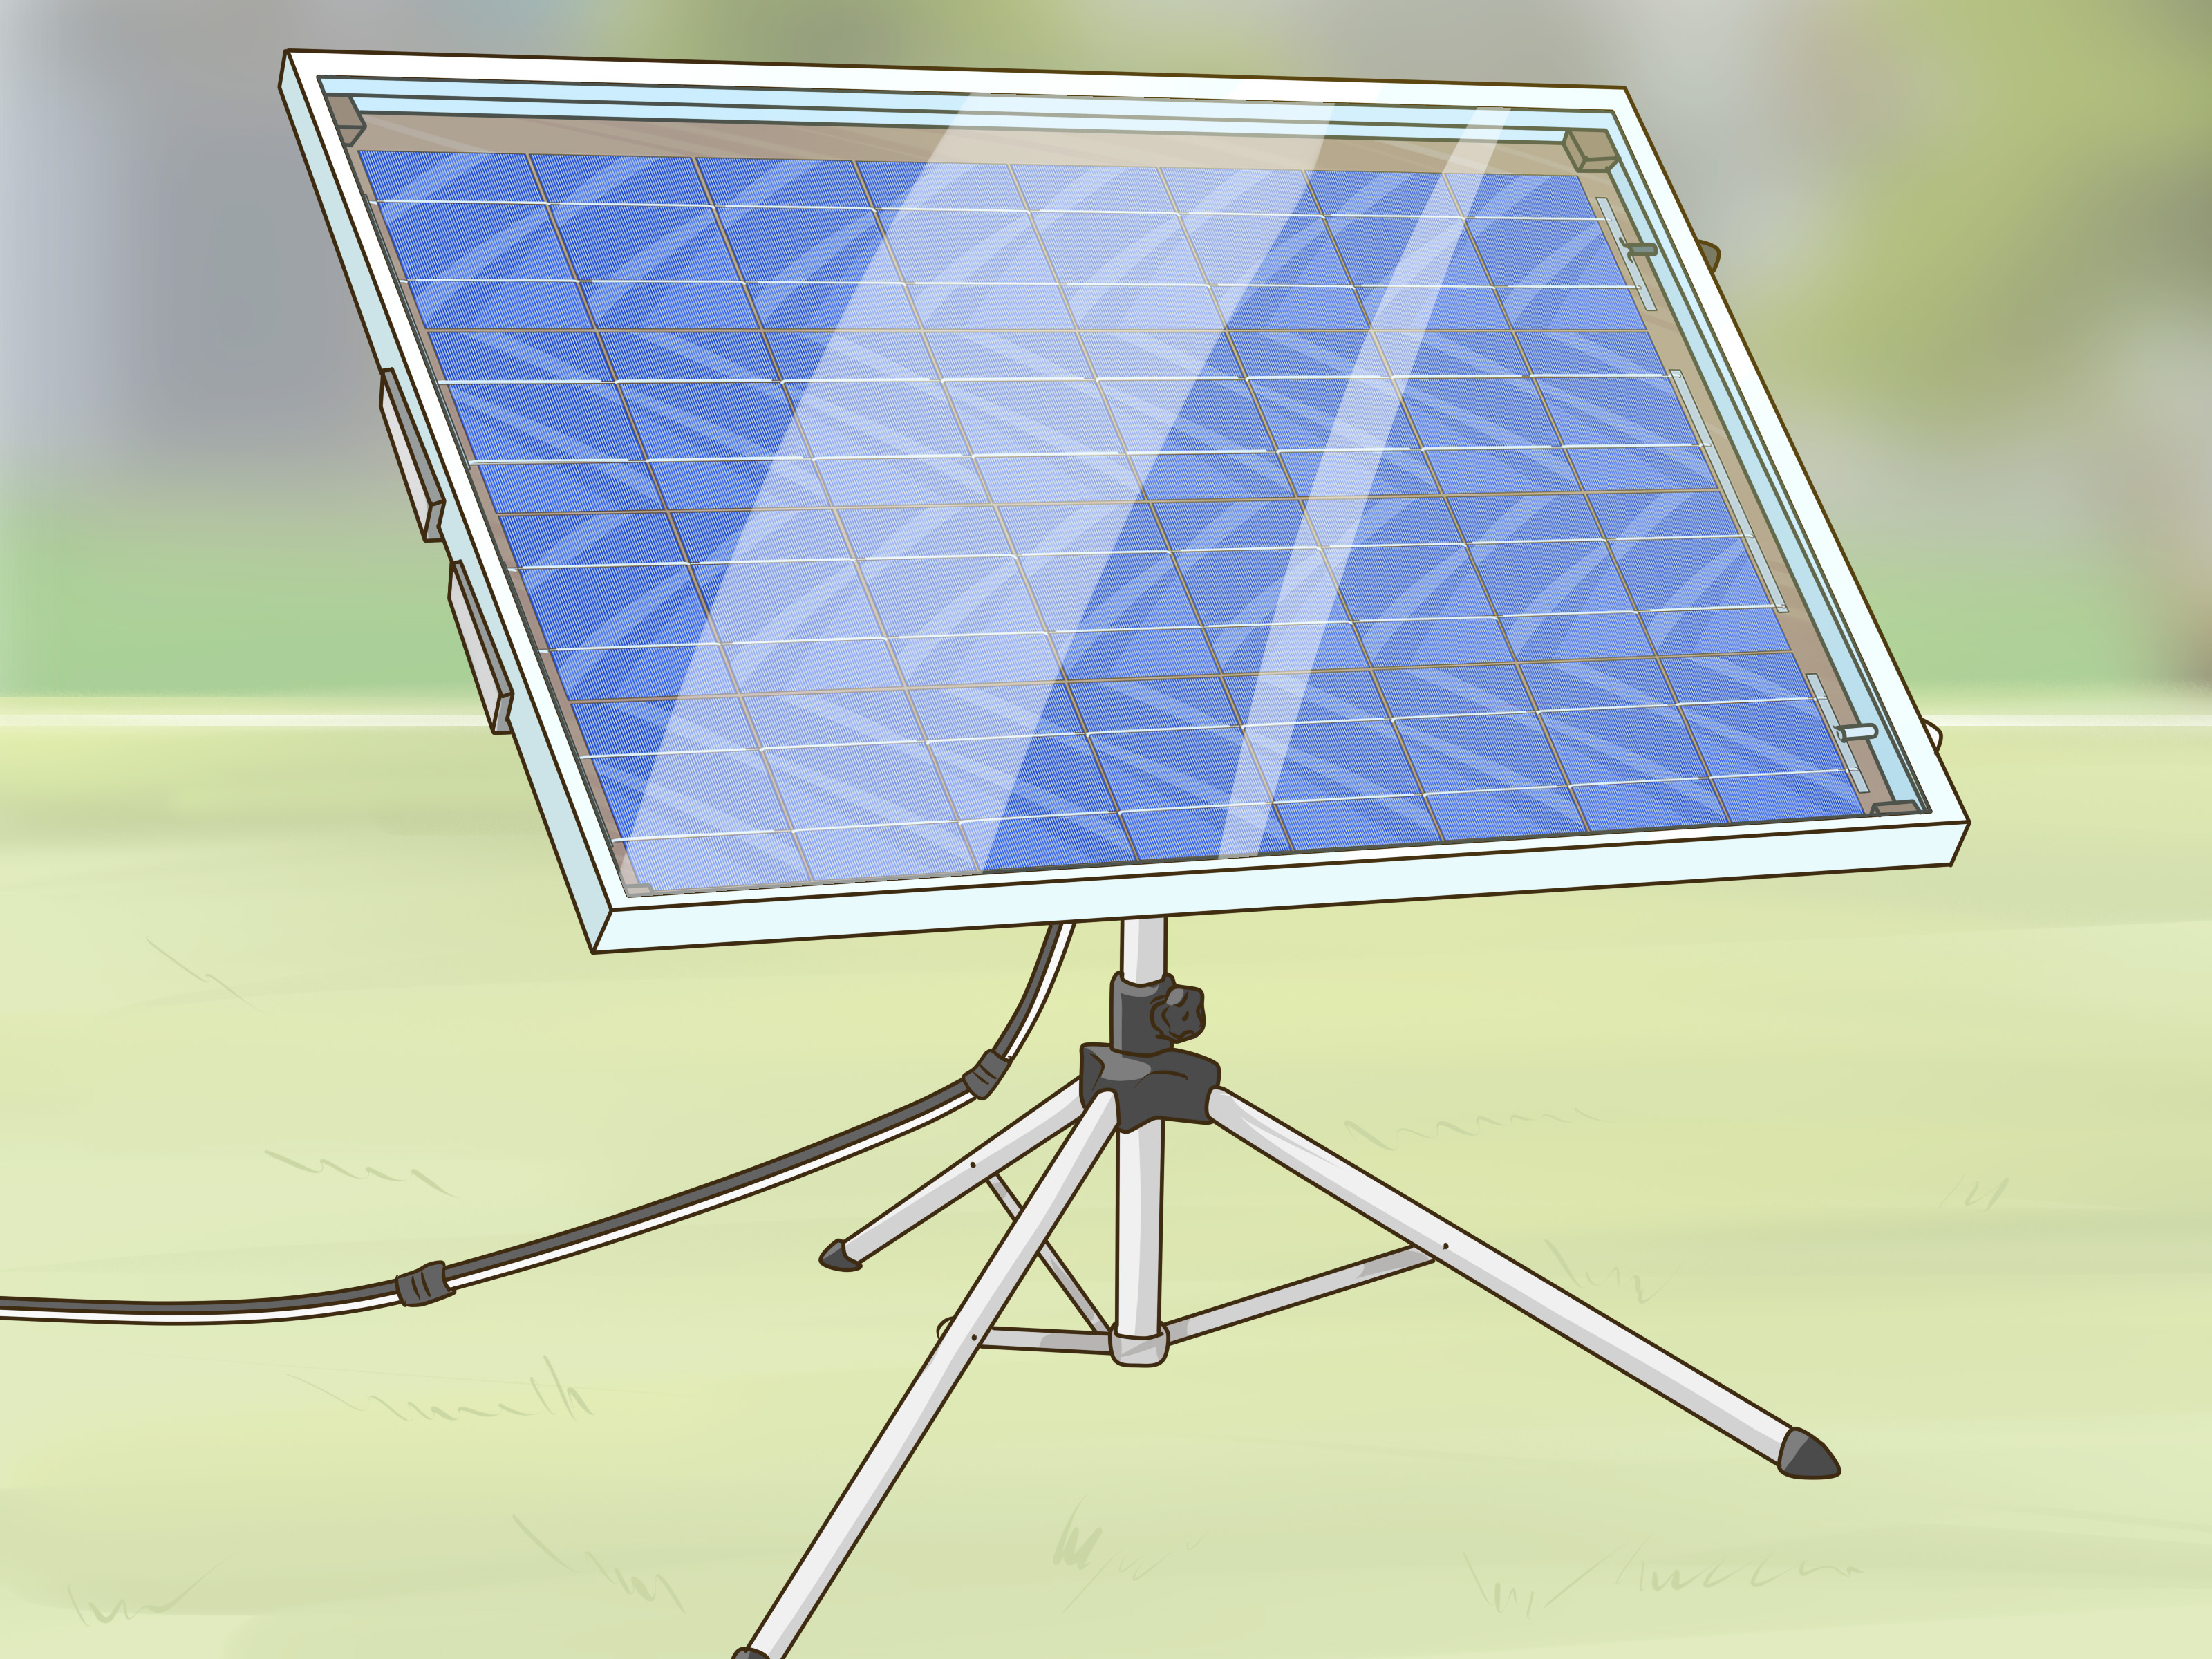
A solar panel, also called a photovoltaic module, is a group of solar cells wired together and protected inside a weather-resistant package. Each solar cell is made from semiconductor material, usually silicon. When sunlight hits the cell, the energy from light helps move electrons, creating direct current electricity. One tiny cell does not produce much power by itself, so manufacturers connect many cells together to create a usable module.
In a complete solar power system, the panel is only one piece of the puzzle. A typical off-grid setup may include a solar panel, charge controller, battery, fuse protection, wiring, mounting hardware, and possibly an inverter if you need household-style AC power. For a beginner project, keep the system small and low-voltage. Think “science fair with useful benefits,” not “I am now the neighborhood utility company.”
Before You Build: DIY Solar Panel vs. Commercial Solar Panel
Here is the honest truth: a DIY solar panel is usually better as a learning project than as a money-saving replacement for commercial panels. Factory-made solar panels are laminated with specialized equipment, tested for safety, rated for decades of outdoor use, and built to meet performance and fire-safety standards. A homemade panel can work, but it usually will not match the durability, efficiency, warranty, or safety certifications of a professionally manufactured module.
That does not make DIY solar pointless. Quite the opposite. Building a small solar panel teaches you the basics of photovoltaic design better than simply reading about it. You get hands-on experience with cells, tabbing wire, bus wire, solder joints, glass or clear covers, backing material, junction boxes, diodes, and sealing. Once you understand those parts, commercial solar systems make much more sense.
Safety First: Solar Panels Are Small, but They Are Not Toys
Even small solar panels can produce electricity whenever light hits them. Covering the panel with cardboard or a thick cloth while wiring helps reduce output during assembly. Work in a dry area, wear eye protection, and use heat-resistant gloves when soldering. Solar cells are thin and brittle, so broken edges can cut skin. Soldering irons can burn. Batteries can deliver high current. In other words, the project is fun, but it deserves grown-up respect.
Never connect a homemade panel directly to your home wiring. Never connect it to the electrical grid. Never install it on a roof as a permanent system unless a qualified professional designs and approves the installation. For battery charging, use a suitable solar charge controller. A charge controller helps prevent overcharging and makes the system safer and more reliable.
Materials You Need to Build a Small Solar Panel
The exact parts depend on the size of the panel you want to build. For a beginner-friendly project, a small 12-volt nominal panel is a common learning target. Many DIY builders use individual crystalline silicon solar cells and wire them together in series to increase voltage.
Basic Materials
- Solar cells, preferably pre-tabbed cells for beginners
- Tabbing wire and bus wire
- Flux pen suitable for solar cell soldering
- Low-temperature solder
- Soldering iron with a fine tip
- Clear front cover, such as tempered glass or clear acrylic
- Rigid backing board, such as sealed plywood, plastic sheet, or composite board
- Silicone sealant rated for outdoor use
- Junction box or small weather-resistant electrical box
- Blocking diode or bypass diode, depending on design
- Solar-rated wire for external leads
- Multimeter for testing voltage and current
- Charge controller for battery charging
- Small battery only if your project requires energy storage
Helpful Tools
- Safety glasses
- Wire cutters and strippers
- Heat-resistant work surface
- Clamps or weights to hold parts in place
- Ruler or measuring tape
- Cardboard template for cell spacing
- Hot glue gun or small dabs of silicone for positioning cells
Step 1: Decide the Size and Purpose of Your Solar Panel
Start with the job you want the panel to do. Do you want to charge a small 12-volt battery? Power a few LED lights? Run a tiny DC fan? A solar panel should be designed around the load. A panel that is too small will be frustrating. A panel that is too large for your beginner setup adds unnecessary risk and cost.
For example, if you want to run a 5-watt LED light for several evening hours, you need to think beyond the panel itself. You need enough solar production during the day, a battery to store the energy, and a charge controller to manage charging. This is why solar design usually starts with energy needs, not with the biggest panel you can fit on your desk.
Step 2: Understand Series and Parallel Wiring
Solar cells can be wired in series or parallel. Series wiring increases voltage. Parallel wiring increases current. Most small DIY panels use series wiring because a single solar cell produces only a small voltage. When you connect cells positive-to-negative in a chain, their voltages add together.
A common beginner layout uses rows of cells connected in series, with bus wire joining the rows. The front side of many crystalline cells is negative, while the back side is positive, but always confirm the specifications of the cells you purchased. Guessing polarity is not a design strategy; it is how tiny electrical mysteries become smoky electrical regrets.
Step 3: Prepare a Clean Layout
Solar cells are fragile, so prepare your workspace before touching them. Lay down a soft, clean surface. Use a cardboard template to mark cell spacing. Leave enough room between cells for expansion, wiring, and sealant. If you crowd the cells too tightly, you make soldering harder and increase the chance of cracks.
Place the cells face down or face up depending on your soldering sequence. Many DIY builders solder tabbing wire to the front contact lines first, then connect those tabs to the back of the next cell. Move slowly. A rushed solar cell is a cracked solar cell, and cracked cells have a way of making your wallet sigh.
Step 4: Solder the Solar Cells
Soldering is the most delicate part of building a solar panel. Apply flux lightly to the contact strips, then use a soldering iron to attach tabbing wire. Do not press hard. Solar cells are thinner than they look and much less forgiving than a piece of copper wire.
Once the tabbing wires are attached, connect the cells in series. The tabbing wire from the front of one cell is usually soldered to the back of the next cell. Continue until you have completed each row. Then use bus wire to connect the rows together. After each row is complete, test it with a multimeter in sunlight or under a bright lamp. Testing early helps you catch mistakes before everything is sealed inside the panel.
Step 5: Mount the Cells on a Backing Board
After the strings are soldered and tested, mount them to a backing board. The backing should be rigid, dry, and sealed against moisture. Some builders use sealed plywood for practice panels, but plastic or composite materials are often better for outdoor durability. Use small dabs of silicone or another suitable adhesive to hold cells in place. Avoid covering large areas behind the cells with thick adhesive, because heat expansion and trapped stress can crack them.
Keep the rows straight and leave space for wiring to the junction box. If the panel looks neat at this stage, the final result will be easier to seal and troubleshoot. If it looks like spaghetti learned electricity, pause and reorganize before moving forward.
Step 6: Add a Clear Front Cover
The front cover protects the solar cells from dust, moisture, impact, and curious fingers. Tempered glass is more durable and scratch-resistant, while acrylic is lighter and easier to cut. However, acrylic can scratch, expand with heat, and age in sunlight. For a simple educational panel, either can work if you understand the trade-offs.
Commercial solar modules use encapsulants such as EVA or POE and are laminated under controlled heat and pressure. A DIY panel usually cannot reproduce that factory process. Instead, the goal is to protect the cells as well as possible while accepting that the panel may not last for decades outdoors.
Step 7: Seal the Edges Against Moisture
Moisture is one of the great villains of homemade solar panels. Water can corrode solder joints, fog the inside surface, damage cells, and reduce output. Seal the edges carefully with outdoor-rated silicone sealant. Make sure the seal is continuous, but do not trap moisture inside during assembly. Build on a dry day and let all materials fully cure.
If the panel will be used outdoors, create a slight slope when mounting it so rainwater runs off. Do not let water pool along the frame. Also, remember that “waterproof” is not the same as “I used a heroic amount of silicone and hoped for the best.” Good sealing is careful, even, and boringin the best possible way.
Step 8: Install the Junction Box and Output Wires
The junction box is where the internal solar cell wiring connects to external leads. Use a small weather-resistant box and secure it to the back of the panel. Add strain relief so pulling on the external wire does not stress the solder joints inside the panel.
A blocking diode may be used in small battery-charging systems to help prevent reverse current from flowing back into the panel at night. Some designs also use bypass diodes to reduce the impact of partial shading on cell strings. The correct diode setup depends on your panel design, current rating, and system layout. When in doubt, use a ready-made solar charge controller and follow the manufacturer’s instructions.
Step 9: Test the Panel
Before connecting the panel to anything, test it with a multimeter. Measure open-circuit voltage in sunlight. Then measure short-circuit current only if you know how to do so safely with your meter’s current rating. A safer beginner approach is to test the panel through an appropriate load, such as a small DC lamp or charge controller input.
Test the panel in full sun, partial shade, and different angles. You will quickly see how sunlight direction changes output. A panel pointed directly at the sun produces more power than one lying flat in the shade pretending to be useful. Even a shadow across one section can reduce performance because cells in a string depend on each other.
Step 10: Connect to a Charge Controller for Battery Use
If your solar panel will charge a battery, do not connect it directly to the battery. Use a solar charge controller designed for the battery type and panel voltage. The charge controller regulates charging and helps protect the battery from overcharging. For small systems, PWM controllers are inexpensive and simple, while MPPT controllers are more efficient and better for matching panel output to battery charging needs.
Use proper fuses, correct wire size, and secure connections. Keep batteries in a safe, ventilated location according to the battery manufacturer’s instructions. Batteries can store a lot of energy, and a short circuit can become dangerous quickly. Small solar does not mean careless solar.
Common Mistakes When Building a Solar Panel
Using Broken or Low-Quality Cells
Discount solar cells can be tempting, but badly chipped or cracked cells reduce output and are harder to solder. A few imperfect cells are fine for practice, but do not expect premium performance from bargain-bin leftovers.
Overheating Cells While Soldering
Too much heat can damage the cell or weaken the solder joint. Use flux, work quickly, and avoid pressing the iron into the cell. Practice on a damaged cell first if you are new to soldering.
Poor Sealing
A panel may work beautifully on day one and fail after a few rainy weeks if moisture gets inside. Seal edges, protect the junction box, and avoid leaving gaps where water can sneak in like it owns the place.
Skipping Testing
Testing only after final assembly is risky. Check each string before sealing the panel. A single bad connection can reduce output or stop the whole panel from working.
Expecting a Homemade Panel to Power a House
A DIY panel is excellent for learning and small off-grid loads. Powering a home requires engineered solar modules, inverters, disconnects, racking, permits, inspections, and professional installation. That is a different league.
How Much Power Can a Homemade Solar Panel Produce?
Power output depends on the number of cells, cell efficiency, wiring design, sunlight intensity, temperature, angle, shading, and build quality. Commercial panels are tested under standard conditions, but a DIY panel will vary more. As a rough expectation, a small homemade panel may produce enough power for small DC devices or battery charging, not large appliances.
Remember that solar panels produce power during daylight, and output changes constantly. Clouds, shade, dust, heat, and poor angle can all lower production. If you need reliable power at night, you need battery storage. If you need AC power, you need an inverter. If you need code-compliant household power, you need a professionally designed system.
Maintenance Tips for a DIY Solar Panel
Inspect your panel regularly. Look for moisture inside the cover, loose wires, cracked cells, cloudy sealant, corrosion, or discoloration. Clean the front surface gently with water and a soft cloth when it is cool, preferably in the morning or evening. Avoid abrasive scrubbers and pressure washers. Solar panels enjoy sunlight; they do not enjoy being blasted like a driveway.
Check the mounting angle and make sure the panel is secure. If it is outside, wind can loosen weak mounts. If it is portable, store it safely when not in use. A homemade solar panel will last longer if it is treated as a delicate electrical device, not as a rugged camping table.
Best Uses for a Homemade Solar Panel
A DIY solar panel is best for small, low-voltage, off-grid projects. Good examples include a garden light system, a small educational battery charger, a portable phone charging experiment, a shed LED light, a tiny fan, or a classroom demonstration. These uses let you learn real solar principles without taking on the risks of a full home solar installation.
If you want solar for your home, compare quotes from qualified installers and look for certified equipment. Commercial panels are more reliable, more efficient, and designed for long-term outdoor exposure. Building one panel by hand is educational; powering a whole house is engineering, permitting, and electrical work.
Real-World Experience: What Building a Solar Panel Teaches You
The first lesson from building a solar panel is patience. Solar cells look sturdy in photos, but in your hands they feel more like electrical potato chips. Pick one up too quickly, press too hard with the soldering iron, or flex it while moving it, and you may hear the tiny heartbreak sound of a cracking cell. The best builders learn to slow down. They prepare the work area, line up materials, test the soldering iron, and handle each cell like it is a very expensive cracker.
The second lesson is that neat wiring matters. On paper, connecting cells in series looks simple. In real life, tabbing wire bends, solder cools too quickly, and one crooked row can make the whole panel awkward. A good habit is to build and test one string at a time. When a string produces the expected voltage, label it or place it carefully aside. This small routine saves a lot of frustration later.
The third lesson is that sunlight is both helpful and inconvenient. You need sunlight to test the panel, but the panel begins generating electricity whenever it is illuminated. That means you should cover the cells while making final connections and avoid working with exposed conductors in bright sun. It also means testing indoors under weak light can be misleading. A panel that seems lazy under a desk lamp may wake up dramatically outdoors.
The fourth lesson is that waterproofing is harder than it looks. Many beginners focus on electrical output and treat sealing as the final decoration. In practice, sealing is what decides whether the panel survives. Moisture can creep through tiny gaps, especially around the junction box and edges. Good sealing takes time. Let sealant cure fully. Do not rush the panel outside the moment it looks finished. Solar projects reward the people who can resist the “good enough” button.
The fifth lesson is that homemade solar panels make you appreciate commercial modules. Factory panels look simple from the outside, but they are carefully engineered layers of glass, encapsulant, cells, backing, frame, junction box, connectors, and tested electrical pathways. Once you have tried to align brittle cells by hand, you understand why commercial solar panels are manufactured with specialized equipment. That appreciation is valuable, especially if you later compare solar quotes or plan a larger system.
The sixth lesson is about expectations. A homemade panel can be deeply satisfying even if it does not produce huge power. Watching a multimeter respond to sunlight from something you built is a small magic trick backed by physics. But it is still a small panel. It may charge a small battery slowly. It may run a fan in strong sun but struggle under clouds. That is not failure; that is solar reality. The sun is generous, but it does not offer unlimited power on demand.
The best experience comes from treating the project as a learning build. Keep notes. Record voltage readings at different times of day. Try different tilt angles. Test partial shading by covering one cell and watching output change. Compare performance before and after cleaning the cover. These simple experiments turn a homemade panel into a mini solar laboratory.
Most importantly, a DIY solar panel teaches respect for clean energy. Solar power is not magic, and it is not as simple as “put shiny thing outside, get free electricity forever.” It is design, materials, weather, safety, maintenance, and smart energy use. Build one small panel, and you will understand the whole solar conversation betterfrom rooftop systems to battery storage to why shade from one badly placed tree can cause so much drama.
Conclusion
Learning how to build a solar panel is one of the best ways to understand renewable energy from the inside out. A homemade solar panel will not replace a certified rooftop system, but it can teach you how photovoltaic cells work, why wiring design matters, how sunlight affects output, and why weather protection is essential. Start small, stay safe, use a charge controller for batteries, and treat electricity with respect.
If your goal is education, experimentation, or a small off-grid project, building a solar panel can be rewarding, practical, and surprisingly fun. If your goal is to power a home, choose professionally manufactured panels and work with qualified solar installers. Either way, the knowledge you gain from a DIY build will make you a smarter solar userand possibly the person at parties who explains bypass diodes with alarming enthusiasm.
Note: This article is for small educational and low-voltage off-grid solar projects only. Permanent rooftop, grid-tied, or whole-home solar systems should be designed and installed by qualified professionals using certified equipment and local code requirements.